


67
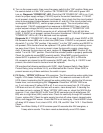
9) Remove the object covering the infrared sensor. If you removed the infrared sensor
housing from the base, replace it in its correct position, and secure it with the
thumbscrew.
10) Move the power switch to the "OFF" position. Turn off the power supply, then proceed
to "IV.D.. Mechanical Bin Control Check."
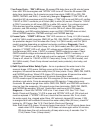
2. Mechanical Bin Control Check
When the actuator paddle is not engaged the mechanical bin control is closed and the
icemaker produces ice.
a) Backup Bin Control: S1 dip switch 7 placed in the "ON" position, the mechanical bin
control is used as a backup bin control safety. When ice lls the chute and engages the
actuator paddle, the mechanical bin control opens and the control board shuts down the
icemaker within 10 seconds and sounds a 9-beep alarm.
b) Stand-Alone Bin Control: S1 dip switch 7 placed in the "OFF" position, the
mechanical bin control is used as a stand-alone bin control. The stand-alone application
should only be used in Hoshizaki standard ice storage bin applications. When ice lls
the chute and engages the actuator paddle, the mechanical bin control opens and the
control board shuts down the icemaker within 10 seconds. WARNING! Do not place
S1 dip switch 7 in the "OFF" position on dispenser unit applications. See "II.C.4.a)
Default Dip Switch Settings."
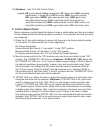
1) Make sure the power supply is off.
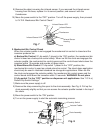
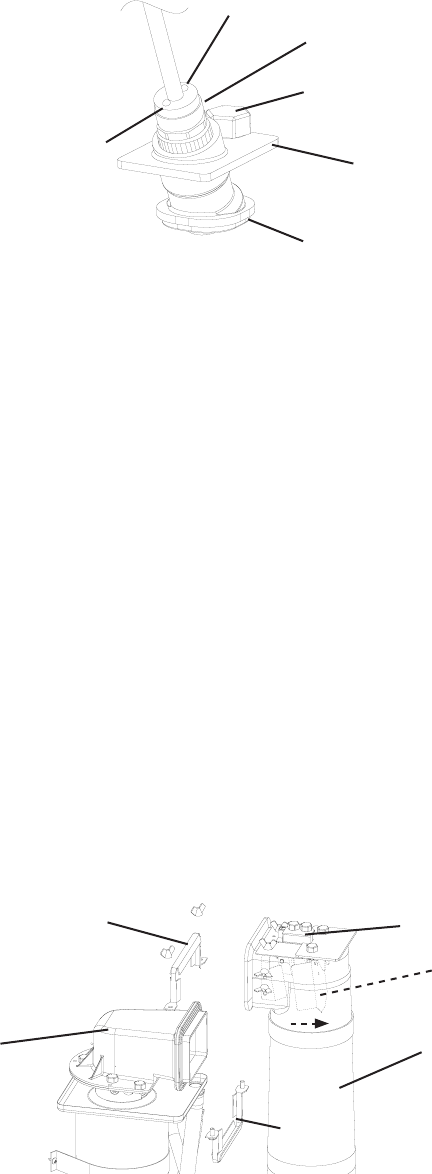
) Remove the strap connecting the spout to the chute assembly. See Fig. 8. Pull up the
chute assembly slightly so that you can access the actuator paddle located in the top of
the chute.
3) Move the power switch to the "ON" position.
4) Turn on the power supply to start the automatic icemaking process.
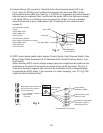
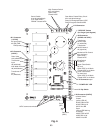
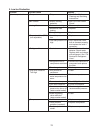
Infrared Sensor
Infrared Sensor
Housing
Lens
Infrared Sensor LED
Infrared Sensor LED
Fig. 7
Thumbscrew
Fig. 8
Chute Assembly
Actuator Paddle
Spout
Strap
Proximity Switch
Strap