6
HOW TO USE YOUR HOB
Gas burners
On the control panel, the following symbols are indicated
around each knob "M".
Off
High flame
Low flame
The symbols near the knobs indicate the position of each
burner on the hob.
The burners are fitted with a flame failure device. This device
interrupts the gas supply should the burner flame go out
during operation.
To light one of the burners, proceed as follows:
• turn the appropriate control knob anti-clockwise until the
pointer is on the high-flame symbol.
• press the knob down fully to activate the automatic gas
ignition.
• keep the knob pressed down for about 6 seconds with
the flame lit to allow the flame failure device to heat.
• release the knob, checking that the flame is stable. If it is
not, repeat the operation.
For minimum power, turn the knob towards the low flame
symbol. Intermediate positions are possible by simply
setting the knob anywhere between the high and the low
flame symbol.
Important:
• Do not activate the automatic ignition device for more
than 15 consecutive seconds.
• Difficulty in ignition is sometimes due to air inside the
gas duct.
• If a burner flame accidentally goes out, the gas continues
to exit for a few moments before the flame failure device
is activated. Turn the control knob to the off position and
do not attempt ignition again for at least 1 minute, thereby
letting the gas disperse, which could otherwise be a
danger.
• When the appliance is not in operation, check that all
control knobs are set to the off position " ". The main
gas supply tap should also be turned off.
Practical advice on using the hob:
To obtain maximum efficiency from the burners, we
recommend you only use pans with a diameter suitable for
the burner being used, so that the flame does not extend
beyond the pan base (see the following table).
When a liquid starts boiling, we recommend you turn the
flame down just enough to keep the liquid simmering.
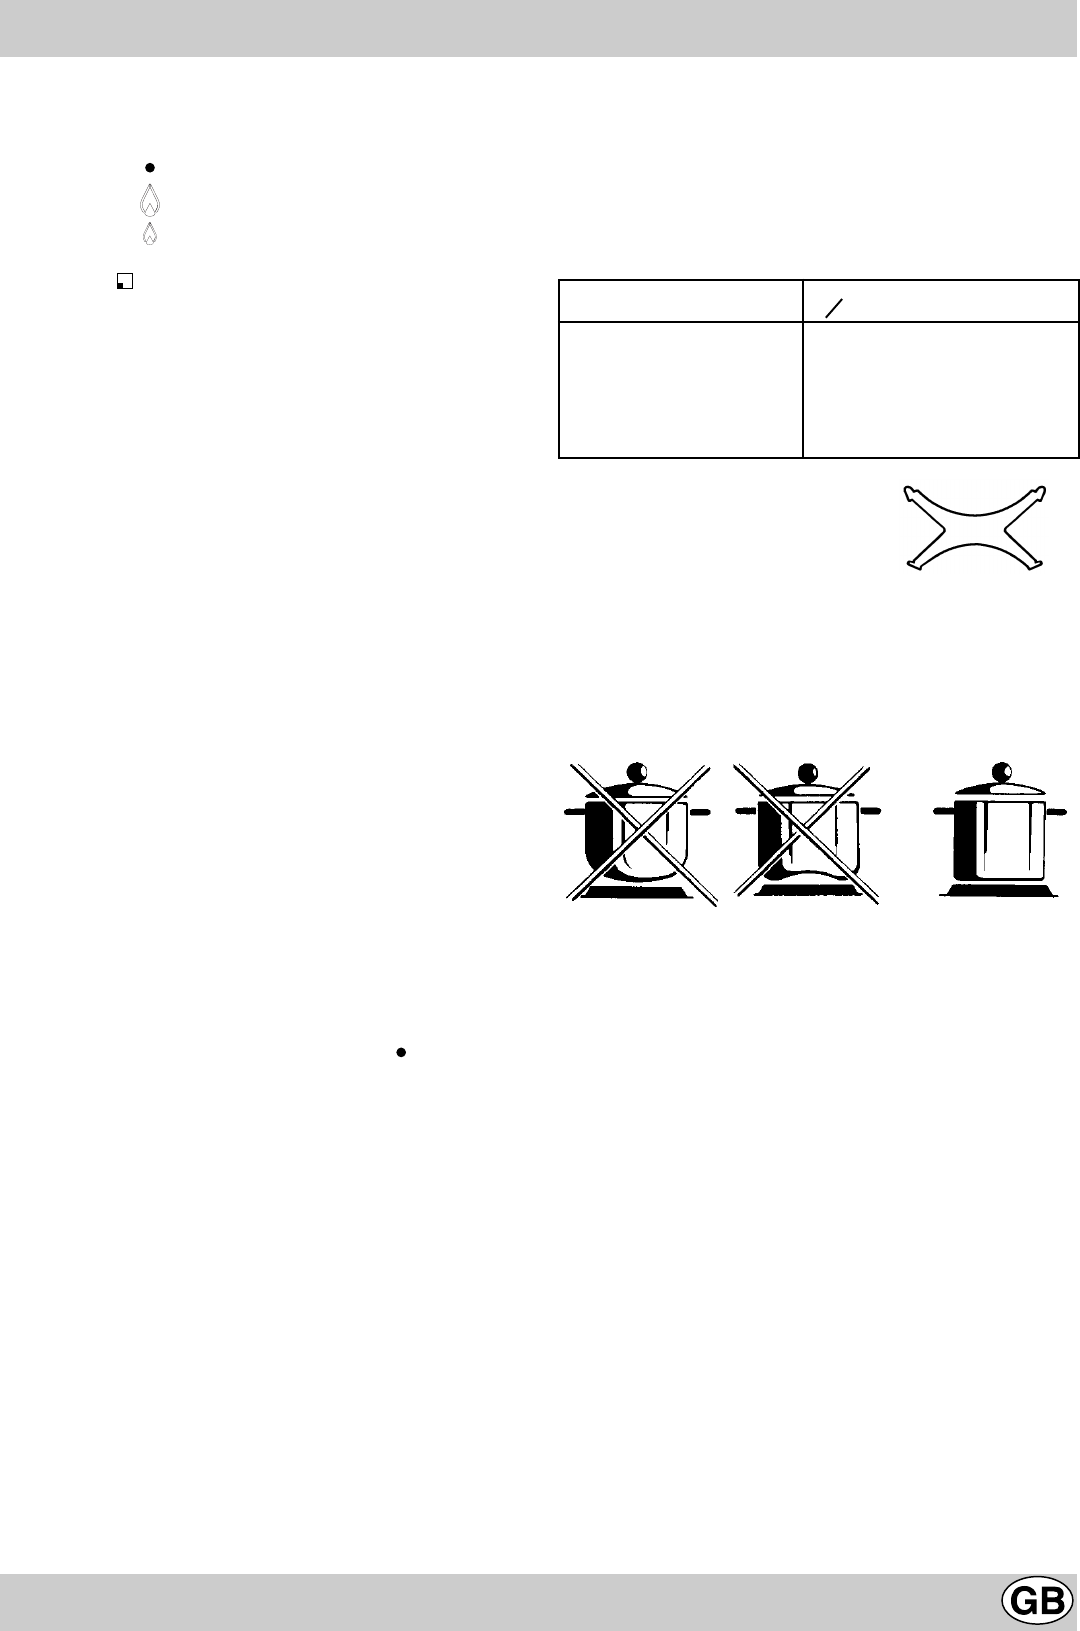
For the best performance of your burners, keep the following
in mind:
All types of pans can be used on the burners. The important
thing is that the bottom should be completely flat.
The hob is fitted with a reducing pan
stand (shown right) which should
only be used on the auxiliary burner
'A'.
BURNER
A. Auxiliary
B. Semi-rapid
C. Rapid
D. Triple ring
O Pan Diameter (cm)
6 - 14
15 - 20
21 - 26
24 - 26


