33
Installation Instructions
CONVERT TO LP GAS (or convert back
to natural gas from LP)
This range leaves the factory set for use
with natural gas. If you want to convert to
LP gas, the conversion must be performed
by a qualified LP gas installer.
The conversion instructions and LP orifices can
be found attached to the back of the range.
Keep these instructions and the orifices in
case you want to convert back to natural gas.
WHEN ALL HOOKUPS ARE COMPLETED
Make sure all controls are left in the OFF
position. Make sure the flow of combustion
and ventilation air to the range is unobstructed.
Mobile Home Installation:
Be sure the installation of this range in a
manufactured or mobile home conforms with
the Manufactured Home Construction and
Safety Title 24 CFR, Part 3280 [formerly the
Federal Standard for Mobile Home
Construction and Safety Title 24, H.U.D.
(Part 280)] or when such standards are not
applicable, the Standard for Manufactured
Home Installations 1984 (Manufactured
Home Sites Communities and Set-Ups),
ANSI A225.1-latest edition, or with local
codes. In Canada, mobile home installation
must be in accordance with the current
CAN/CSA Z240/MH Mobile Home Installation
Code.
Model and Serial Number Location:
The serial plate for your range is located under
the cooktop. See the Lift-Up Cooktop section in
this manual for instructions on how to lift the
cooktop. See the Lift-Up Cooktop section in this
manual for instructions on how to lift the
cooktop. In addition to the model and serial
numbers, it tells you the ratings of the burners
and type of fuel and pressure for which the
range was adjusted when it left the factory.
When ordering parts, always include the model
number and serial number to ensure proper
replacement parts. Parts may be obtained
through General Electric/Hotpoint Factory
Service Centers or General Electric/Hotpoint
authorized Customer Care
®
servicers.
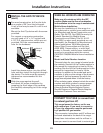
INSTALL THE ANTI-TIP DEVICE
(cont.)
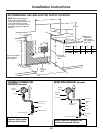
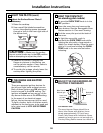
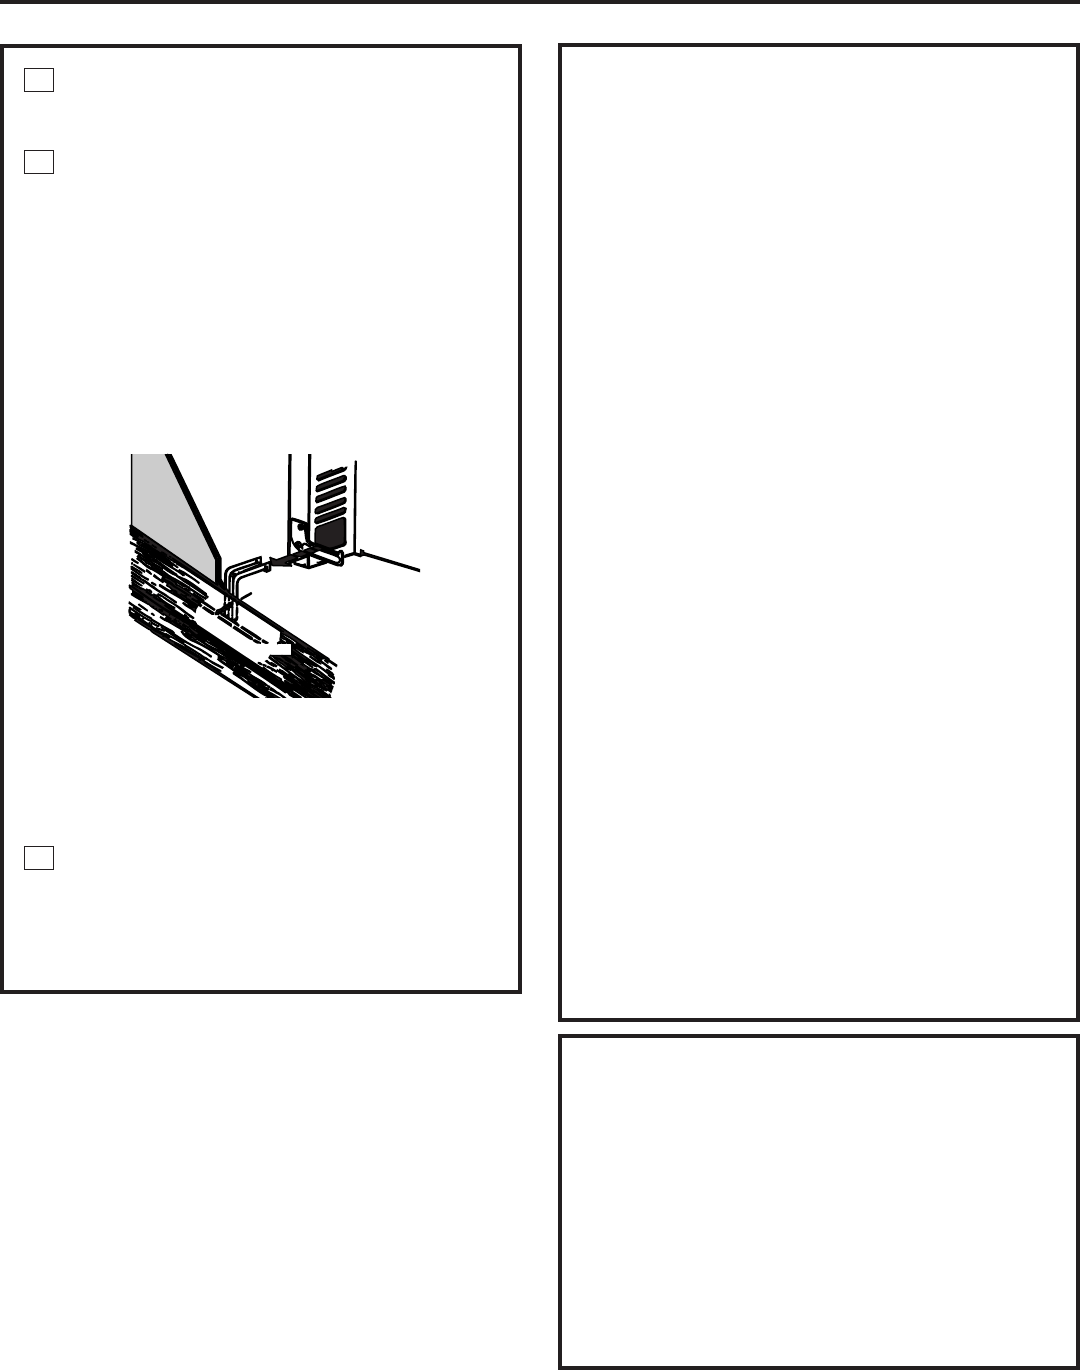
For wood construction, drill a pilot hole
at an angle of 20° from the horizontal.
A nail or awl may be used if a drill is not
available.
Mount the Anti-Tip device with the screw
provided.
For cement or concrete construction,
you will need a 1/4″ x 1
1
⁄2″ lag bolt and
a 1/2″ O.D. sleeve anchor, which are not
provided. Drill the recommended size
hole for the hardware.
Install the sleeve anchor into the drilled
hole and then install the lag bolt through
the device. The bolts must be properly
tightened as recommended for the
hardware.
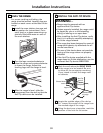
Slide the range against the wall,
and check for proper installation by
grasping the front edge of the cooktop
and carefully attempting to tilt the range
forward.
E
D
12
Back of
range
Wallboard
Wood screw
Anti-Tip
device


