


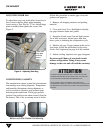
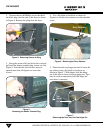

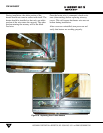

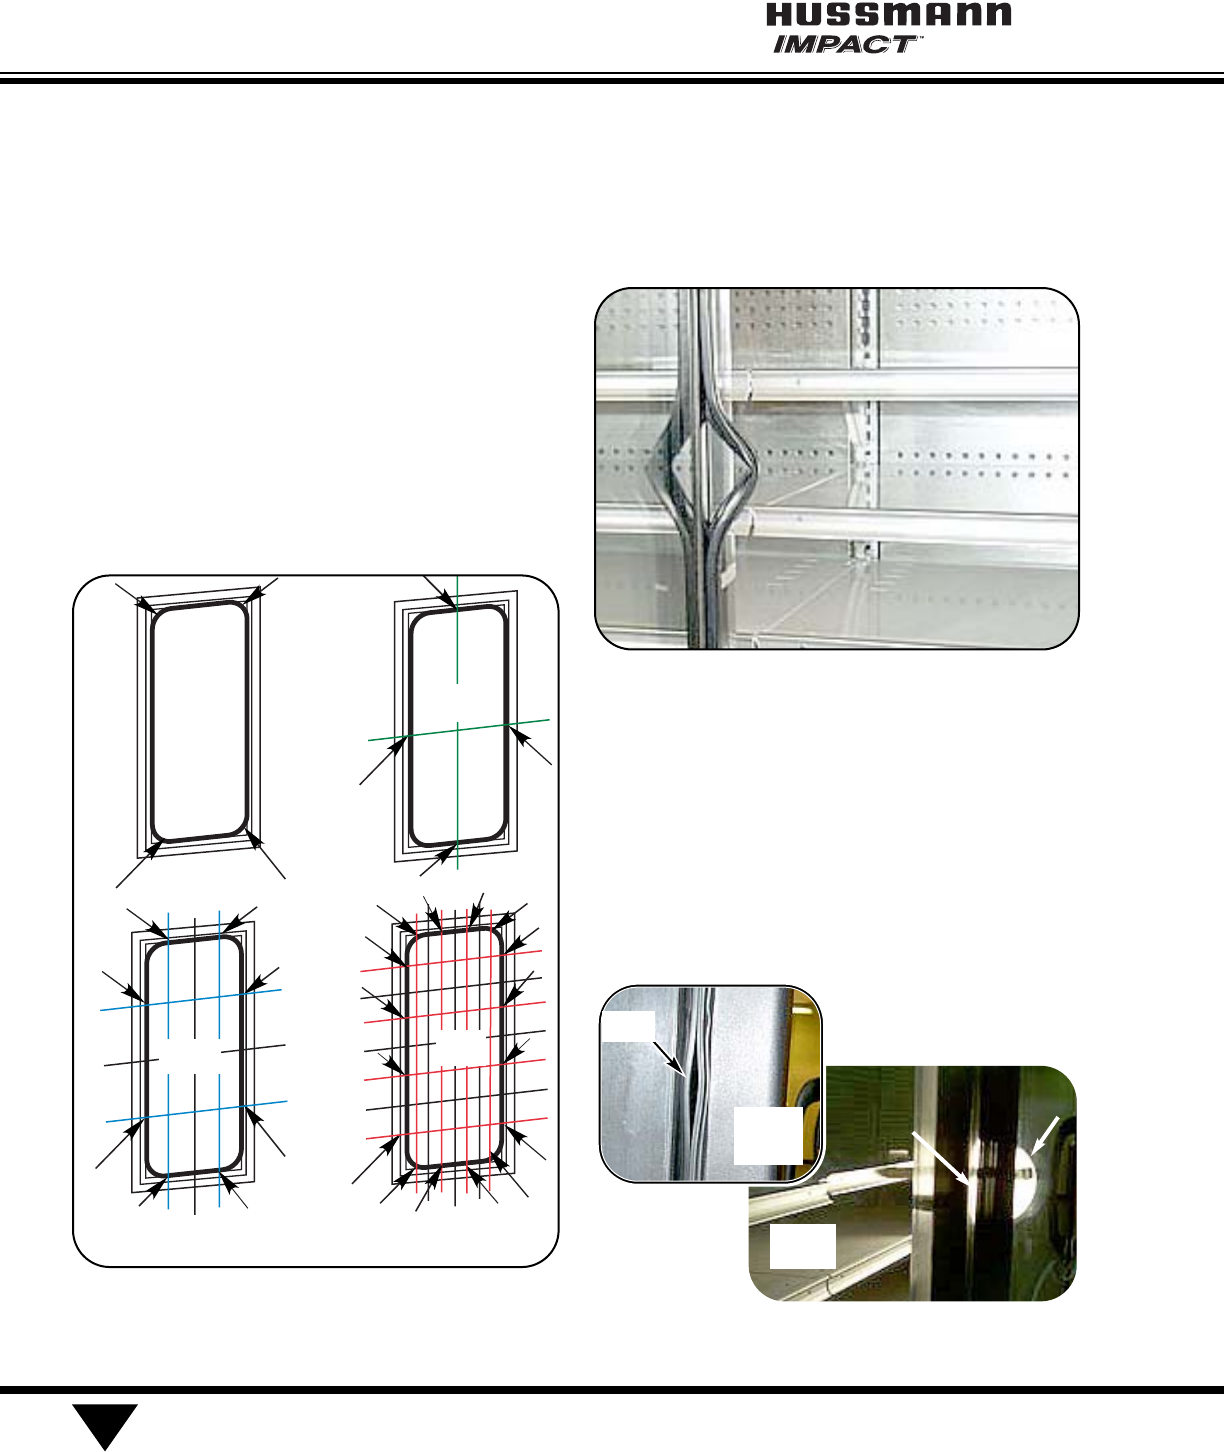
Work from the corners to the centers of each side,
top and bottom. Carefully push the new gasket
into the groove at each corner, refer to Figure
10(A). Then, push the gasket into the channel at the
center of the top, bottom and each side, Figure
10(B). Avoid stretching the gasket.
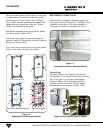
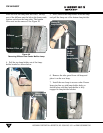
Sub-divide remaining areas and push the gasket
in at those points, Figure 10(C).
Sub-divide once again and repeat pushing the
gasket in until all of the gasket is evenly seated in
the groove, Figure 10(D).
Use a soft cloth or paper towels to dry the gasket
before closing door on clean door frame.
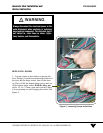
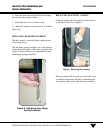
RESTORING GASKET SEAL
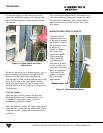
Occasionally, a crimped or damaged gasket can
cause gaps in the seal (Figure 11), leading to frost
formation on the doors. Use this procedure to
close gaps and end frost formation on doors.
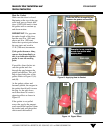
Locate Gaps
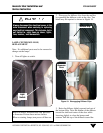
Normally, interior case lighting will provide
enough light to see gaps. In some cases, the only
way to see gaps is to provide a backlight as
shown in Figure 12(A). Backlight the door
mullion and look for places the light shines
between the door and gasket, Figure 12(B).
P/N 0425683F
®
6
HUSSMANN CORPORATION • BRIDGETON, MO 63044-2483 U.S.A. • WWW.HUSSMANN.COM
Corners first
Middle of Door
Sub-divide Middle Locations
Sub-divide again
Figure 10.
Sequence for Installing New Gasket
(A)
(B)
(C)
(D)
Figure 11.
Improperly Installed or Damaged Gasket
Figure 12. Back-Lighting Gaps in Gasket
Back-Light
Gap
(A)
(B)
Gap