INSTALLATION INSTRUCTIONS
Step 1: Prepare installation
Do not lift the oven by the door
handle.
Whilst every care is taken to eliminate
burrs and raw edges from this product,
please take care when handling - we
recommend the use of protective
gloves during installation.
Please note that all dimensions and
sizes given are nominal - some variation
is to be expected.
If the appliance is to be installed near
to a corner where the adjacent
cabinets run at right angles forward of
the appliance, there must be a gap of
at least 90mm between the appliance
and the cabinets, to prevent
overheating of the cabinets.
1. Remove the fixing screws from the
polythene bag on the top of the
appliance, but leave the appliance
in the base tray packaging until
you are ready to install it.
Note: When removing the appliance
from the base tray packaging care
should be taken to ensure the outer
frame trim is not damaged.
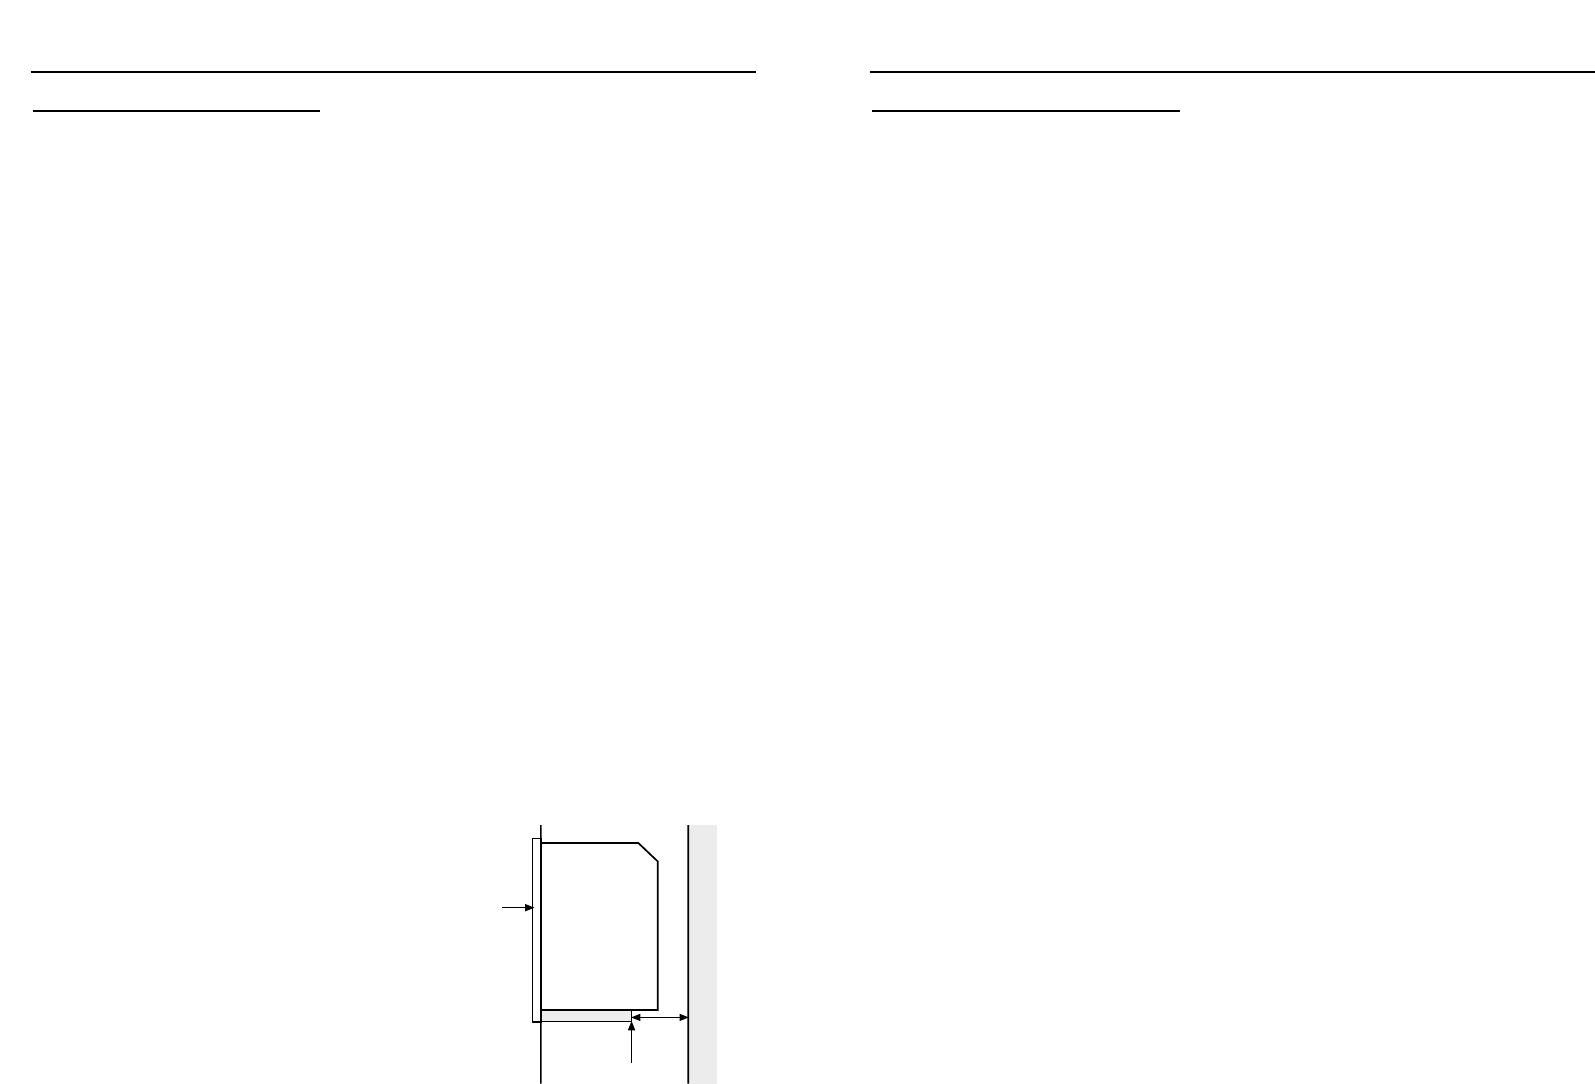
2. (i) When installed in a typical
600mm deep built in housing
unit, the false back should be
removed from the housing
unit, to provide the necessary
depth for installation.
(ii) When the false back is
removed, it is normally the
case that the support shelf for
the appliance leaves a gap
between the back edge and the
wall of approximately 80mm.
(iii) If no gap occurs between the
back edge of the shelf and
the wall behind the unit, we
recommend that a gap of at
least 30mm is made by short-
ening the shelf.
22
Front
of oven
Back edge of
support shelf
Rear Wall
30 - 80
mm
To replace an oven light bulb
Caution: Switch off the electricity
supply to the appliance at the socket,
to avoid the risk of electric shock.
Wait until the oven is cool, then
remove the oven shelves.
Main oven only - remove the loose
oven back - unscrew the 4 securing
screws (one at each corner).
Unscrew the lens cover (turn anticlock-
wise). Unscrew the bulb and replace.
Replace lens cover.
Main oven only - replace oven back.
Please note that the oven light bulb is
not covered by the guarantee.
Before using the appliance for
the first time, remove any protective
polythene film and wash the oven
shelves and furniture in hot soapy
water to remove their protective
covering of oil. Even so, when you
first switch on the oven or grill you
may notice a smell and some smoke.
Glass door panels
To meet the relevant standards of
Domestic cooking appliances, all the
glass panels on this appliance are
toughened to meet the fragmentation
requirements of BS 3193. This ensures
that, in the unlikely event that a panel
breaks, it does so into small fragments
to minimise the risk of injury.
Please take care when handling, using
or cleaning all glass panels as any
damage to the surfaces or edges may
result in the glass breaking without
warning or apparent cause at a later
date. Should any glass panel be
damaged, we strongly recommend
that it is replaced immediately.
Disposal of packaging
• All our packaging materials are
recyclable and environmentally
friendly.
• Please help us to protect our
environment by disposing of all
packaging in an environmentally
friendly manner.
• Please contact your local authority
for the nearest recycling centre.
Caution: Packaging materials can
pose a risk of suffocation - keep away
from children.
3
INTRODUCTION


