


5
• Do not open the oven door until cakes are baked in
order to avoid temperature drops which could stop the
baking process and cause cakes to sink.
• The maximum temperature available when using this
function is approximately 220°C. A very long time is
necessary in order to reach higher temperatures. If you
require higher temperatures, use position 2 (static
oven) or position 3 (ventilated oven).
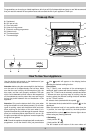
The red ON light of the oven (L)
This indicates that the oven is heating up. When the light
goes out, the required temperature has been reached.
When the light alternately comes on and goes out, it means
that the thermostat is working properly to maintain the
oven temperature.
Oven light
This comes on by turning the knob “G”. It illuminates the
oven and stays on whenever any electric heating element
of the oven is in use.
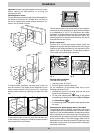
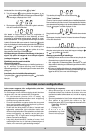
Oven handle
Important: the cooking steam leaves the oven from the
slots at the extreme right of the handle. Do not touch
this part of the handle.
For ovens with tubular handles, there is a special protective
device which is fitted during cooking to keep steam away
from the front of the cooker.
1
2
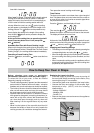
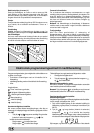
Forced Air Ventilation
In order to reduce the external temperature of the oven,
some models have been equipped with a cooling fan which
comes on when the "G" knob is turned to a cooking setting.
The fan remains on during the cooking process and a flow
of air can be heard exiting between the oven door and the
control panel.
Note: when cooking is over, the fan remains on for a few
minutes, in order to enable the oven to cool down quickly.
3rd glass-door
You can buy a special kit to reduce door temperature when
the oven is on and save energy. If there are little children
in the house, this kit is a must. The kit code number is
074657 and it may be purchased for installation from an
authorised dealer or a Technical Assistance Service centre
indicated in the list included with the appliance documents.
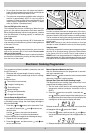
Electronic Cooking Programmer
The programmer makes it possible to preset the oven and
the grill in terms of:
• delay start with a preset length of time for cooking;
• immediate start with a preset length of time for cooking;
• timer.
Button functions:
: Timer with hour and minutes;
: Length of cooking time;
: End cooking time;
: Manual change;
: Change time (backwards);
: Change time (forwards).
How to Reset the Digital Clock
After the appliance has been connected to the power source
or following a power outage, the clock display will begin to
blink and read: 0:00
• Press the and buttons at the same time. Then
use (within 4 seconds) the and buttons to set
the exact time.
Use the button to move the time forwards.
Use the button to move the time backwards.
The time can also be changed in the following two ways:
1. Repeat all of the foregoing steps.
2. Press the button, and then use the and but-
tons to reset the time.
Manual Operation Mode for the Oven
After the time has been set, the programmer is automati-
cally set to manual mode.
Note: Press the button to return the oven to manual mode
after every "Automatic" cooking session.
Delayed Start Time with Preset Cooking Length
The length and the end cooking times must be set. Let us
suppose that the display shows 10:00.
1. Turn the oven control knob to the cooking setting and
temperature desired (example: convection oven at
200°C).
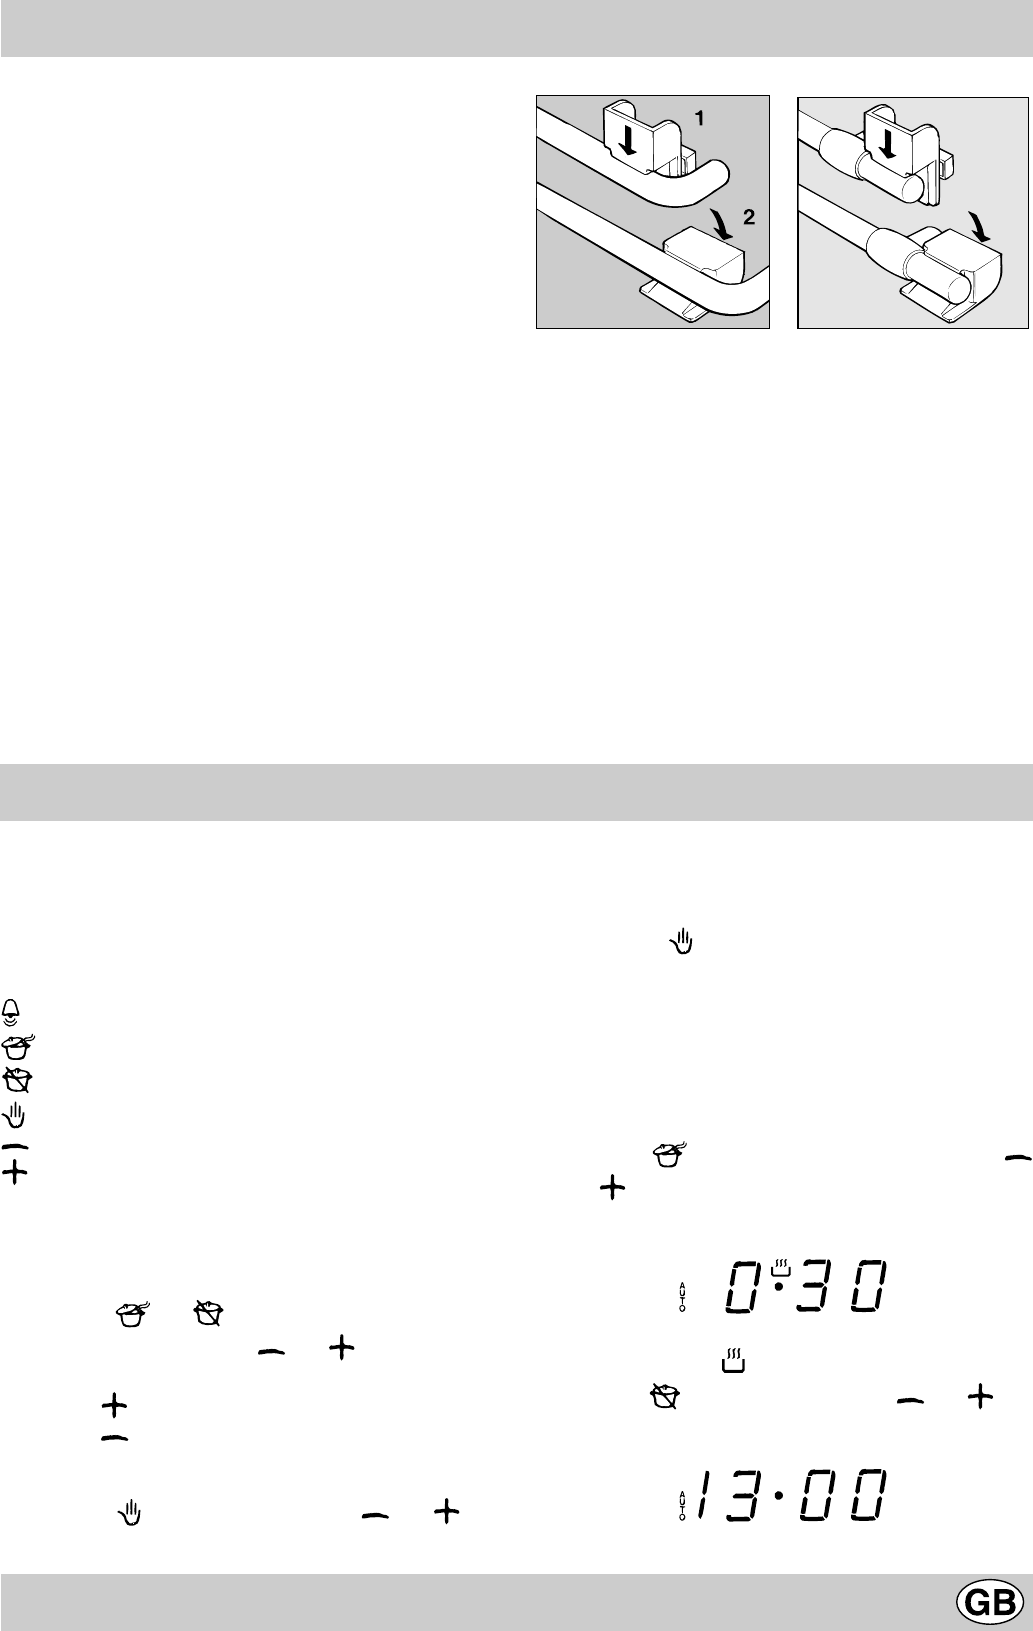
2. Press the and the use (within 4 seconds) the
and buttons to set the length of the cooking time. Let
us suppose that 30 minutes was set for the length of the
cooking time. In this case, the display will show:
Release the button, and within 4 seconds, the current time
will reappear with the symbol and "auto."
3. Press the button, and then use the and but-
tons to set the end cooking time. Let us suppose that it is
13:00
4. Release the button and the display will show the current