


6
The different functions and uses of the oven
The various functions included in the cooker are selected by
operating the control devices located on the cooker control panel.
Notice: The first time you use your appliance, we recom-
mend that you set the thermostat to the highest setting
and leave the oven on for about half an hour with nothing
in it, with the oven door shut. Then, open the oven door
and let the room air. The odour that is often detected dur-
ing this initial use is due to the evaporation of substances
used to protect the oven during storage and until it is in-
stalled.
Attention: Only use the bottom shelf of the oven when
using the rotisserie to cook (where present). For all other
types of cooking, never use the bottom shelf and never
place anything on the bottom of the oven when it is in
operation because this could damage the enamel. Always
place your cookware (dishes, aluminium foil, etc. etc.) on
the grate provided with the appliance inserted especially
along the oven guides.
Attention: to use the oven in manual mode without the
cooking control timer, match the indicator on the control
panel with the symbol on the timer knob.
Using the oven
When the oven control knob (G) is turned in a clockwise
direction to the symbol the fan and oven light will
come on to assist in the defrosting of frozen food. Rotating
further to the complete range of temperatures shown on
the dial you can choose which is most suitable for the
food you are going to cook. The temperature is reached
automatically and controlled by the oven thermostat (from
60°C to 240°C).
Note: Whilst using tag oven for conventional cooking knob
(O) must be set with “MAX” in line with the reference mark
on the control panel.
Grill
The top heating element will come on. On this setting,
food is cooked by the thermal radiation given off in the
downward direction by the electric heating element. The
very high temperature and direct heat of the grill make it
possible to brown meats on the surface while locking in
the juices to keep them tender.
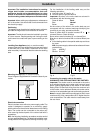
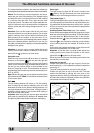
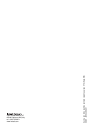
Important: when using the grill, the oven door must be left
partly open by positioning the deflector “D” between door
and panel to prevent the cooker knobs from overheating.
D
Oven Light
The light comes on when the "G" knob is turned to the
setting. The light illuminates the oven and remains
on when any of the heating elements is turned on.
Thermostat Light (L)
This light indicates that the oven is heating. When it turns
off, the temperature inside the oven has reached the set-
ting made with the thermostat knob. At this point, the light
will turn on and off as the oven maintains the temperature
at a constant level.
Cooking Control Timer Knob (only a few models)
Some models are equipped with a timer program to control
when the oven shuts off during cooking. To use this feature,
you must wind the "M" knob one full turn in the counter-
clockwise direction ; Then, turn the knob in the clockwise
direction , to set the time by matching up the indicator
on the control panel with the number of minutes on the
knob.
At the end of the programmed length of time, the timer will
sound and automatically turn off the oven.
Attention: to use the oven in manual mode without the
cooking control timer, match the indicator on the control
panel with the symbol on the timer knob.
When the oven is not in use, the cooking control timer can
be used like a normal timer.
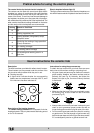
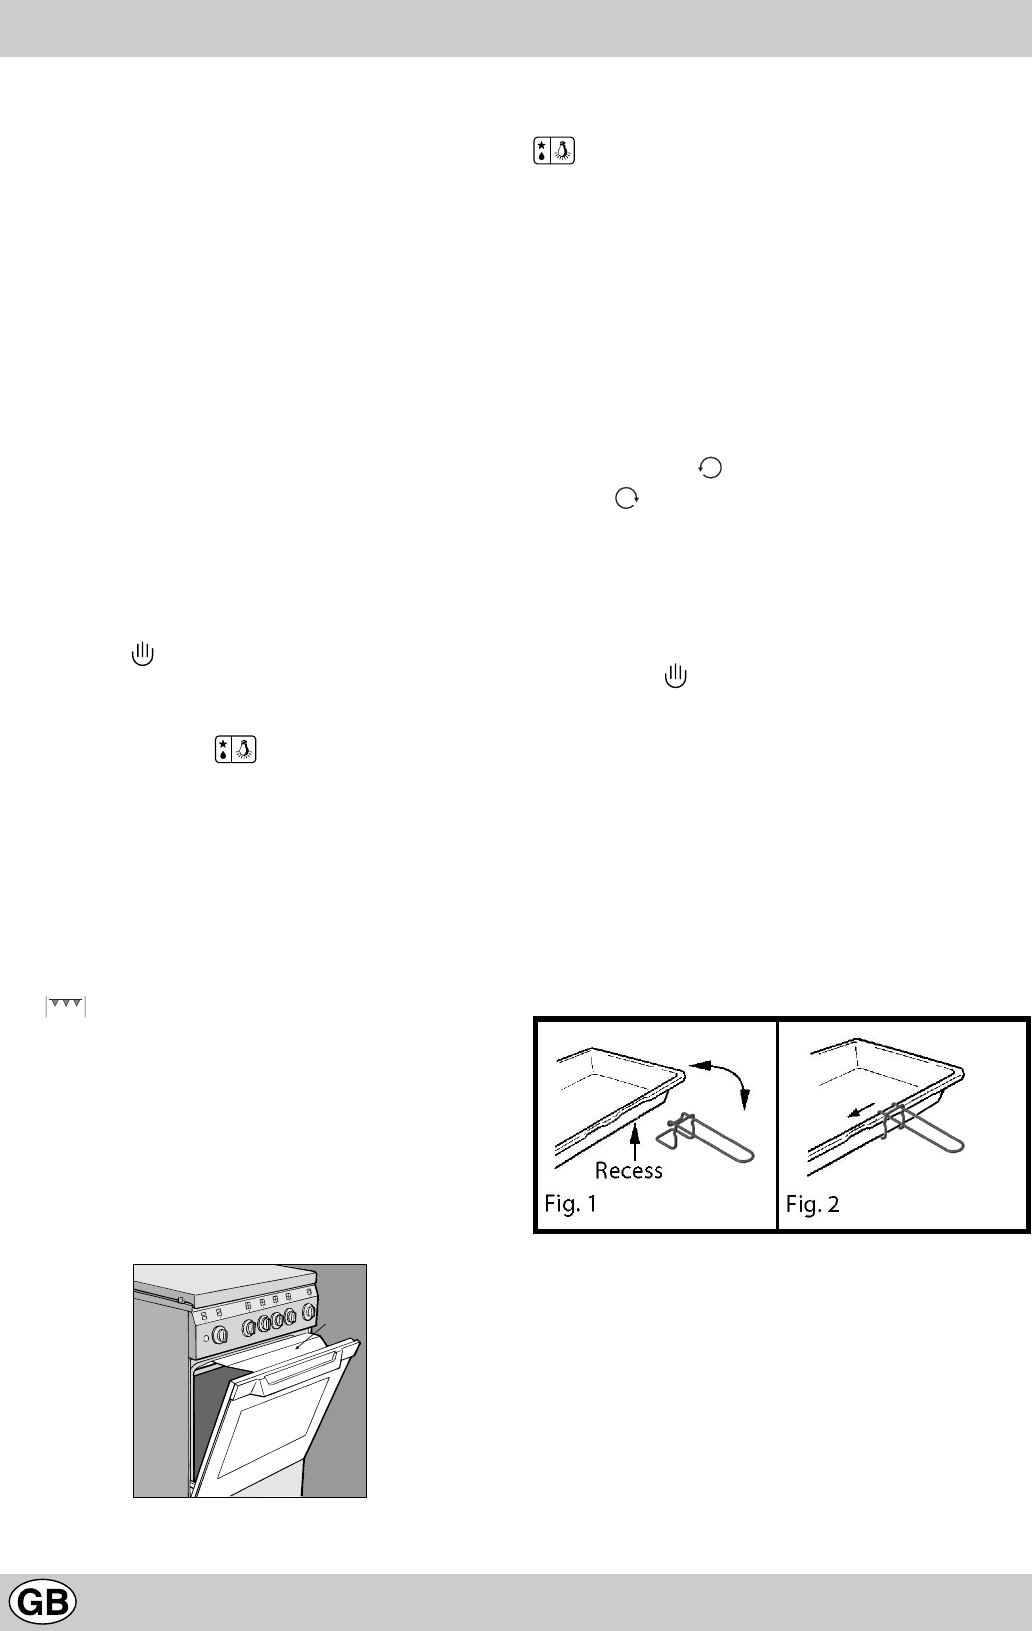
Using the grill pan kit
Position the handle on the grill pan so that it fits into the
small recess (fig. 1), tilt it upwards and slide it towards the
centre (fig. 2).
The food must be placed on the rack in the grill pan.
Position the grill pan on top of the oven rack. The best
results are achieved by placing the oven rack on the
uppermost shelves. Pouring a little water into the grill pan
will make the collection of grease particles more efficient
and prevent the formation of smoke.