9
with the burners on. Always turn off the gas and allow the
burners to cool before closing the cover. Failure to follow
these instructions may cause the glass cover to shatter.
Keep the cover open when using the oven.
Attention: before using the oven and grill for the first time,
turn the oven on for approximately one half hour. Make
sure that the oven is empty, the thermostat on high, the
door open, and the room properly ventilated. The odor
which can be detected at times is due to the evaporation
off the substances used to protect the oven and the grill
during the period between the time of production and
installation of the appliance.
Attention: Only use the bottom shelf of the oven when
using the rotisserie to cook (where present). For all other
types of cooking, never use the bottom shelf and never
place anything on the bottom of the oven when it is in
operation because this could damage the enamel. Always
place your cookware (dishes, aluminium foil, etc. etc.) on
the grate provided with the appliance inserted especially
along the oven guides.
Attention: to use the oven in manual mode without the
cooking control timer, match the indicator on the control
panel with the symbol on the timer knob.
Using the oven
When the oven control knob (M) is turned in a clockwise
direction to the symbol the fan and oven light will
come on to assist in the defrosting of frozen food. Rotating
further to the complete range of temperatures shown on
the dial you can choose which is most suitable for the
food you are going to cook. The temperature is reached
automatically and controlled by the oven thermostat (from
50°C to 240°C).
Note: Whilst using tag oven for conventional cooking knob
(O) must be set with “MAX” in line with the reference mark
on the control panel.
Grill
The top centre heating element will come on and the
rotisserie motor (if present) will be activated. On this
setting, food is cooked by the thermal radiation given off
in the downward direction by the electric heating element.
The very high temperature and direct heat of the grill
make it possible to brown meats on the surface while
locking in the juices to keep them tender.
Double Grill
Both of the top heating elements turn on and the rotisserie
motor (if present) is activated.
This over-sized grill has a completely new design, which
is the reason why cooking efficiency has increased by
50%. In addition, the double grill eliminates heat gaps in
the corners of the oven.
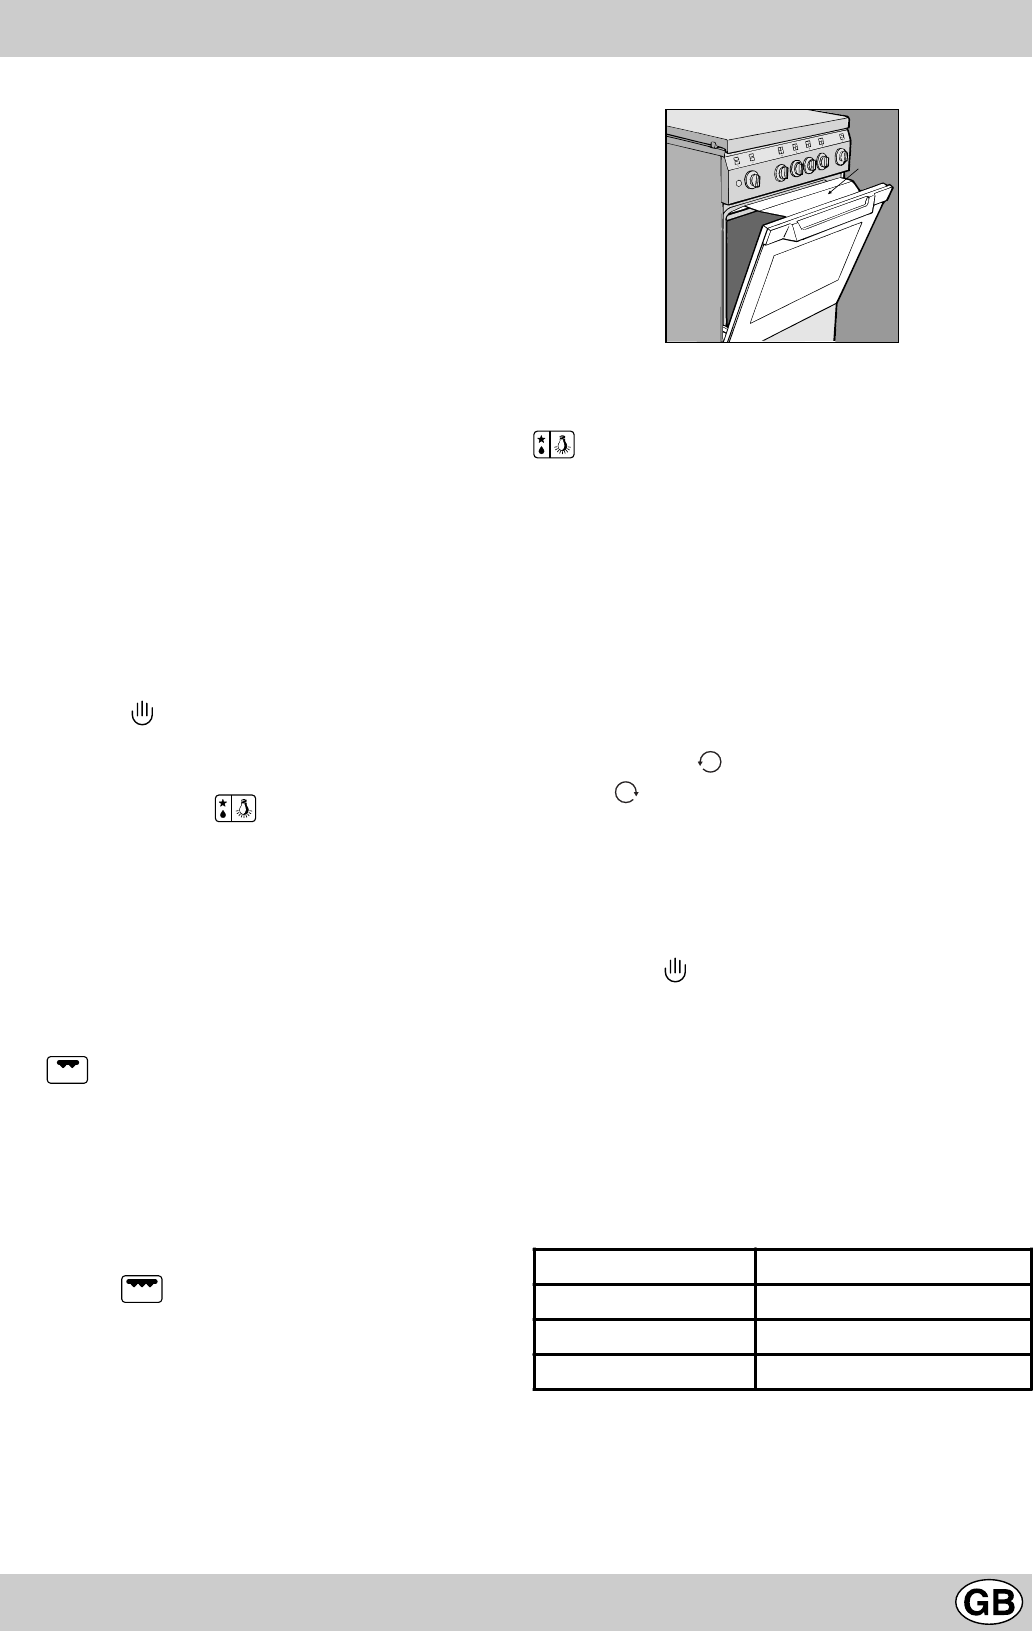
Important: when using the grill, the oven door must be
left partly open by positioning the deflector “D” between
door and panel to prevent the cooker knobs from
overheating.
D
Oven Light
The light comes on when the "M" knob is turned to the
setting. The light illuminates the oven and remains
on when any of the heating elements is turned on.
Thermostat Light (I)
This light indicates that the oven is heating. When it turns
off, the temperature inside the oven has reached the set-
ting made with the thermostat knob. At this point, the light
will turn on and off as the oven maintains the temperature
at a constant level.
Cooking Control Timer Knob
Some models are equipped with a timer program to control
when the oven shuts off during cooking. To use this feature,
you must wind the "P" knob one full turn in the counter-
clockwise direction ; Then, turn the knob in the clockwise
direction , to set the time by matching up the indicator
on the control panel with the number of minutes on the
knob.
At the end of the programmed length of time, the timer will
sound and automatically turn off the oven.
Attention: to use the oven in manual mode without the
cooking control timer, match the indicator on the control
panel with the symbol on the timer knob.
When the oven is not in use, the cooking control timer can
be used like a normal timer.
Practical advice for burner use
In order to get the maximum yield it is important to
remember the following:
· Use appropriate cookware for each burner (see table)
so as to avoid flames overshooting the edges.
· At boiling point turn the knob to minimum.
· Use cookware with lids.
· Always use cookware with flat bottoms.
Burner ø Cookware diameter (cm)
Fast (R) 24 - 26
Semi Fast (S) 16 - 20
Auxiliary (A) 10 - 14
N.B. On the models supplied with a reducer shelf,
remember that this should be used only for the auxiliary
burner when you use casserole dishes with a diameter
under 12 cm.


