9
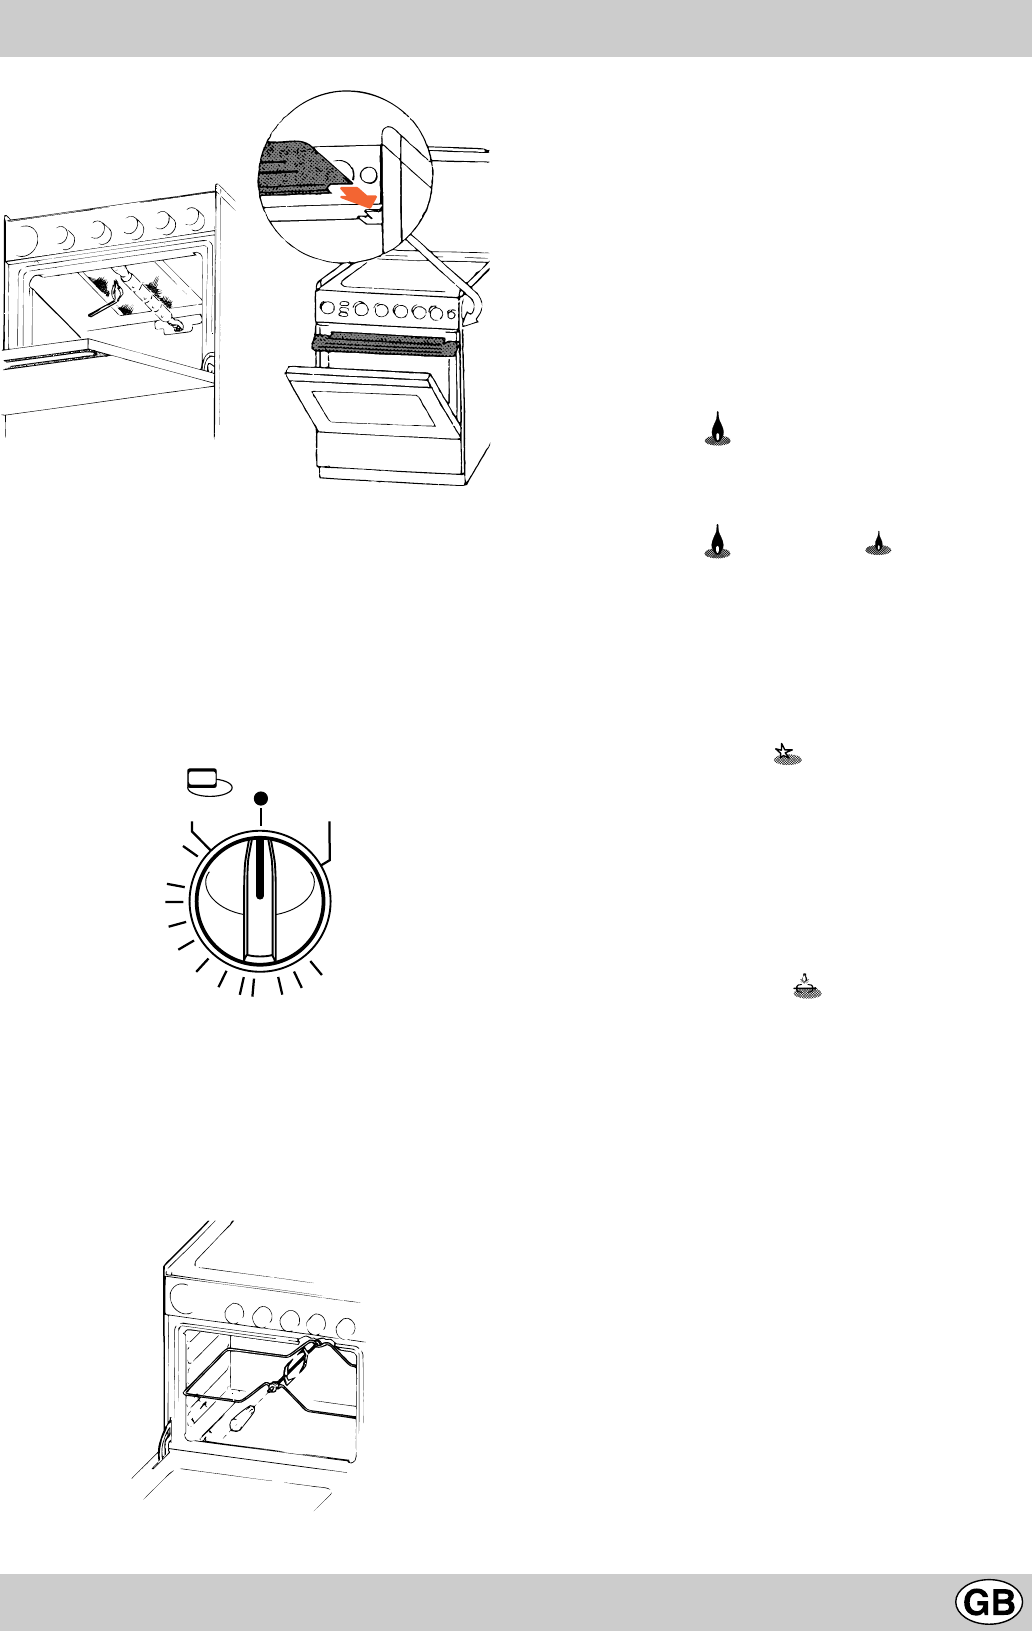
Fig. H Fig. I
The guard plate gets hot when the grill is in use. Remove
it with care, using an oven glove or similar, and put it away
carefully in a safe place. The guard plate must be removed
before attempting to fully close the oven door.
Caution: To operate the Grill Pan use the proper handle
as shown in figure. When you are using the grill or the
oven, some parts of the door can become very hot. Keep
children away from these.
1/4
OVEN GRILL
1/2
1
3
59
h
7
GAS OVEN
Use of rotisserie
Switch on grill as previously explained. Place food on spit
and secure with the special forks. Spread the weight
equally so as to avoid unnecessary strain on the motor.
Place the end of the spit in the motor hole and hang it on
the sliding support located on the oven guides. Unscrew
the plastic handle and switch on motor. Always keep the
door half open.
Hob
Check that CUT-OFF Gas Control (only on certain models)
is in the ON position.
Warning: You are reminded that although this appliance
has a gas shut off device for when the lid is lowered,
residual heat of the burners could demage the lid.
Therefore do not lower the lid until the cooking surface
has cooled down.
The control knobs for the cook-top gas burners (6)
The position of the gas burner controlled by each one of
the knobs is shown by a solid ring. To light one of the
burners, hold a lighted match or lighter near the burner.
Push and turn the corresponding knob counter clockwise
till to max position . Each burner can be operated at
its maximum, minimum or intermediate power. Show on
the knob are the different symbols for off • and it is in this
position when the symbol corresponds with the reference
mark for maximum and minimum . To obtain these
settings, turn the knob counter clockwise with respect to
the off position. To turn off the burner, turn the knob
clockwise until it stops (corresponding again with the
symbol •).
Gas cook-top electronic ignition (2) (only a few
models)
This device operates when a sliht pressure is applied on
the botton “2” marked with . To light a specific burner
just press the button labeled “2” while pushing the
corresponding knob all the way in and turning it counter-
clockwise until it lights. For immediate lighting, first press
the button and then turn the knob.
Important: should the burner flames accidentally go
out, turn off the control knob and wait at least 1 minute
before trying to re-light.
Oven light button (4)
This is marked by the symbol and switchs on the light
inside the oven so that you can control the cooking without
opening the door.
The timer knob (1)
To use the timer the ringer must be wound up by turning
the knob one full turn clockwise; then turn it back to the
desired time so that the number of minutes on the knob
matches the reference mark on the panel.
3rd glass-door
You can buy a special kit to reduce door temperature when
the oven is on and save energy. If there are little children
in the house, this kit is a must. The kit code number is
039888 or 039104 (for traditional models with plate-metal
door) and it may be purchased for installation from an
authorised dealer or a Technical Assistance Service centre
indicated in the list included with the appliance documents.
Practical advice for using the burners
In order to obtain the best performance keep in mind the
following:
• Use the appropriate cookware for each burner (see
table) so that the flames do not emerge from beneath
the bottom of the container.
• Only flat bottom containers should be used.


