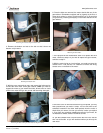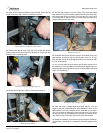
11. Once the wire nuts are removed, separate the wires.
12. With the flathead screwdriver and the hammer, loosen the con-
duit nut. Once loosened, pull the conduit away from the motor. The
motor may now be disposed of.
13. Remove the access cover off of the new motor.
14. Attach the conduit and pull the wires through the hole provid-
ed. Tighten the conduit nut.
15. Using the wire nuts, wire the motor back the same way the old
one had been. Refer to the schematic on the motor itself or contact
Jackson Technical Service if you any questions.
16. Once the wiring is done, carefully push wires back into the
motor and put the access cover back on. Tighten down the screws
for securing it.
17. The drive motor now needs to be reattached to the gear reduc-
er. There are two methods for doing this. The first is to try and and
reinsert the drive motor shaft into the gear reducer with it (gear
reducer) still attached to the unit. This is difficult but possible.
Ensure that the key is in the keyway when you mate the parts. The
second method and perhaps the easiest is to remove the gear
reducer, mate the two parts and bolt them together and then put
them on the unit at one time. This method takes a little more time.
If you wish to remove the gear reducer and assemble the two com-
ponents continue on to step 27.
18. Once the motor and gear reducer are mated, secure them with
the locknuts and bolts. Ensure the bolts are tight.
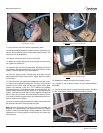
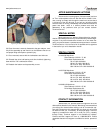
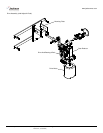
Note: Because of the way the covers for the drive assembly are
designed, it is imperative that you position the motor on the gear
reducer so that the conduit fitting is facing towards the front of the
dishmachine. If it is facing away from the machine, the covers may
not go back on.
19. Reattach the bottom and top drive assembly covers.
20. Proceed to the sections entitled “AFTER MAINTENANCE
ACTIONS”.
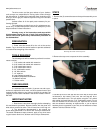
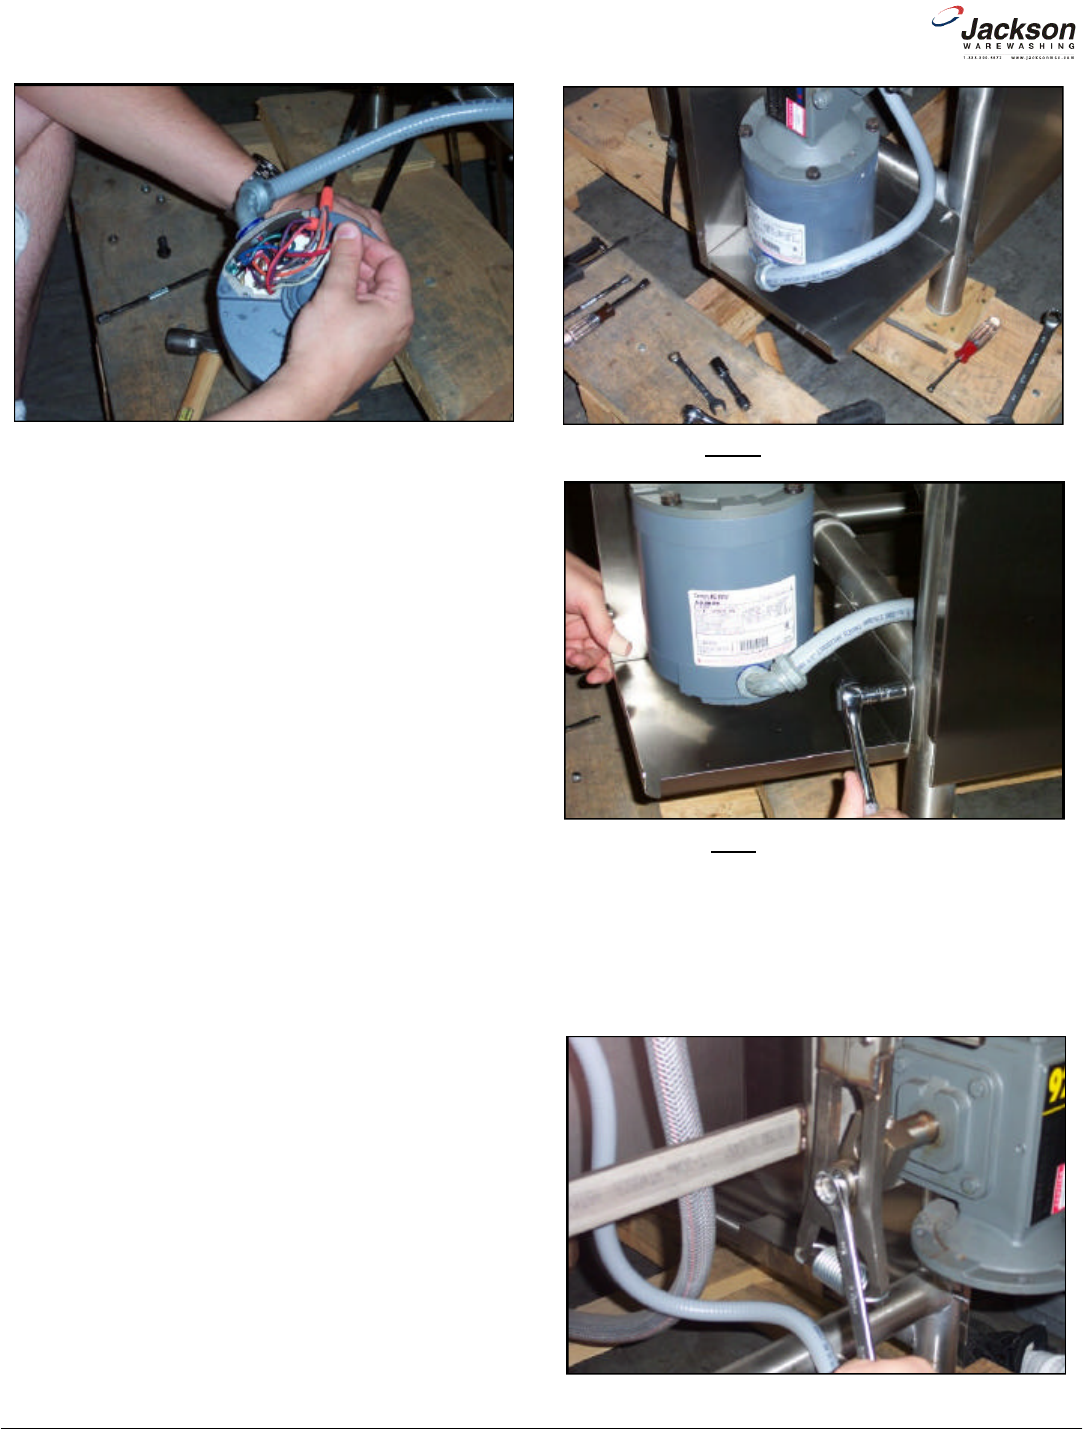
21. (Continuing from step 7) To remove the gear reducer, first take
the 3/4” combination wrench and remove the drive hub bolt.
www.jacksonmsc.com
Rack Conveyor Drive Motor and Gear Reducer Replacement Instructions
Revision A (07/05/2005)
4
Removing the wire nuts.
The WRONG way to mount the drive motor.
The Correctway to mount the drive motor.
Removing the drive hub bolt.


