JP-24 Technical Manual 7610-002-49-79 Rev. D
Issued: 03-06-2006 Revised: N/A
SECTION 5: SERVICE PROCEDURES
RINSE REGULATING THERMOSTAT REPLACEMENT
28
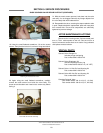
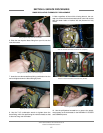
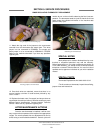
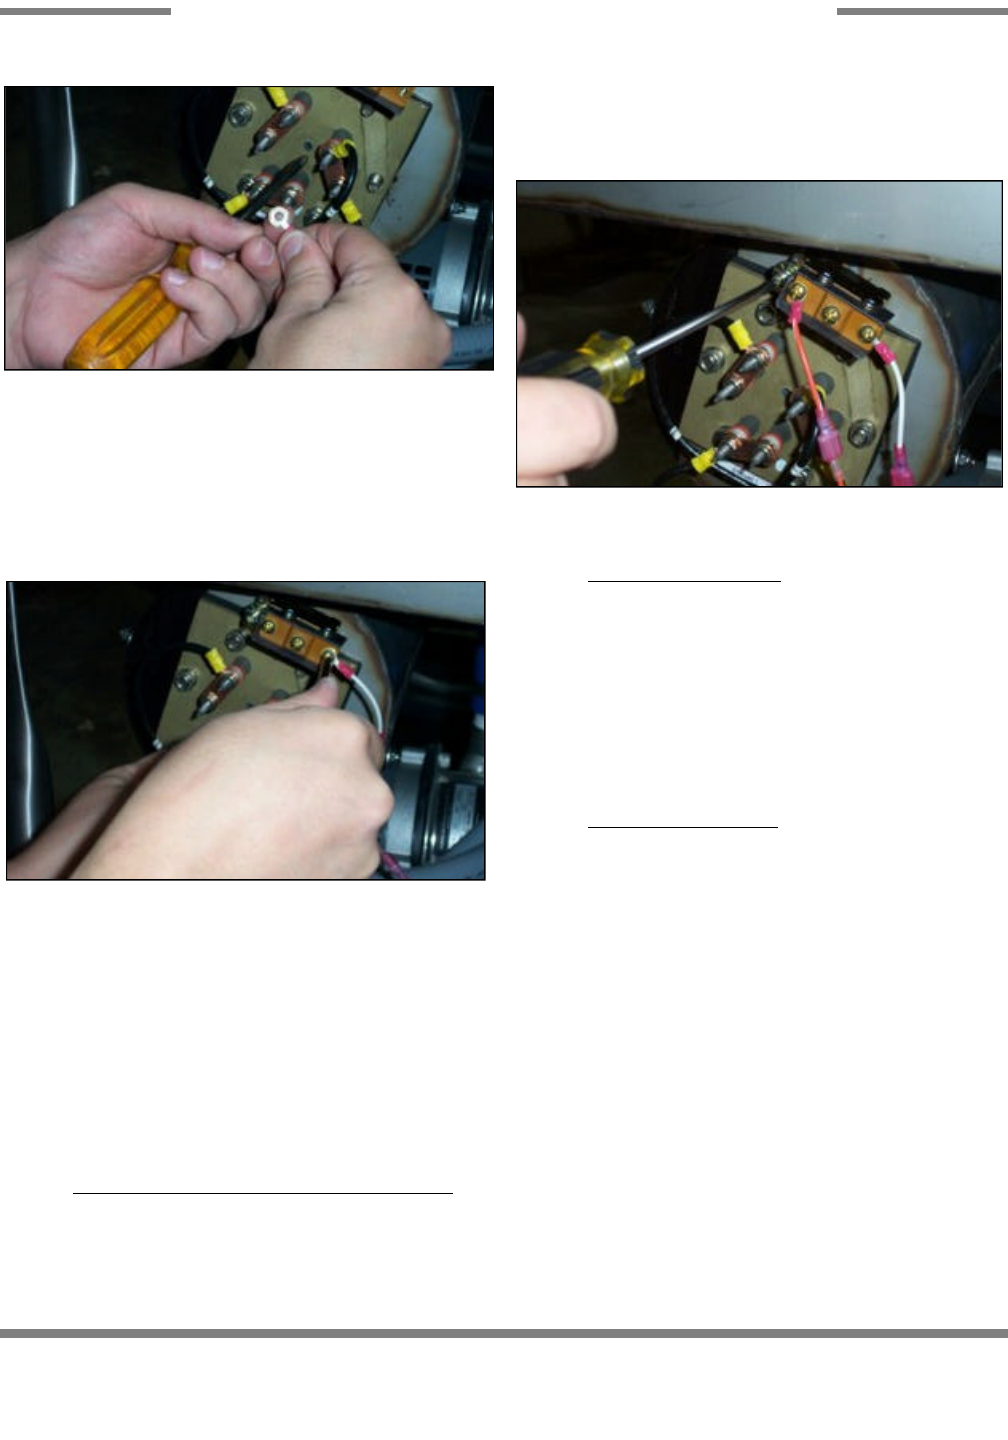
11. Attach the ring ends of the jumpers to the cups/screws
removed from the thermostat and attach them. The white
jumper is to be connected to COMMON. The orange and
white jumper is to be connected to NORMALLY CLOSED.
Refer to your machine schematic if you have any questions
regarding this.
12. Once both wires are attached, ensure that there is no
excess hanging out where it could become pinched by any
cover or such.
13. Replace the heater nuts (if removed) and torque down as
required per the technical manual. Different models may have
different torque specifications. Contact Jackson Technical
Service if there are any questions regarding this.
AFTER MAINTENANCE ACTIONS
Once the new thermostat is installed, it will be nece-
sary to ensure that it operates at the required and appropriate
ranges. The new thermostat has an adjustment that can be
turned using a small flathead screwdriver. Several cycles will
need to be run on the unit while observing the final rinse tem-
perature. The thermostat needs to cycle so that the final rinse
water meets the indicated minimums on the machine data
plate for every cycle.
SPECIAL NOTES
Work performed on Jackson dishmachines by unau-
thorized or unqualified personnel may void the warranty.
Before beginning this or any other maintenance evolution on
a unit under warranty, you should contact a certified Jackson
technician or Jackson Technical Service. You can find a list of
qualified service agencies in the back of you unit’s installation
manual.
SPECIAL PARTS
Thermostat Replacement Kit: 06401-003-13-94*
*The kit contains a thermostat, imperial brass fitting,
jumper wires and instructions.
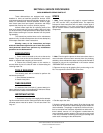
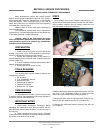
Calibrating the new thermostat.
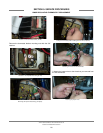
Securing jumpers to the thermostat.
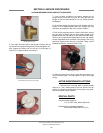
Fitting the jumper into the mounting cup.


