


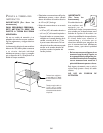
1
Read these instructions completely
and carefully.
IMPORTANT:
• Save these instructions for the local
electrical inspector’s use.
• OBSERVE ALL GOVERNING
CODES AND ORDINANCES.
NO TES:
TO INSTALLER:
• Leave these instructions with the
appliance after installation is com-
pleted.
TO CONSUMER:
• Keep the User Guide and Installa-
tion Instructions for future use.
• This appliance must be properly
grounded.
• Insure that the power cord does not
contact the hot surfaces on the bot-
tom of ovens, cooktops, or any other
appliance.
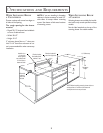
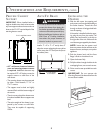
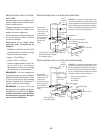
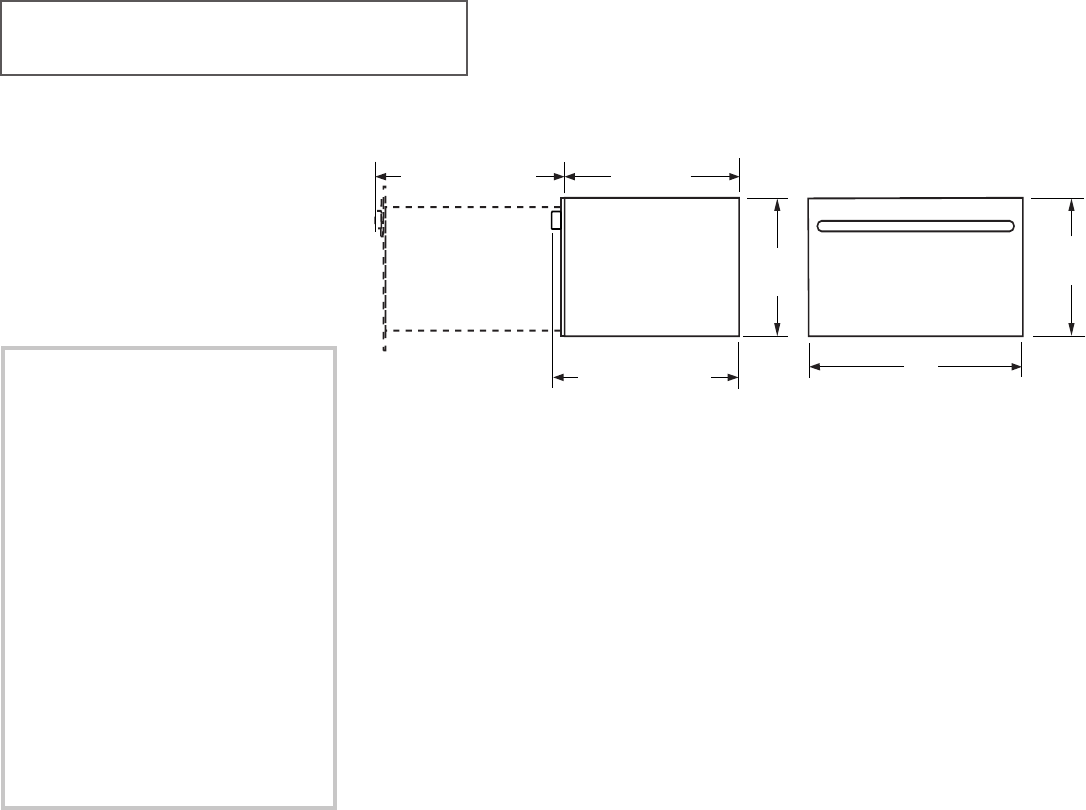
PRODUCT DIMENSIONS
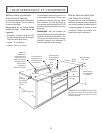
TOOLS & MATERIALS
NEEDED
• 2" x 4" or 2" x 2" lumber for runners and
brace
• Wood screws and adhesive or other
hardware for installing runners or shelf
to support warmer drawer
• Runners must be level, rigidly mounted
and capable of supporting 150 pounds.
• Saw
• Level
• Drill and 1/16" bit
• Phillips screwdriver
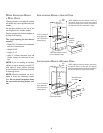
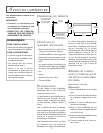
PLANNING
The warming drawer may be installed di-
rectly into a wall or wall oven cabinetry.
The warming drawer may be installed be-
low a countertop, a single, combo or double
oven or side by side using 2 drawers.
When installing the warming drawer with
a cooktop allow a 2" minimum from bot-
tom of a cooktop burner box to top of
cutout.
A 2" minimum clearance between oven and
warming drawer cutouts is required.
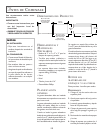
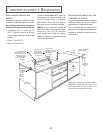
REMOVE PACKAGING
AND
PARTS
Parts provided: 4 Wood screws
UNPACKING
1.Place carton on a flat surface.
2.Open the top of the carton and lift off the
cardboard spacer.
3.Lift the warming drawer up and out of the
carton.
4.Place the drawer on top of the cardboard
to protect the drawer and the finished
flooring.
5.Remove all packing materials and tape.
6.Locate package containing 4 wood screws
and set aside.
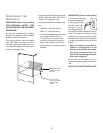
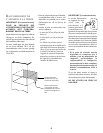
The electrical power cord is located on the
right side of the warming drawer. Locate
the outlet within reach of the 56" long
power cord in adjacent cabinet, within 42"
of the right side or 16" from the left side of
the cutout. A recessed receptacle can be
installed on the right side of the cutout, 7"
maximum from the back of the cabinet.
30"
10
1
/
2
"
23
1
/
4
"
27
7
/
16
" ProStyle Front
25
1
/
4
" Curved Front
9"
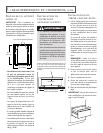
BEFORE YOU BEGIN
27
7
/
16
" ProStyle Front
25
1
/
4
" Curved Front
Including handle