21
More Options
Cook & Hold (select models)
1. Press the More Options pad.
2. Select COOK/HOLD.
5. The display will show CONVECT DELAY, the selected function,
the preset temperature and the delay time countdown. When
the delay time has expired, the cook time will be displayed and
the oven will begin to preheat.
To set Delay Clean:
1. Follow “Delay” steps 1-4 (see below left).
2. REMOVE RACKS will show in the display. Remove the racks
from the oven and select CONTINUE.
3. Set LIGHT soil level by entering 200 using the number pads
for two hours of cleaning time. Select MEDIUM or HEAVY
soil level using the Quickset pads. There is a brief delay while
the door locks.
4. DELAY CLEAN, the cleaning time, the delay time and unlock
time (based on the selected soil level) will show in the display.
When the delay time has expired, the clean time will be
displayed and the oven will begin to preheat.
For more information on self-cleaning, see page 5.
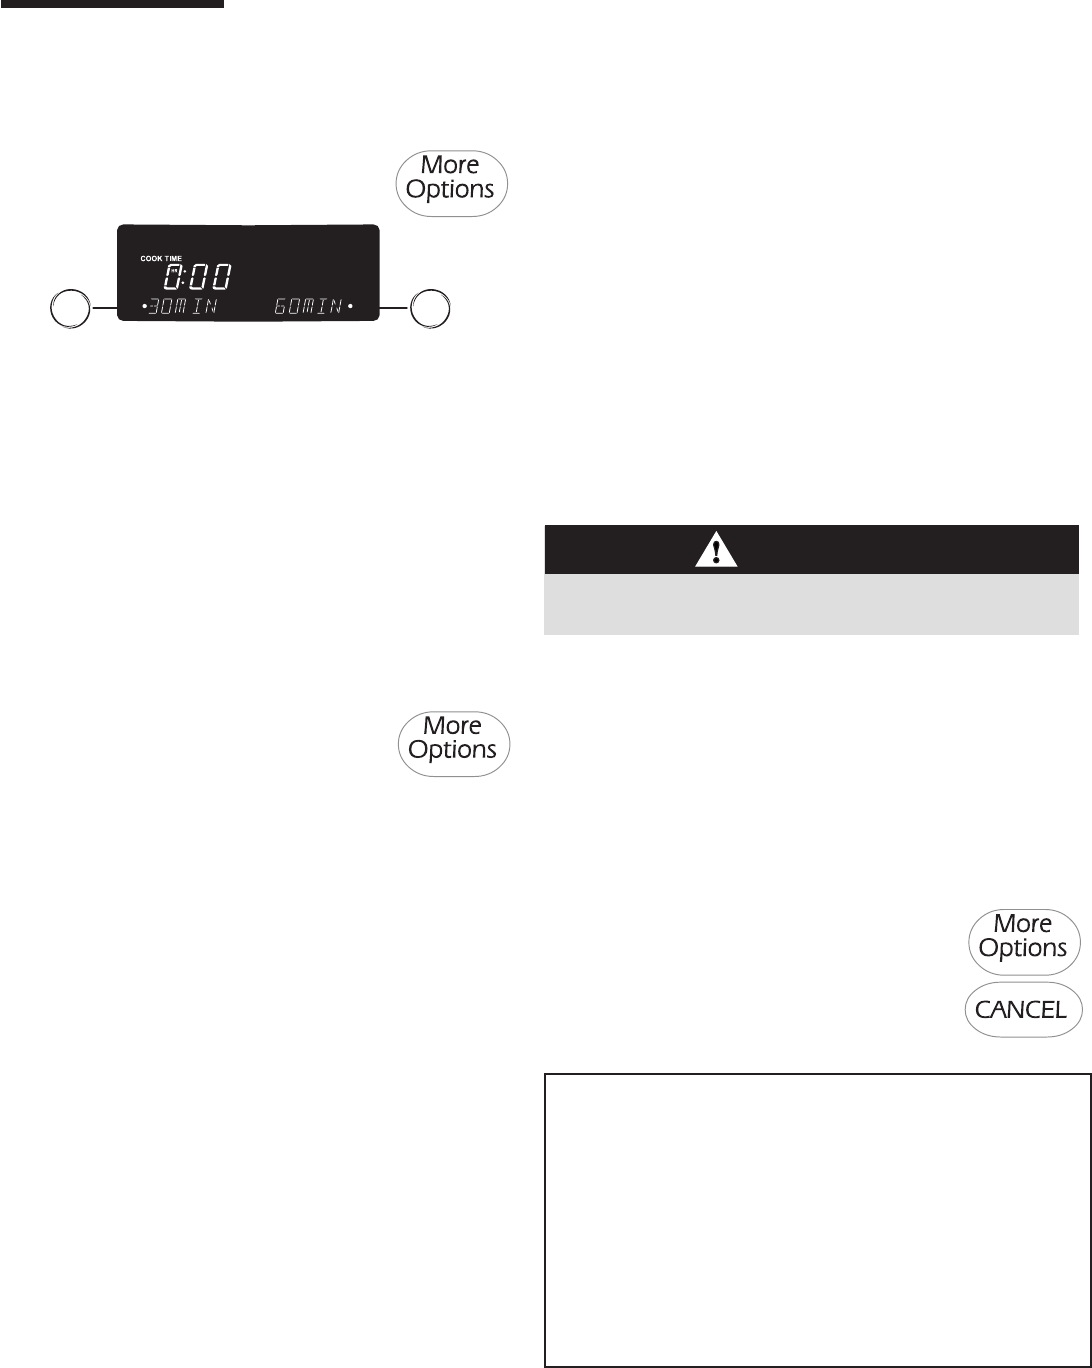
3. Enter cook time using Quickset pads or the number pads.
4. Select BAKE or CONVECT.
5. When BAKE is pressed, select the temperature using
Quickset pads or the number pads.
6. When CONVECT is pressed, select CNVT BAKE, CNVT
ROAST or CNVT PASTRY, then select the desired
temperature using the Quickset pads or the number pads.
The oven will cook for the selected time, then Keep Warm for
one hour. The oven will automatically turn off.
Important: If the recipe recommends preheating the oven,
add 15 minutes to the cook time.
Delay
1. Press the More Options pad.
2. Press the arrow until DELAY is displayed.
3. Select DELAY.
4. Select Delay time using Quickset pads or the number
pads.
5. Select BAKE, CONVECT or CLEAN, then select
temperature using the Quickset or number pads.
To set Delay Bake:
1. Follow “Delay” steps 1-4 (see above).
2. Select from the displayed temperatures or use the number
pads to enter the temperature.
3. Select the time to cook from the displayed times or use the
number pads to enter the cooking time.
4. The display will show DELAY TIME, the selected function,
the preset temperature and the delay time countdown.
When the delay time has expired, the cook time will be
displayed and the oven will begin to preheat.
To set Delay Convect: (select models)
1. Follow “Delay” steps 1-4 (see above).
2. Select BAKE, ROAST or PASTRY.
3. Select from the displayed temperatures or use the number
pads to enter the temperature.
4. Select the time to cook from the displayed times or use the
number pads to enter the cooking time.
Notes:
• For any dough that requires one rise, either Standard or
Rapid Proofing can be used.
• When using frozen bread dough, choose RAPID PROOFING.
There is no need to thaw dough before proofing.
• For dough requiring two rises, Standard Proofing must be
used for the first rising period. Either Standard or Rapid
Proofing can be used for the second rise.
• If oven temperature is too high for proofing, OVEN COOLING
will appear in the display.
Proofing (select models)
The Proofing feature can be used to raise yeast-based bread
products prior to baking. There are two proofing methods
available – Rapid and Standard.
Standard proofing in the oven protects dough from room
temperature changes or drafts that commonly affect proofing
done on the countertop.
Rapid proofing provides faster proofing results than countertop
or Standard proofing, without harming the yeast.
1. Press More Options pad.
2. Select PROOFING.
3. Select RAPID or STANDARD.
4. When proofing is complete, remove the
dough from the oven and press the CANCEL pad.
CAUTION
Do not use delayed baking for highly perishable foods such as
dairy products, pork, poultry, or seafood.
OPTIONS


