13
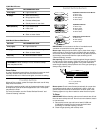
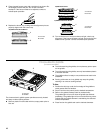
Control Panel
The control panel houses the control menu and function controls.
The control pads are very sensitive, and require only a light touch
to activate.
For more information about the individual controls, see their
respective sections in this manual.
Welcome Guide
This appears on the display the first time the oven is powered up.
The Welcome Guide allows you to set up your new oven.
1. Select the language by touching English or Français.
2. Select temperature degree units by touching Fahrenheit or
Celsius.
3. Select YES or NO for Daylight Savings - Time Observed.
4. Touch NEXT.
5. Select clock units by touching AM/PM or 24-HOUR (military).
6. Touch ANALOG or DIGITAL for clock style.
7. Touch NEXT.
8. Enter current clock time using the on-screen number
keyboard.
9. Touch NEXT.
10. Select today’s date by using the on-screen number keyboard
and use the buttons “<“ and “>” to enter the month and year.
11. Select NEXT.
12. Select a screen appearance to match your oven.
13. Select DONE. This will save your adjustments.
14. See “Setup Menu” section for more detailed information.
Display
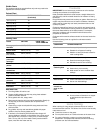
When the oven (s) are in use (active mode), the display shows the
clock, mode, oven temperature and timer, if set. If the timer is not
set, you can set it from this screen.
After approximately 2 minutes of inactivity, the display will go into
standby (sleep) mode and the backlight of the display will dim.
When the oven is in operation, the display will remain active.
During programming, the display shows menus and the
appropriate selections for the respective cooking function.
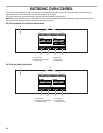
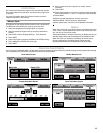
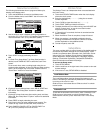
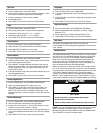
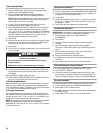
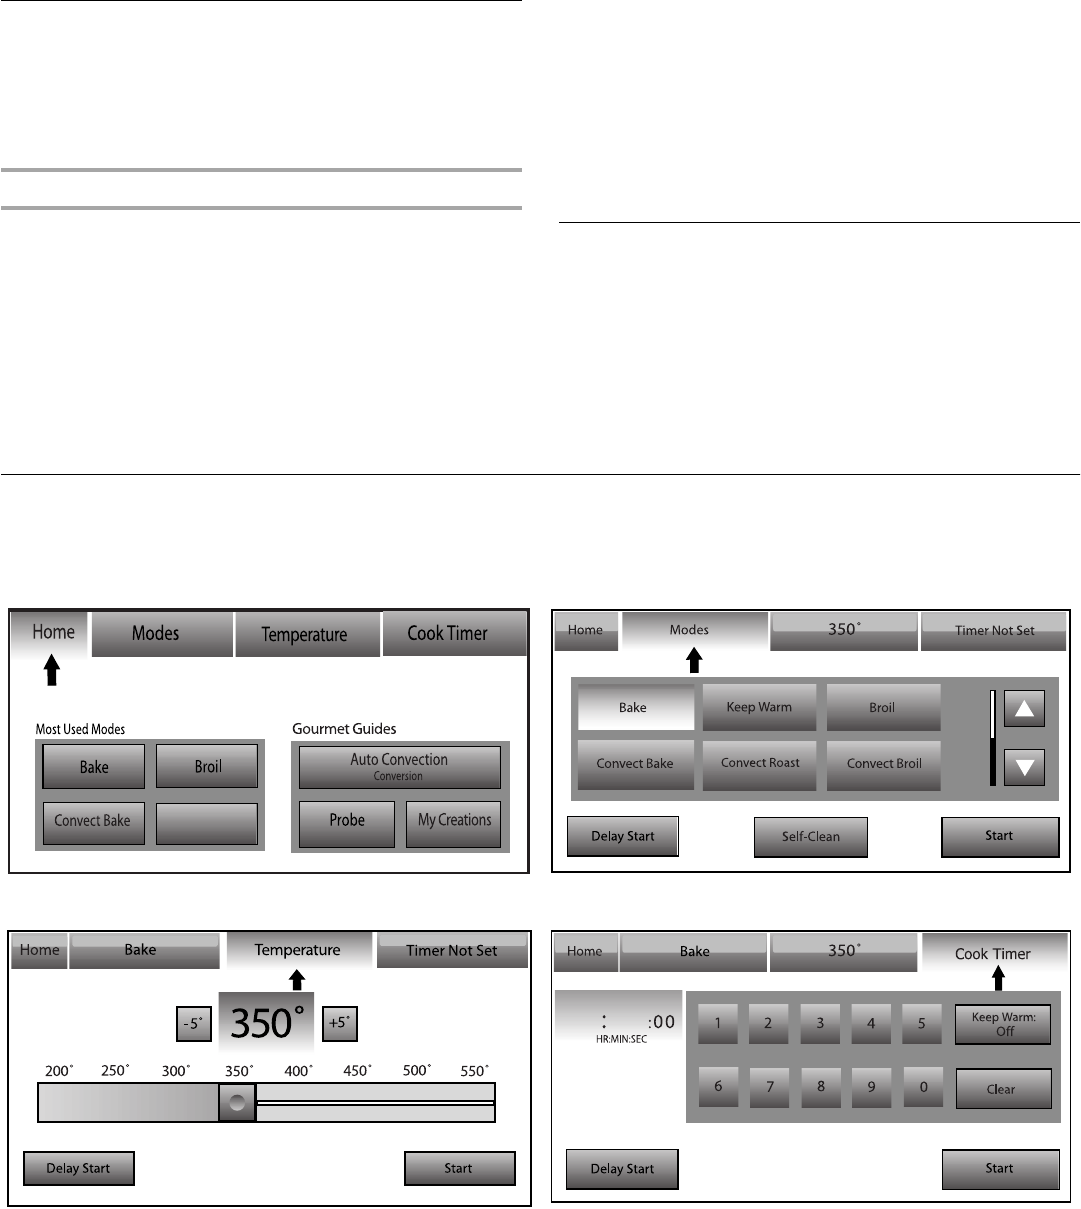
Interactive Touch Display
From the Home and Modes Menu, all automatic cooking programs can be activated; all manual cooking can be programmed; settings
can be adjusted; and instructions, preparation and tips can be accessed.
Home Menu Screen Modes Menu Screen
Temperature Menu Screen Cook Time Menu Screen
Keep Warm
-
-
-
-


