


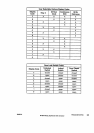
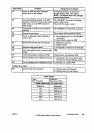
SECTION 2. COMPONENT ACCESS
The following are instructions to access,
repair and replace components of the slide-in
range.
The unit is more accessible if it is removed
from the installed position before servicing
procedures begin.
-- IMPORTANT
I
DISCONNECT FROM POWER SOURCE [
BEFORE SERVICING APPLIANCE.
I
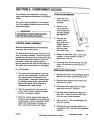
CONTROL PANEL ASSEMBLY
Electrical components can be accessed by
removing the control panel.
OVEN DOOR REMOVAL
.
,
.
To remove the control panel, open the oven 4.
door as wide as possible. Remove the three
screws from the top of the control panel and
the three screws at the bottom of the con-
trol panel. Grasp the control panel by 5.
placing hands on the right and left sides of
the panel, pull out and down to disengage.
For JJW Models:
1. To remove the control panel, open the
door as wide as possible. Remove the
four screws from the bottom of the
control panel. Grasp the control panel
by placing hands on the right and left
sides of the panel, lift up and out to
disengage from upper flange.
2. Place the panel on the top oven rack
(cover with a cloth to prevent scratch-
ing) for component testing.
3. With the control panel pulled forward,
access is now available to the following
components: Control Assembly, Clock,
High Limit Thermostat, Cooling Fan,
Door Latch Mechanism and Motor.
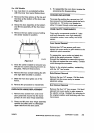
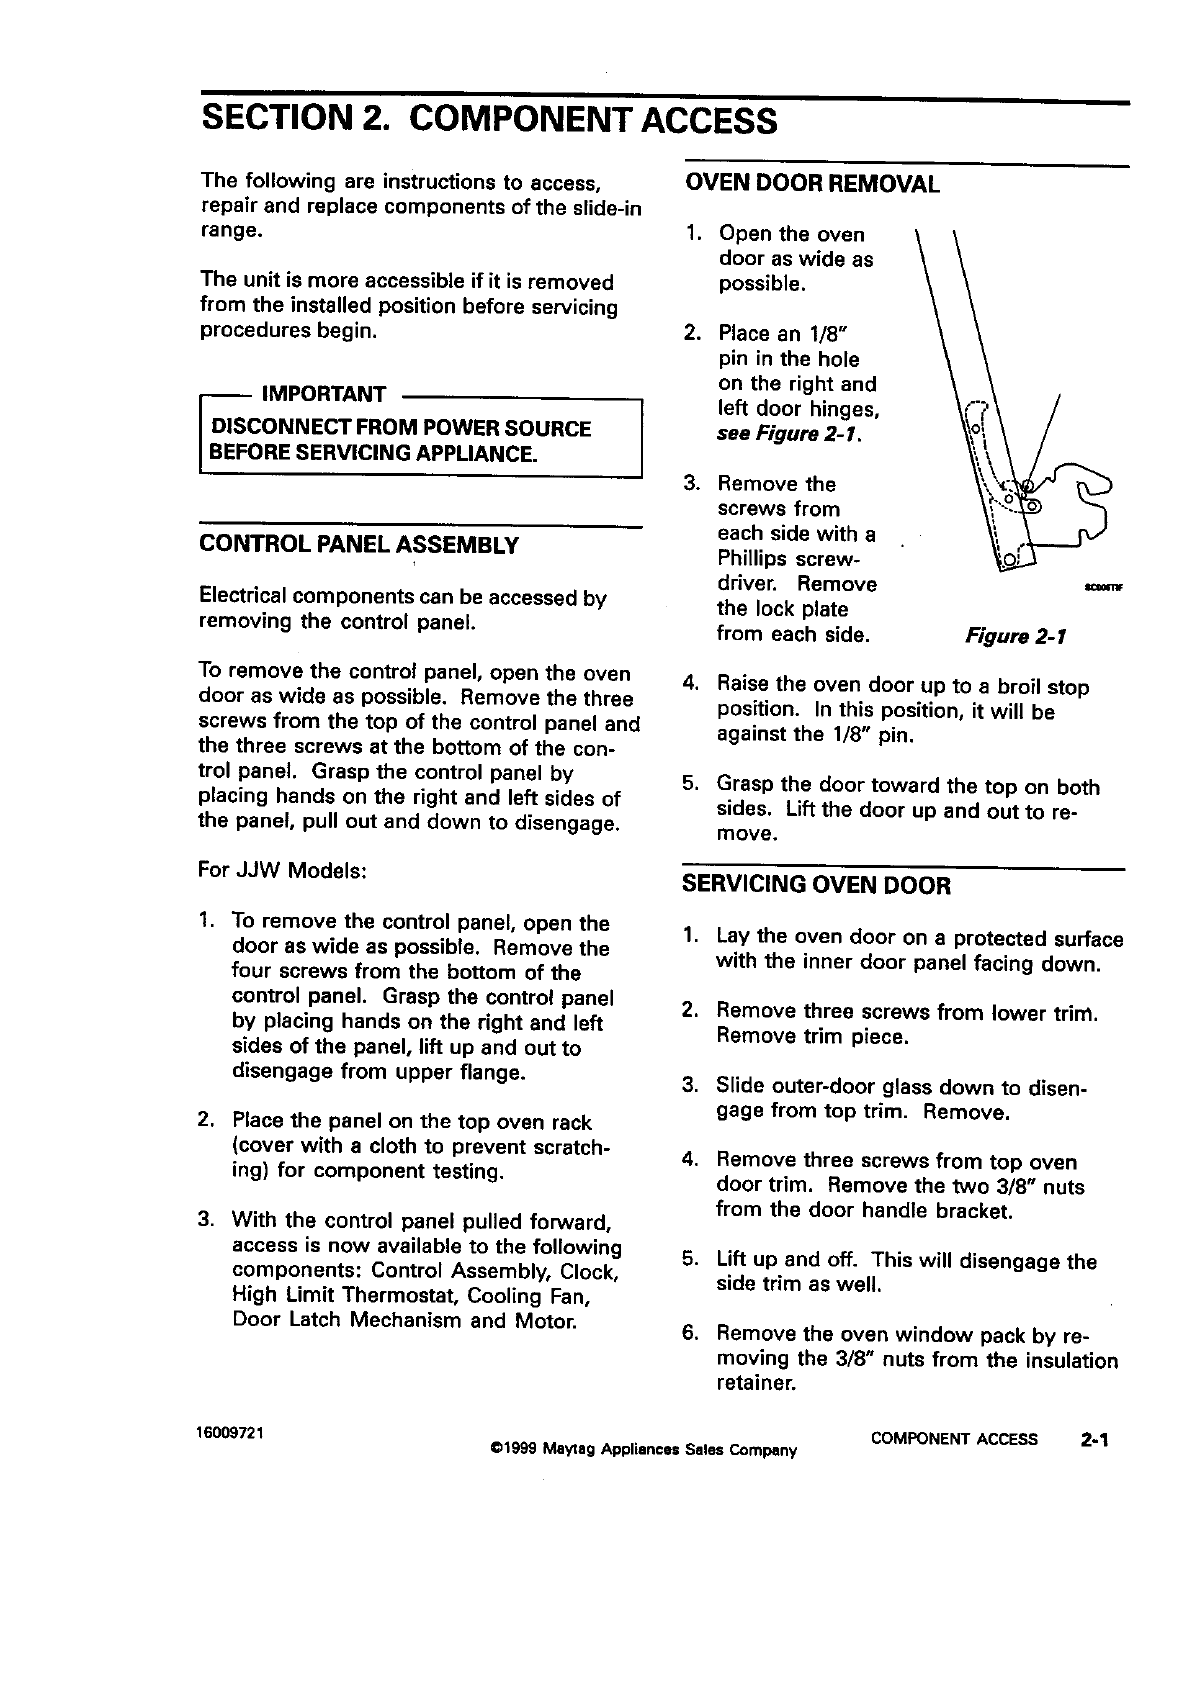
Open the oven
door as wide as
possible.
Place an 1/8"
pin in the hole
on the right and
left door hinges,
see Figure 2-1,
Remove the
screws from
each side with a
PhiLlips screw-
driver. Remove
the lock plate
from each side,
Figure 2-1
Raise the oven door up to a broil stop
position. In this position, it will be
against the 1/8" pin.
Grasp the door toward the top on both
sides. Lift the door up and out to re-
move.
SERVICING OVEN DOOR
1. Lay the oven door on a protected surface
with the inner door panel facing down.
2. Remove three screws from lower trim.
Remove trim piece.
3. Slide outer-door glass down to disen-
gage from top trim. Remove.
4. Remove three screws from top oven
door trim. Remove the two 3/8" nuts
from the door handle bracket.
5. Lift up and off. This will disengage the
side trim as well.
6. Remove the oven window pack by re-
moving the 3/8" nuts from the insulation
retainer.
16009721 COMPONENT ACCESS 2-1
©1999 Maytag Appliances Sales Company