1 BROILING 1
For best results, use a pan designed for
broiling. For additional broiling tips, see
“Cooking Made Simple” booklet.
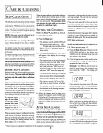
SETTING THE CONTROLS
FOR BROILING
I. Place the oven rack in the proper rack
positon. (See chart.)
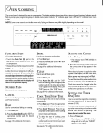
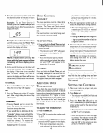
2. Press the Broil pad.
l
Indicator word BROIL will flash and
three dashes will appear.
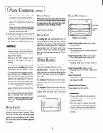
3. Press the appropriate number pad(s).
The first number pad pressed will enter
“Hi” broil.
l
The oven has a variable broil feature
which means that a lower broil tem-
perature can be selected. To select a
lower temperature, press the appro-
priate number pads for the tempera-
ture desired after “Hi” appears in the
display.
l
Five seconds after entering “Hi” or a
temperature, the broil element will
come on and the indicator words
BROIL and ON will remain in the
display. (If a lower temperature is
selected, the ON indicator word will
cycle on and off with the element.)
4. Preheat five minutes until broil element
is red. Cook food according to the
following broiling chart. Oven door
MUST be left open at the broil stop
position during
cooking.
5. Press the Cancel to turn off oven when
food is cooked.
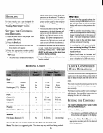
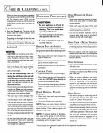
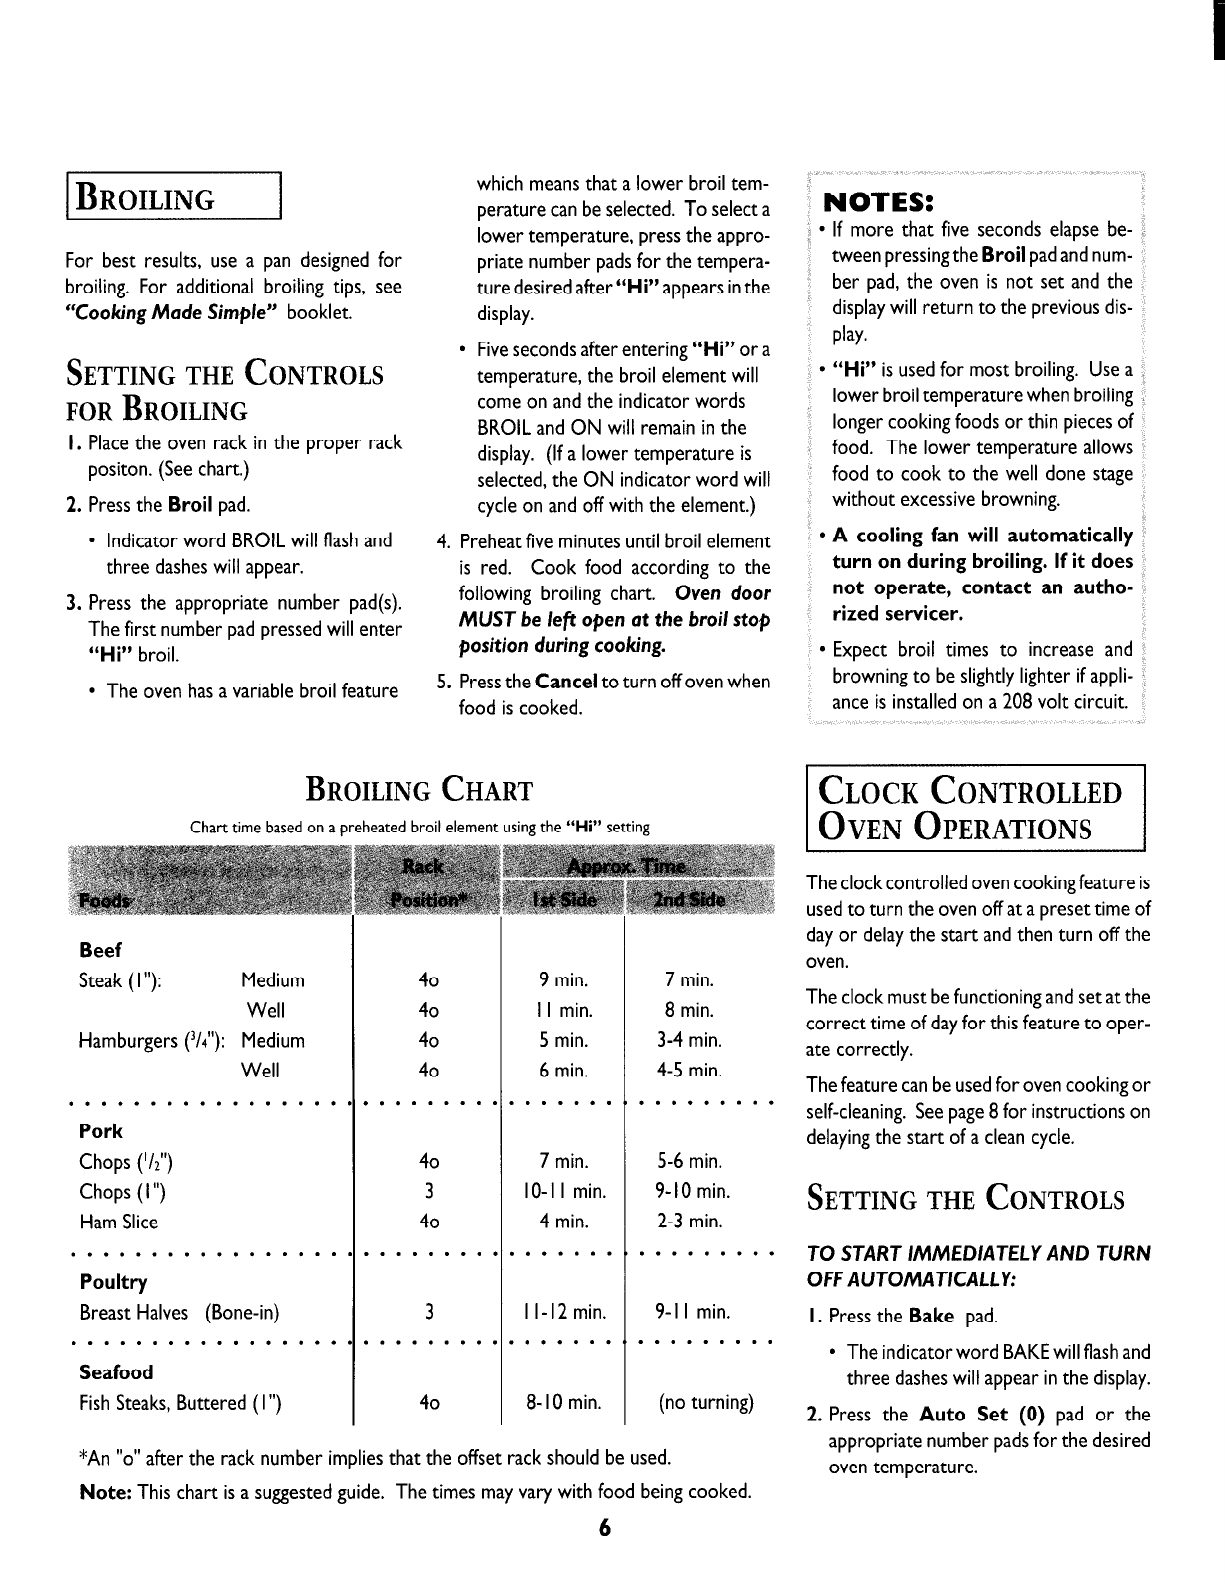
BROILING CHART
Chart time based on a preheated broil element using the
“Hi”
setting
Beef
Steak ( I ‘I): Medium
Well
Hamburgers (3/41’): Medium
Well
. . . . . . . . . . . . . . . . .
Pork
Chops (‘1~“)
Chops ( I “)
Ham Slice
. . . . . . . . . . . . . . . . .
Poultry
Breast Halves (Bone-in)
. . . . . . . . . . . . . . . . .
Seafood
Fish Steaks, Buttered (I”)
40
40
40
40
, . . . . . . .
40
3
40
. . . . . . . .
3
. . . . . . . .
40
9 min.
I I min.
5 min.
6 min.
. . . . . . .
7 min.
IO-I I min.
4 min.
. . . . . . .
I l-12 min.
. . . . . . .
8-10 min.
7 min.
8 min.
3-4 min.
4-5 min.
. . . . . . . . .
5-6 min.
9-10 min.
2-3 min.
. . . . . . . . .
9-l I min.
. . . . . . . . .
(no turning)
*An “0” after the rack number implies that the offset rack should be used.
Note: This chart is a suggested guide. The times may vary with food being cooked.
6
NOTES:
l
If more that five seconds elapse be-
tween pressingthe Broil pad and num-
ber pad, the oven is not set and the
display will return to the previous dis-
play.
l
“Hi” is used for most broiling. Use a
lower broil temperature when broiling
longer cooking foods or thin pieces of
food. The lower temperature allows
food to cook to the well done stage
without excessive browning.
l
A cooling fan will automatically
turn on during broiling. If it does
not operate, contact an autho-
rized servicer.
l
Expect broil times to increase and
browning to be slightly lighter if appli-
ance is installed on a 208 volt circuit.
The clock controlled oven cooking feature is
used to turn the oven off at a preset time of
day or delay the start and then turn off the
oven.
The clock must be functioning and set at the
correct time of day for this feature to oper-
ate correctly.
The feature can be used for oven cooking or
self-cleaning. See page 8 for instructions on
delaying the start of a clean cycle.
SETTING THE CONTROLS
TO START IMMEDIA
JELY
AND TURN
OFF AUTOMATICALLY:
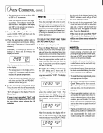
I. Press the Bake pad.
l
The indicatorword BAKE will flash and
three dashes will appear in the display.
2. Press the Auto Set (0) pad or the
appropriate number pads for the desired
oven temperature.


