13
• Stubborn soils – scrub with scouring
powder. (Do not use abrasive cleaners,
scouring pads or place in a self-clean
oven.) If cleaning powders block gas ports
on burner ring, clean with a straight pin.
To replace parts after cleaning:
1) ported burner ring - align the slot on
the bottom of the ring with the locat-
ing post on the burner base. The
burner ring and burner base must be
in complete contact.
MAINTENANCE
OVEN DOOR
Door Hinge Roller
Lock
(Close)
Unlock
2) burner cap - place on top of the
burner tube.
SURFACE BURNER IGNITORS
• Clean around ignitor carefully. Avoid
catching the ignitor with cleaning cloth. If
ignitor is damaged, the surface burner
will NOT light.
SURFACE BURNER GRATES
(PORCELAIN ON CAST IRON)
• Wash in the dishwasher or in soap and
water with a plastic scrubber.
• Do not operate the burners without a
pan on the grate. The porcelain finish on
the grate may chip without a pan to
absorb the intense heat.
• Grates will become dull and may discolor
over time from the heat. This is normal.
CAUTION:
• NEVER place excessive weight on or
stand on an open oven door. This
could cause the range to tip over,
break the door, or injure the user.
• NEVER attempt to open or close
door or operate oven until door is
properly replaced.
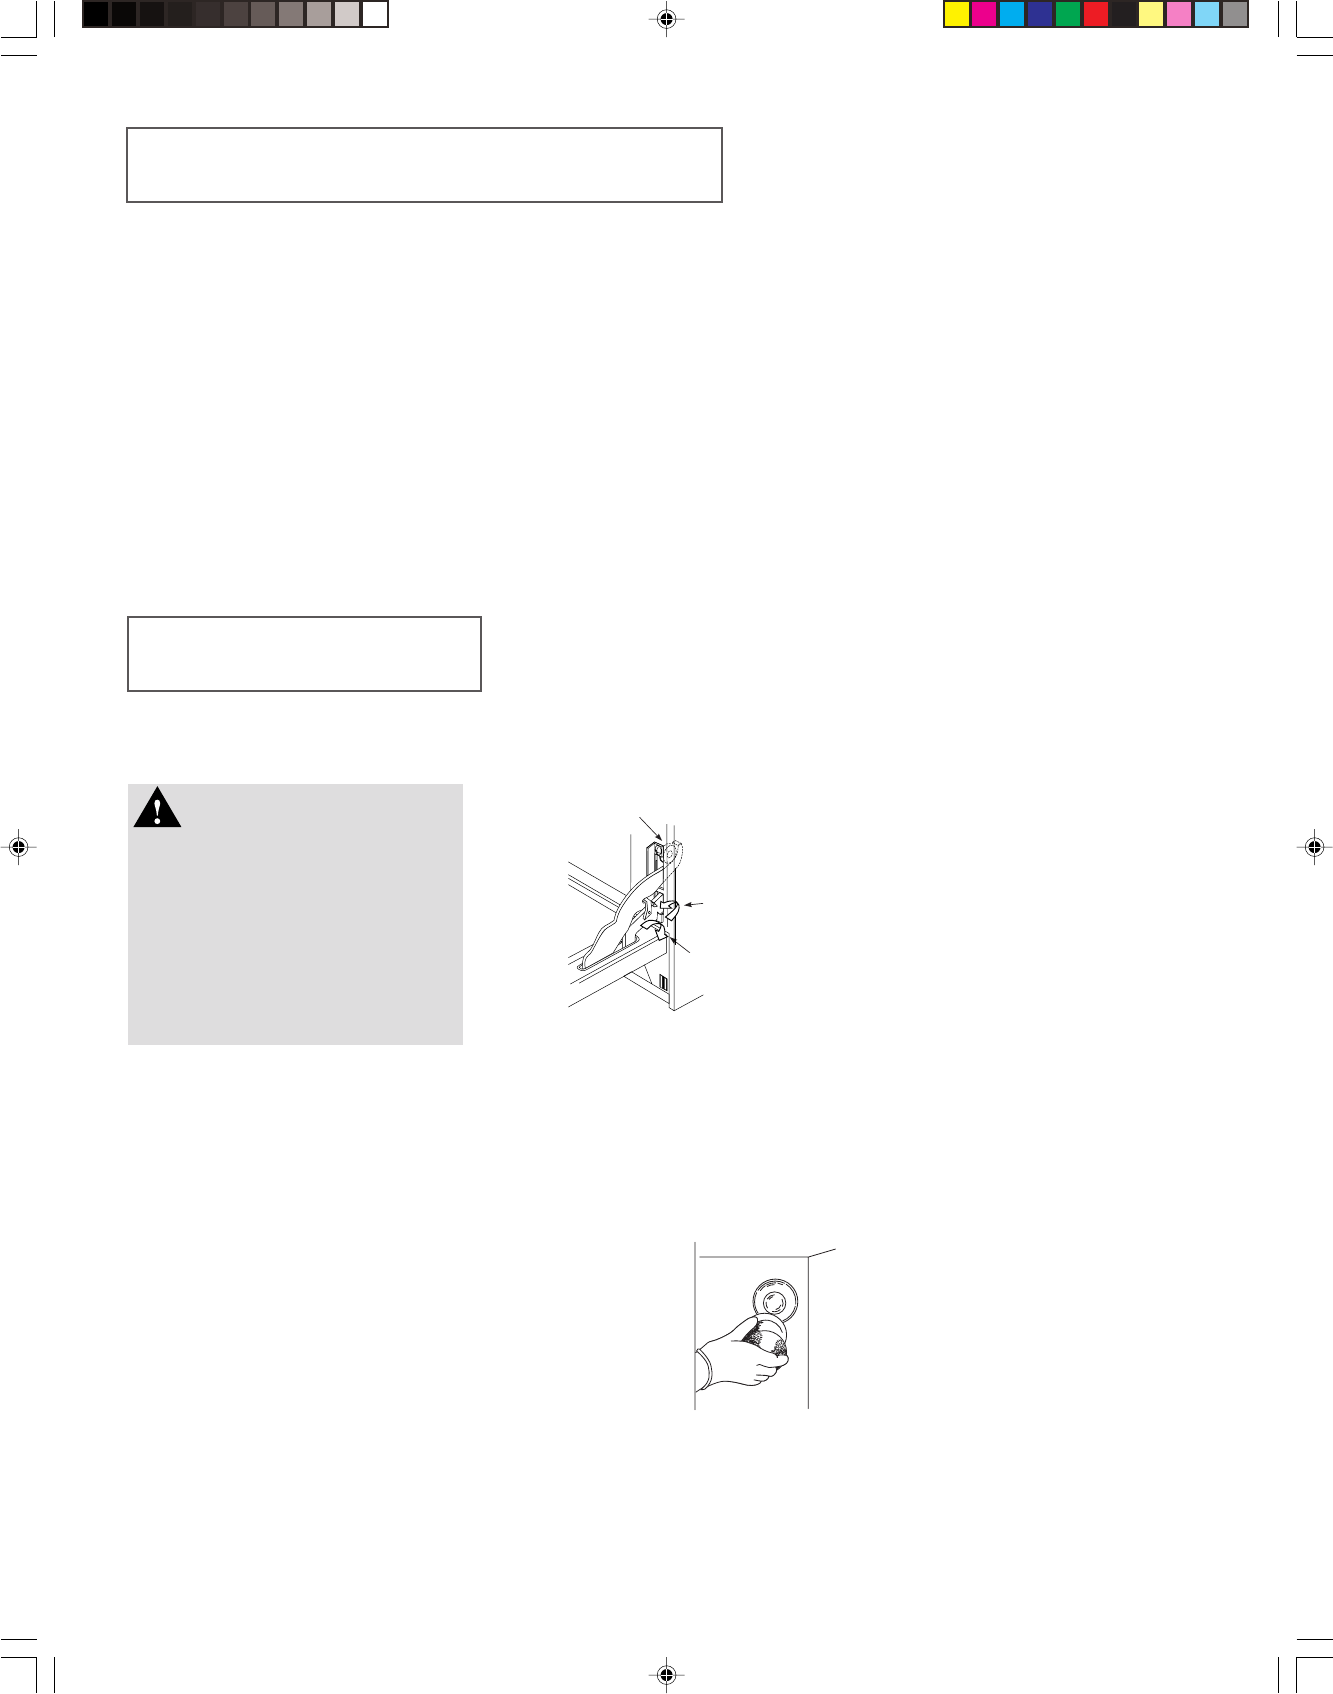
If the oven door comes off track, realign by
following this simple procedure:
1. Open the door and hold it all the way
open.
2. Lock the hinge latches (see illustration),
and gently lift the door up and partially
out until the door is evenly aligned.
3. Evenly slide the door back into place and
check to be sure the hinges rest in the
center of each door hinge roller.
4. With the oven door fully open, unlock
hinge latches and close.
OVEN LIGHT BULB
Before replacing bulb, disconnect power to
oven at the main fuse or circuit breaker panel.
Be sure that the oven cavity, including the
light bulb, is cool.
TO REPLACE LIGHT BULB:
1. Carefully unscrew
the glass bulb cover.
2. To obtain firm grasp
on bulb, wear pro-
tective rubber
gloves. Turn bulb to
the left. Do not
touch a hot oven bulb with a damp cloth
as it will break.
Note: If the bulb breaks, be certain
power supply is disconnected and
wear protective gloves when remov-
ing. Contact an authorized Jenn-Air
Servicer, if needed.
3. Replace bulb with a 40 watt oven-rated
appliance bulb. Bulb with brass base is
recommended.
4. Replace bulb cover and reconnect power
to oven.
REMOVAL OF GAS
APPLIANCE
Gas appliance connectors used to connect
this appliance to the gas supply are not
designed for continuous movement. Once
installed, DO NOT repeatedly move this
gas appliance for cleaning or to relocate. If
this appliance has to be moved and/or
removed for servicing, follow the proce-
dure described in the installation instruc-
tions. For information, contact Jenn-Air
Customer Service at 1-800-JENNAIR
(1-800-536-6247).
To prevent range from accidentally tipping,
range must be secured to the floor by
sliding rear leveling leg into the anti-tip
bracket.
CARE AND CLEANING, CONT.
8113P418-60 2/2/04, 2:01 PM14


