


9
Complete Connection
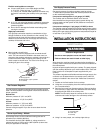
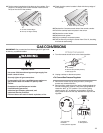
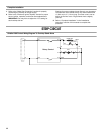
1. Open the manual shutoff valve in the gas supply line. The
valve is open when the handle is parallel to the gas pipe.
2. Test all connections by brushing on an approved
noncorrosive leak-detection solution. If bubbles appear, a
leak is indicated. Correct any leak found.
3. Remove cooktop burner caps, burner bases and grates from
parts package. Place burner bases on cooktop. Place burner
caps on burner bases. Place grates over burners and caps.
4. Plug into a grounded 3 prong outlet.
5. Check the operation of the surface burners. See “Check
Operation of Cooktop Burners” section in the “Complete
Installation” section.
6. If your model has a griddle, see the “Install Griddle” section.
Install Griddle
(on griddle models)
The griddle is factory installed.
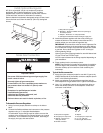
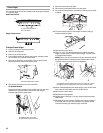
1. Place drip tray in the well at the front of the griddle. Slide tray
toward the back until it stops.
2. Clean griddle before using. Refer to the Use and Care Guide.
Complete Installation
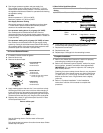
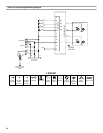
Install Burner Bases and Burner Caps
Install the burner base, making sure the igniter electrode is
properly aligned with the base. Place burner caps on top of
burner bases. If burner caps are not properly positioned, surface
burners will not light.
Electronic Ignition System
Initial lighting and gas flame adjustments
Cooktop burners use electronic igniters in place of standing
pilots. When the cooktop control knob is turned to any position,
the system creates a spark to light the burner. This sparking
continues, until the flame is lit or the knob is turned to Off.
Check Operation of Cooktop Burners
Push in and turn each control knob to the “LITE” position.
The surface burners and grill flames should light within
4 seconds. The first time a burner is lit it may take longer than
4 seconds to light because of air in the gas line.
After verifying the proper burner operation, turn the control knobs
to OFF.
If burners do not light properly:
■ Turn cooktop control knob to the “OFF” position.
■ Check that the cooktop is plugged in and the circuit breaker
has not tripped or the fuse has not blown.
■
Check that the gas shutoff valves are set to the “open” position.
■ Check that burner caps are properly positioned on burner
bases.
Repeat start-up. If a burner does not light at this point, contact
your dealer or authorized service company for assistance.
If you need Assistance or Service:
Please reference the “Assistance or Service” section of the Use
and Care Guide or contact the dealer from whom you purchased
your cooktop.
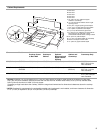
A.Closed valve
B.Open valve
A. Griddle drip tray
B.Griddle
A
B
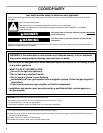
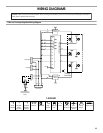
Electrical Shock Hazard
Plug into a grounded 3 prong outlet.
Do not remove ground prong.
Do not use an adapter.
Do not use an extension cord.
Failure to follow these instructions can result in death,
fire, or electrical shock.
WARNING
A
B
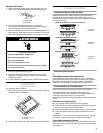
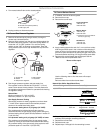
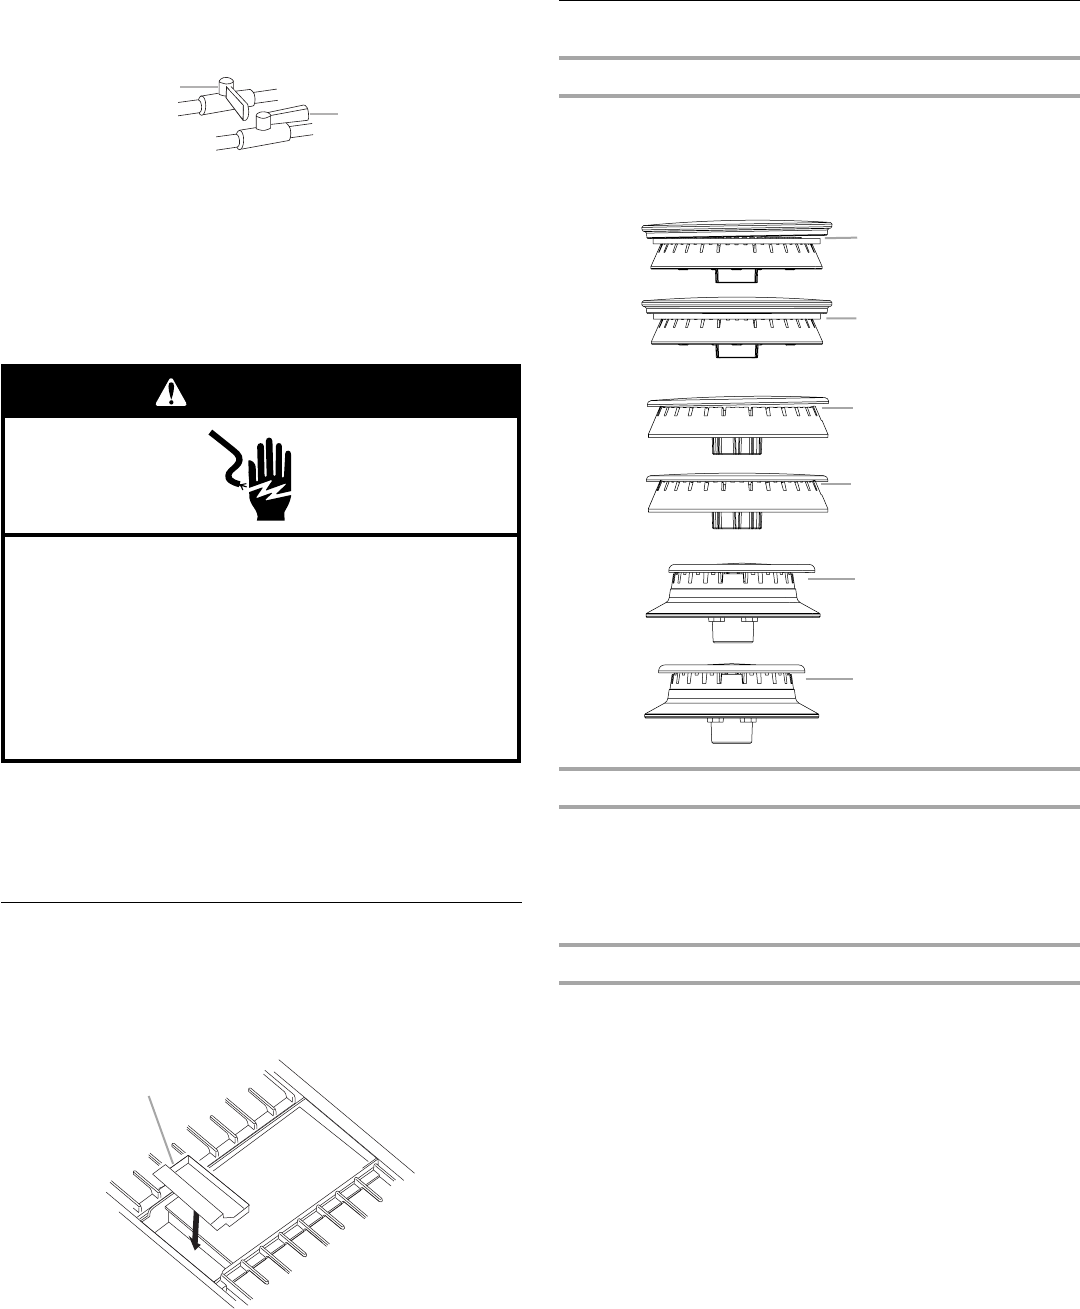
20,000 Btu/h Ultra Power™ Dual-Flame Burner
A.Incorrect
B.Correct
15,000 Btu/h Professional Burner
A.Incorrect
B.Correct
5,000 Btu/h Simmer/Melt Burner
A.Incorrect
B.Correct
A
B
A
B
A
B