Oven Cleaning
FEATURE
OVERVIEW
Preparing for the Self-
Clean Cycle
The health
of some birds is extremely
sensitive to the fumes
given off during the self-
cleaning cycle of any
range. Move birds to
another well-ventilated
room.
Figure 1
Preparing for the Self-Clean Cycle:
A self-cleaning oven cleans itself with high temperatures which eliminate soil completely or
reduce itto a fine powdered ash you can wipe away with a damp cloth. These temperatures
are well above normal cooking temperatures.
1. Adhere to the following cleaning precautions:
Allow the oven to cool before pre-cteaning.
Wear rubber gloves when precteaning and while wiping up the residue after the self-
clean cycle.
DO NOT use oven cleaners or oven protective coatings in or around any part of the
self-cleaning oven.
DO NOT clean the oven door gasket. The woven material of the oven door gasket is
essential for a good seal. Care should be taken not to rub, damage or remove the
gasket.
DO NOT use any cleaning materials on the oven door gasket. Doing so could cause
damage.
2.
Remove the Searing Grill, Broiler Pan and Broiler Pan Insert, all utensils and any
aluminum foil. These items cannot withstand high cleaning temperatures.
DO NOT line the oven walls, racks, bottom or any other part of the range
with aluminum foil. Doing so will destroy heat distribution, produce poor baking results _,,_o
and cause permanent damage to the oven interior (aluminum foil will melt to the interior _f>
surface of the oven).
.
Oven racks should be removed, or else their finish will dull and their color turn slightly
blue. If they do go through the self-clean cycle, wait until the oven has cooled, then
remove the racks and rub their sides with wax paper or a cloth containing a small
amount of baby or salad oil (this will make the racks glide easier back into their
positions.
4.
Remove any excess spitlovers in the oven cavity before starting the self-cleaning cycle.
To clean, use hot, soapy water and a cloth. Large spillovers can cause heavy smoke or
fire when subjected to high temperatures. DO NOT allow food spills with a high sugar or
acid content (such as milk, tomatoes, sauerkraut, fruit juices or pie filling) to remain on
the surface as they may cause a dull spot even after cleaning.
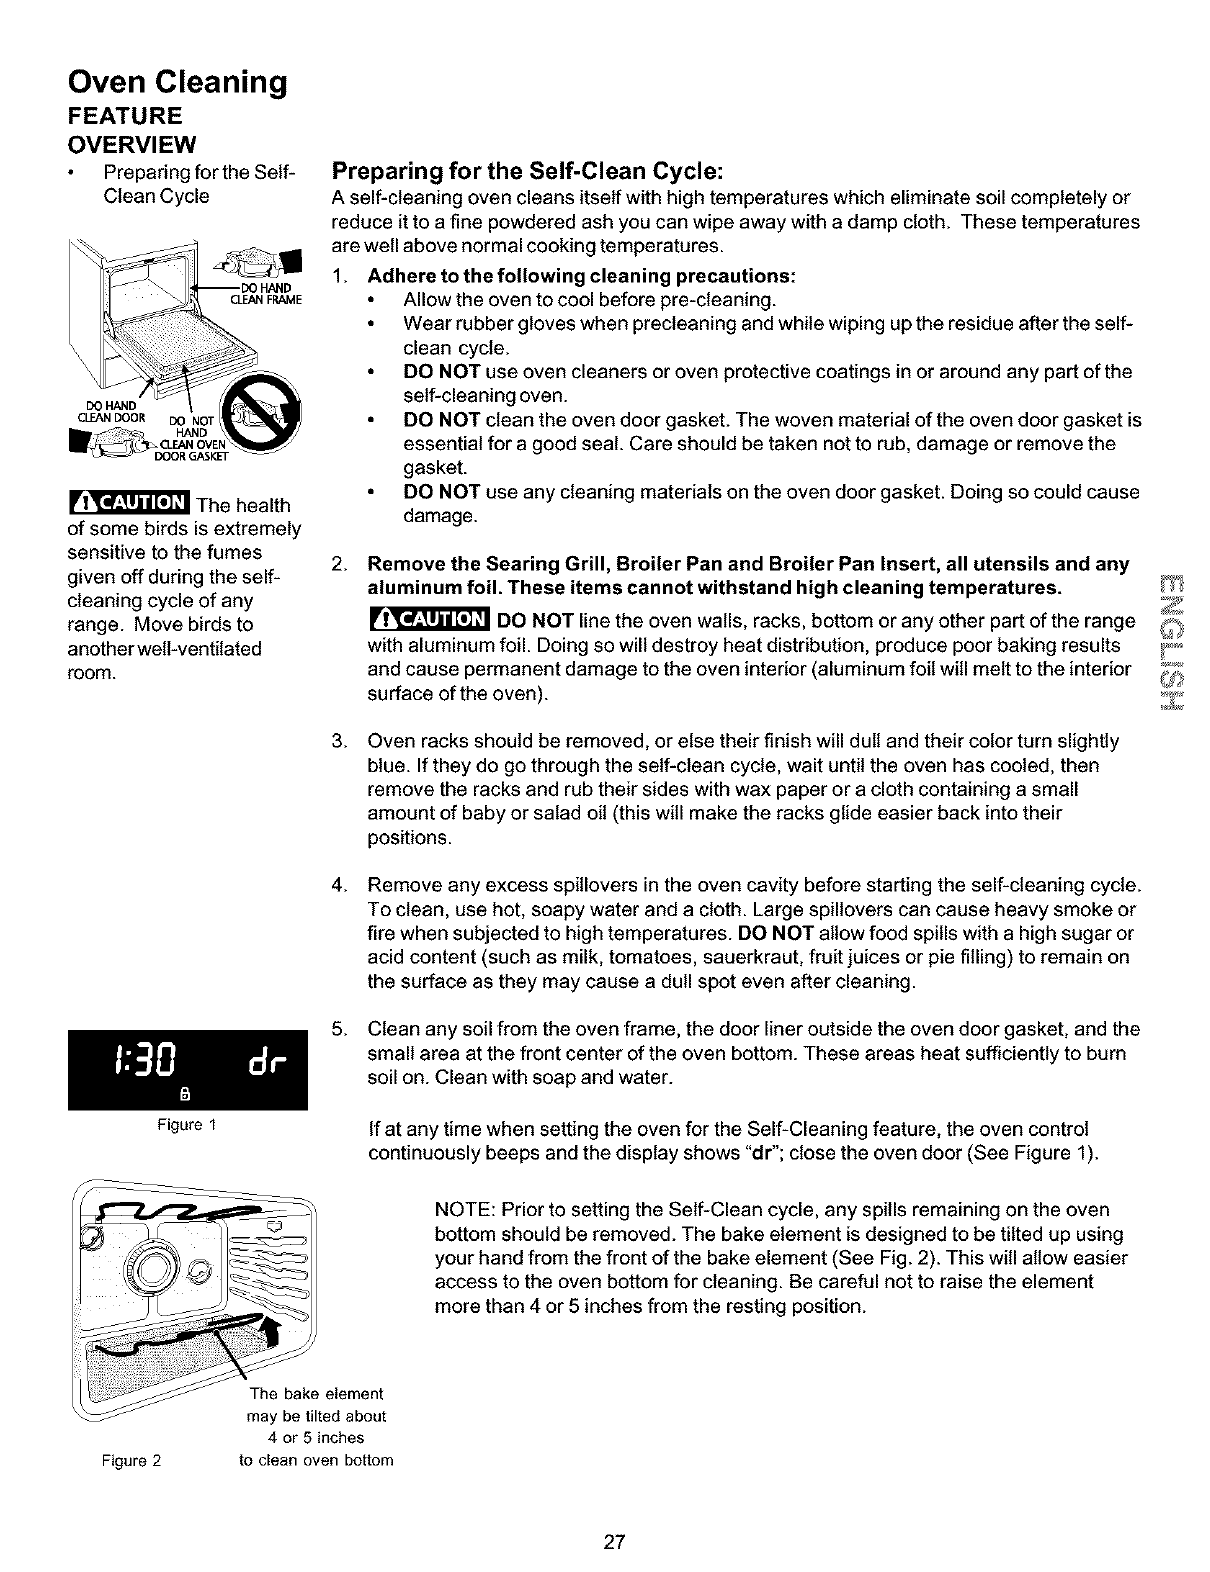
5. Clean any soil from the oven frame, the door liner outside the oven door gasket, and the
small area at the front center of the oven bottom. These areas heat sufficiently to burn
soil on. Clean with soap and water.
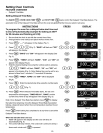
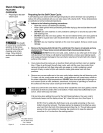
If at any time when setting the oven for the Self-Cleaning feature, the oven control
continuously beeps and the display shows "dr"; close the oven door (See Figure 1).
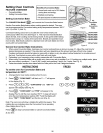
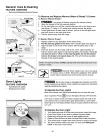
NOTE: Prior to setting the Self-Clean cycle, any spills remaining on the oven
bottom should be removed. The bake element is designed to be tilted up using
your hand from the front of the bake element (See Fig. 2). This will allow easier
access to the oven bottom for cleaning. Be careful not to raise the element
more than 4 or 5 inches from the resting position.
Figure 2
The bake element
may be tilted about
4 or 5 inches
to clean oven bottom
27


