38
Replacing oven lights
Be sure the range is unplugged and all parts
are COOL before replacing oven light. Wear a leather-
faced glove for protection against possible broken glass.
Care & Cleaning
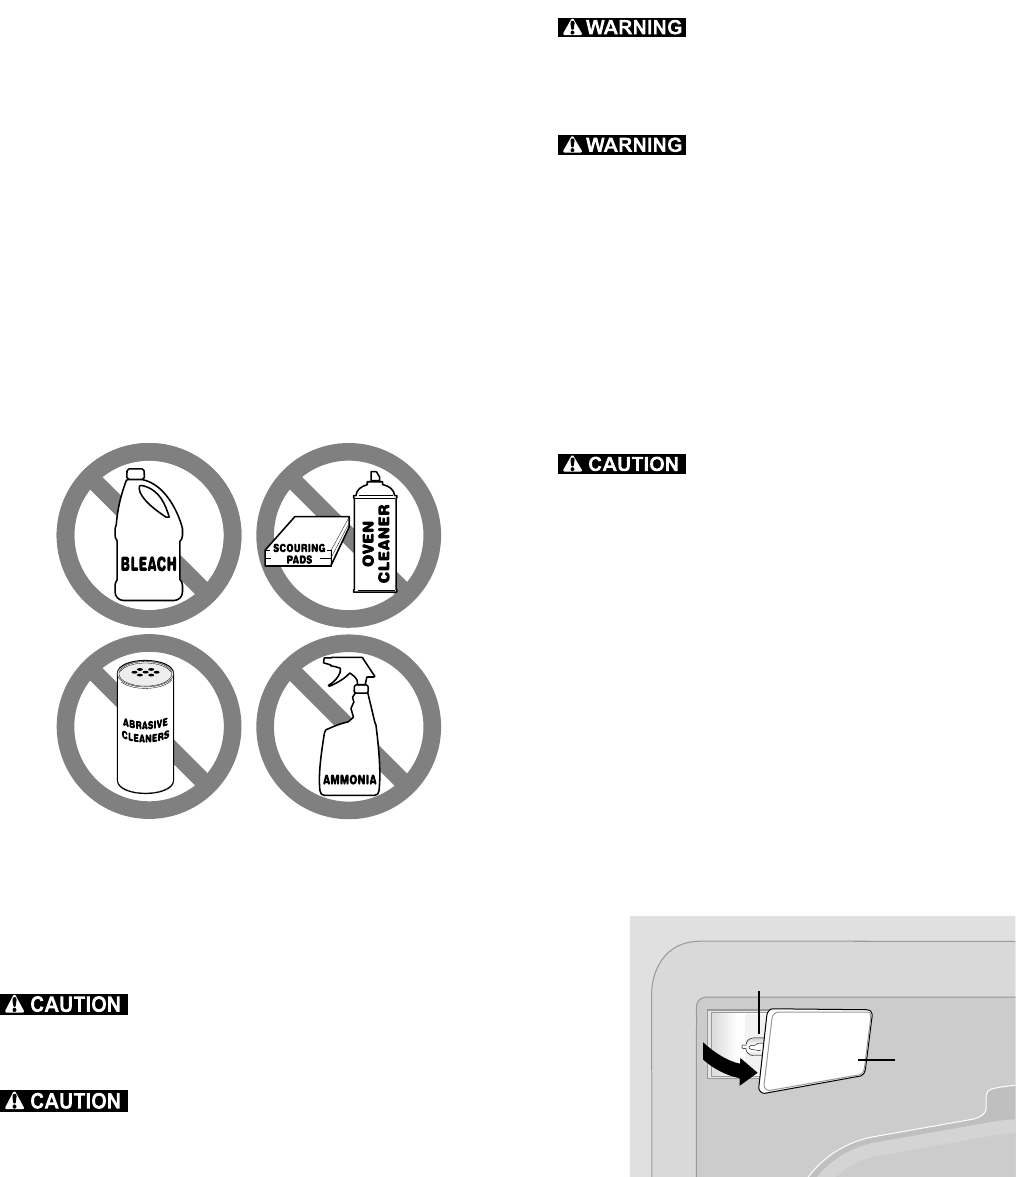
Do not use the following on the cooktop:
• Do not use abrasive cleaners and scouring pads, such as
metal and some nylon pads. They may scratch the
cooktop, making it more difficult to clean.
• Do not use harsh cleaners, such as chlorine bleach,
ammonia or oven cleaners, as they may etch or discolor
the cooktop.
• Do not use dirty sponges, cloths or paper towels, as they
can leave soil or lint on the cooktop which can burn and
cause discoloration.
Important note:
Damage to the ceramic glass cooktop may occur if you use
an abrasive type cleaning pad. Only use cleaning products
that have been specifically designed for ceramic glass
cooktops.
Cooktop cleaning (cont’d)
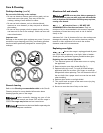
Aluminum foil - Use of aluminum foil on a hot cooktop can
damage the cooktop. Do not use thin aluminum cooking
utensils or allow aluminum foil to touch the surface
elements under ANY circumstances.
Protective Liners — DO NOT USE
ALUMINUM FOIL to line the oven bottom. Only use
aluminum foil as recommended in this manual. Improper
installation of these liners may result in risk of electric
shock, or fire.
Aluminum foil and utensils
NEVER cover any slots, holes or passages in
the oven bottom or cover an entire oven rack with materials
such as aluminum foil. Aluminum foil linings may trap heat,
causing a fire hazard.
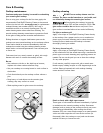
General cleaning
Before manually cleaning any part of the
range, be sure all controls are turned OFF and the range is
COOL. The range may be hot and can cause burns.
Ammonia must be rinsed before operating the
oven. Provide adequate ventilation.
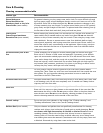
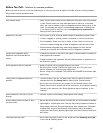
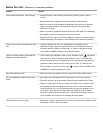
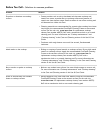
Refer to the Cleaning recommendation table in the Care &
Cleaning section for more detailed information about
cleaning specific parts of the range.
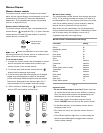
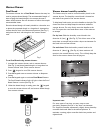
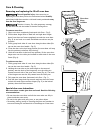
Replacing the oven interior light bulb:
1. Turn electrical power off at the main source or unplug
the appliance.
2. Remove interior oven light shield (See Fig. 1).
3. Replace bulb with a new T-4 type 40 Watt halogen
appliance bulb. Do not allow your fingers to touch the
halogen bulb when replacing. This will shorten the life of
the new bulb. Use a paper towel to cover the new bulb
when installing.
4. Replace glass interior oven light shield.
5. Turn power back on again at the main source (or plug
the appliance back in).
6. Be sure to reset the time of day on the clock.
Fig. 1
light shield
rear oven
cavity
halogen light bulb


