


1514
De-Scaling Your Brewer (continued)
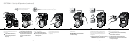
FILL, CLEAN AND RINSE
Step 1: First Vinegar Rinse
• Fill the Cold Water Reservoir with 10 oz. of undiluted white vinegar.
• Place the ceramic mug on the Drip Tray.
• Lift the Handle, but do not add a K-Cup
®
pack.
• After 5 seconds, lower the Handle.
• Press the flashing blue BREW Button. It will flash red and then turn
solid red.
• Once the vinegar is dispensed, discard hot contents into sink.
Step 2: Second Vinegar Rinse
• Pour the remaining 10 oz. of vinegar into the Cold Water Reservoir.
• Place the ceramic mug on the Drip Tray.
• Lift the Handle, but do not add a K-Cup
®
pack.
• After 5 seconds, lower the Handle.
• Press the flashing blue BREW Button. It will then flash red.
• When it turns solid red, power off as it starts to dispense.
• Allow brewer to sit for 30 minutes.
• Power on the brewer, lift and lower the Handle, then press
BREW Button.
• Once the vinegar is dispensed, discard hot contents into sink.
Step 3: Fresh Water Rinse
• Fill the Cold Water Reservoir with 10 oz. of fresh water.
• Place the ceramic mug on the Drip Tray.
• Lift the Handle, but do not add a K-Cup
®
pack.
• Lower the Handle and continue the brewing process until the
hot water is dispensed into the mug. Discard hot contents into sink.
• Repeat this cleansing brew process three (3) more times to cleanse the
brewer plumbing and to remove any residual vinegar taste. The brewer
is now ready for normal use again.
Storage
Empty the Internal Hot Water Tank and Cold Water Reservoir before storing.
See page 14. Store your brewer in a safe, frost-free environment in an
upright position.
Storing the brewer in cold temperatures may cause any residual
condensation to freeze inside the brewer and could cause damage.
Before using your brewer after storage, wipe the Cold Water Reservoir with a
damp, lint-free cloth and run three (3) cleaning brews (without K-Cup
®
packs). See page 8 for initial cleansing brew process.
Let brewer rest at room temperature for at least 2 hours before
powering on.
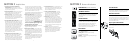
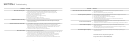
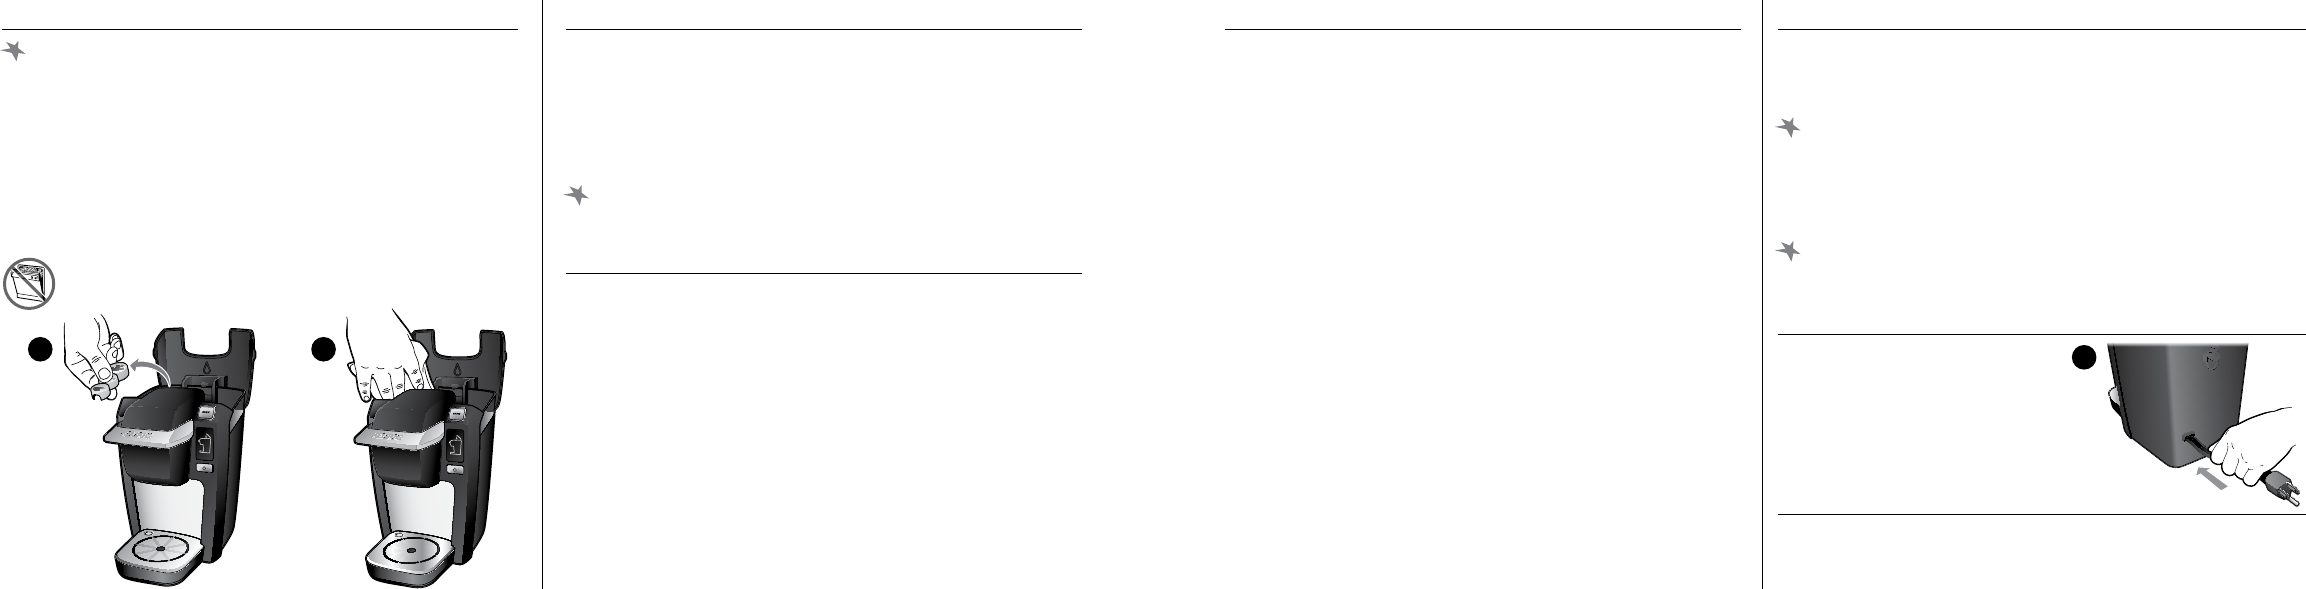
Storing the Power Cord
Behind the brewer is a convenient
compartment to hold the Power
Cord during transport or storage
(fig. 8).
Service
Beyond these recommended cleaning and maintenance procedures, this
brewer is not user serviceable. See page 18 for warranty guidelines. For
service, please refer to the Warranty section in this guide.
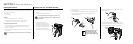
Cleaning the Cold Water Reservoir
It is normal over time for discoloration, spotting or staining to appear in
the Cold Water Reservoir. Results will vary depending on the mineral
content of the bottled or filtered water used but will not affect the
operation of the brewer. However, be sure to clean the Cold Water
Reservoir regularly to minimize build-up.
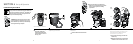
To access the Cold Water Reservoir, lift the lid. Remove the Water Level
Guide (fig. 6) and then clean inside the reservoir with a damp, lint-free cloth
as necessary (fig. 7).
Replace the Water Level Guide and lower the lid when finished.
The Water Level Guide is not dishwasher safe.
Emptying the Internal Hot Water Tank
Brewer must be powered off but plugged in.
• Lower the Cold Water Reservoir Lid.
• Place a mug on the Drip Tray.
• Press and hold down the BREW Button and continue to hold until all
the water is dispensed into the mug.
There will be a 3 to 5 second delay before water begins to dispense.
De-Scaling Your Brewer
Calcium deposits may build up in your brewer, depending on the mineral
content of your water. Scale is non-toxic but if left unattended, it can hinder
brewer performance. De-scaling your brewer helps to maintain the heating
element and other internal parts of the brewer.
The de-scaling process should be done every 3 to 6 months to ensure
optimal performance or when there are white deposits in the Cold Water
Reservoir. However, it is possible for calcium deposits to build up faster,
making it necessary to de-scale more often.
To begin, you will need the following:
• 20 oz. of undiluted white vinegar
• 12 oz. ceramic mug (do not use a paper cup)
• Access to a sink
fig.
6
fig.
7
SECTION 5 Cleaning & Maintenance (continued)
fig.
8