


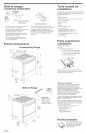
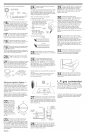
All connections must be wrench-tightened.
etbow
pressure regulator
and valve assembly
flexible manual
connector shutoff valve
J
1/2" (I .3 cm) flare union adapters
1Assemble the flexible connector from
the gas supply pipe to the pressure
m regulator, located in the lower left side
of the storage drawer area, in this order: shutoff
valve, 1/2" (1.3 cm) flare union adapter, flexible
connector, 1/2" (1.3 cm) flare union adapter. Seal
all openings in floor or wall wherever range is
installed.
I Use pipe-joint compounds appropriate
for use with LR gas to seal all gas
m connections, if flexible connectors are
used, be certain connectors are not kinked.
j Open the shutoff valve in the gas
supply line. Wait a few minutes for the
m gas to move through the gas line.
ITest for gas leaks. Leak testing shall be
Iconducted according to the following
mJinstructions:
Test all connections by brushing on an approved
non-corrosive leak-detection solution. Bubbles will
show a leak. Correct any leak found.
Plug into a grounded 3 prong outlet.
B "8888" should appear in clock display.
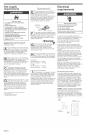
I2 1 Remove vent cap, cooktop burner caps
ml and grates from parts package. Align
notches in burner caps with pins in
burner base. Burner caps should be level when
properly positioned. Place burner grates over
burners and caps. Place vent cap over vent dome.
vent
cap
er
vent _ grate
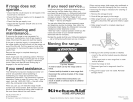
Adjust the height of top burner flames
(some models)
The cooktop LOW burner flame should be a steady
blue flame approximately 1/4" (0.64 cm) high. It
can be adjusted using the adjustment screw in the
center of the valve stem. The valve stem is located
directly underneath the control knob.
If the LOW flame needs to be adjusted:
a. Remove the control knob.
b. Hold the knob stem with a pair of pliers. Use
a small flat-head screwdriver to
turn the screw located in the
center of the control knob stem
until the flame is the proper
size.
c. Replace the control adjustment
knob. screw,
d. Test the flame by
turning the control from
"LO" to "HI", checking the
flame at each setting.
Top burner flame appearance:
towflame
high flame
I2 5 ] Remove the oven rack. Removethe
oven bottom and place it on a protected
m surface.
i2 6 ] Check the operation of the oven
burner. Push the "BAKE" pad and
m ,350oF, will appear in the temperature
display. Press the "START" pad. "LO" will appear in
the display; then "170°R '' The oven burner should
light in 50 to 60 seconds. This delay is normal. The
oven safety valve requires a certain time before it
will open and allow gas to flow.
Electric ignitors are used to light the oven and broil
burners.
Do not insert any object into the opening of the
protective shield that surrounds the ignitor.
Do not clean the area.
Push "CANCEL/OFF' pad. Insert oven
bottom tabs into slots in oven burner
area. Check that tabs are correctly
placed in slots. If the oven bottom is not positioned
properly, poor baking performance could occur.
Replace oven racks.
Check the operation of the
oven broil burner. Close the oven door.
Press the "BROIE' pad. "500 F' will
appear in the temperature display. Press the
"START" pad. The oven broil burner should light in
50 to 60 seconds. This delay is normal. The oven
safety valve requires a certain time before it will
open and allow gas to flow. The first time broil
burner is lighted, it may take longer to light
because of air in gas line. The first few times
burner is used sparks may appear. This is normal.
NOTE: Oven door must be shut for broil burner to
operate.
Look through oven window to check
broil burner for proper flame. The flame
should have a uniform, light blue
appearance around the burner surface. No yellow
tips, blowing or lifting of the flame should occur.
NOTE: The first few times the broil burner is used,
yellow sparks may appear in the flame. This is
normal and will stop after burner has been used a
few times.
Press the "CANCEL/OFF' pad. If the
broil burner flame needs adjustment,
contact your KitchenAid dealer or
authorized service company for assistance.
/
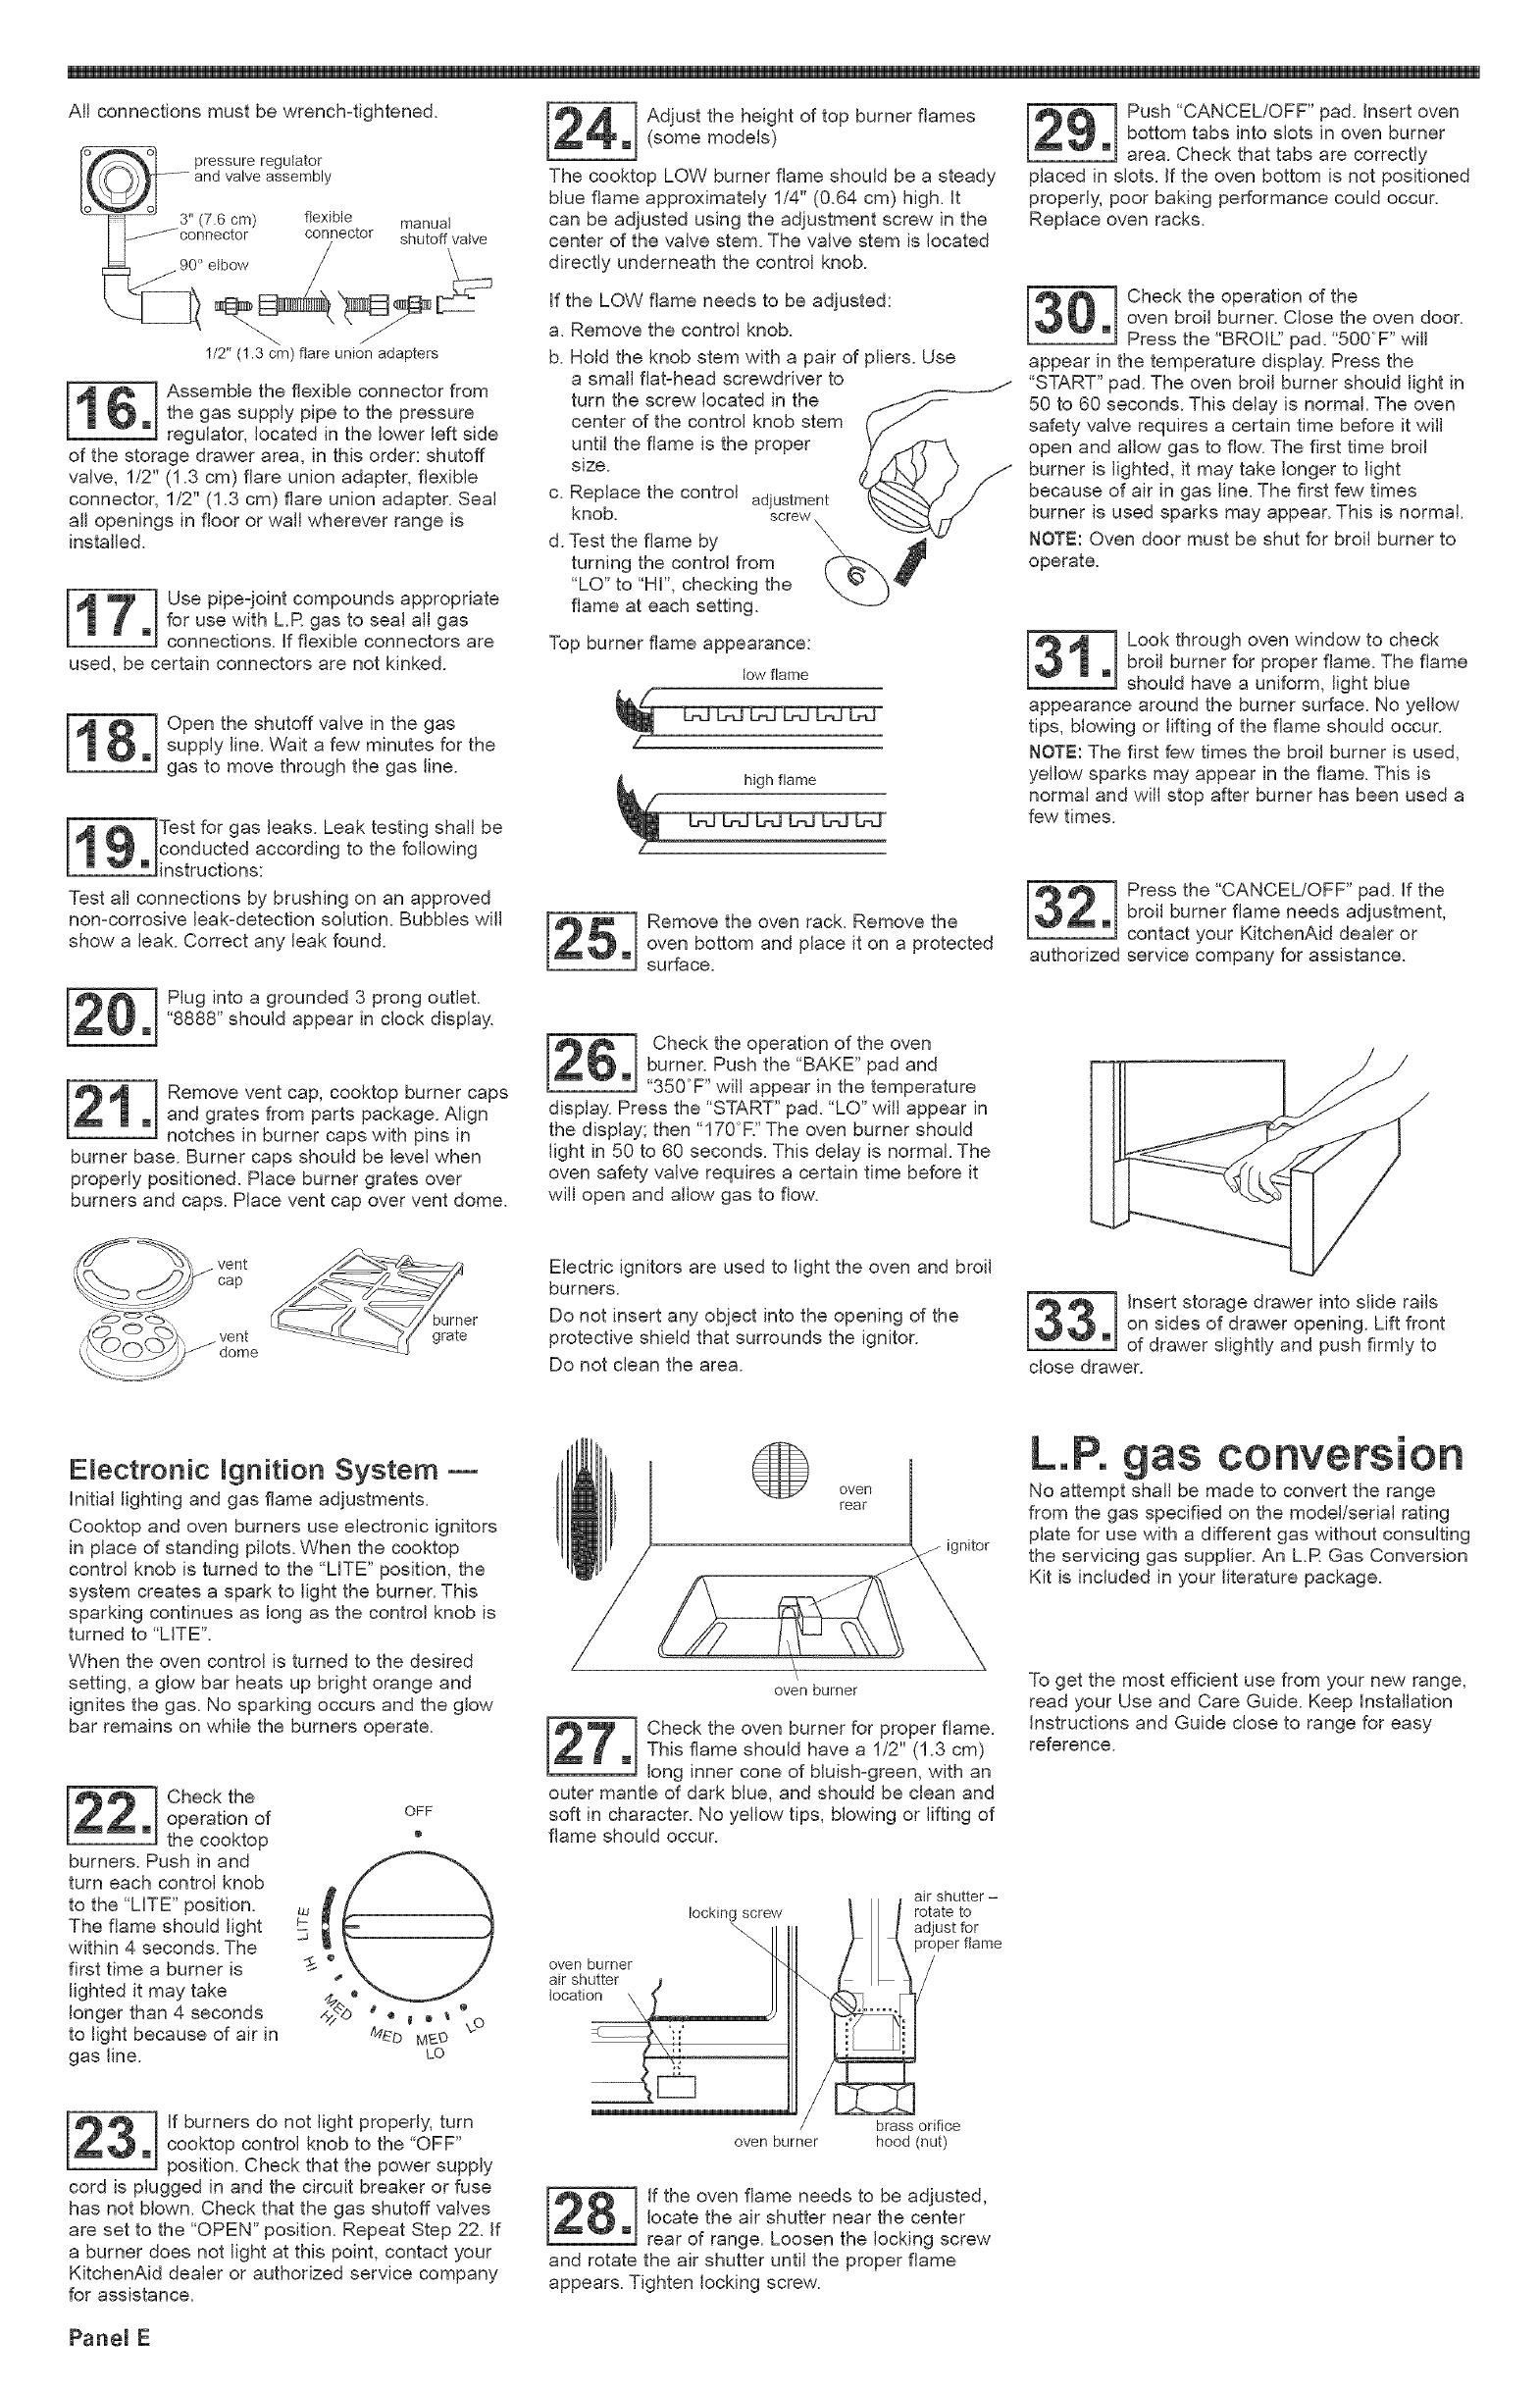
Insert storage drawer into slide rails
on sides of drawer opening. Lift front
of drawer slightly and push firmly to
close drawer.
E ectronic gnition System E
Initial lighting and gas flame adjustments.
Cooktop and oven burners use electronic ignitors
in place of standing pilots. When the cooktop
control knob is turned to the "LITE" position, the
system creates a spark to light the burner. This
sparking continues as long as the control knob is
turned to "LITE".
When the oven control is turned to the desired
setting, a glow bar heats up bright orange and
ignites the gas. No sparking occurs and the glow
bar remains on while the burners operate.
i Check the
operation of OFF
m the cooktop •
burners. Pushinand _ {_
turn each control knob
to the "LITE" position.
The flame should light
within 4 seconds. The
first time a burner is _ ". _ )
lighted it may take "G,_ _-_'J'_
longer than 4 seconds ,'>-20 " _, _ , _ _o
to light because of air in @_D M_.o
gas line. LO
oven
rear
j ignitor
oven burner
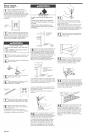
I2 7 1 Check the oven burner for proper flame.
This flame should have a 1/2" (1.3 cm)
m long inner cone of bluish-green, with an
outer mantle of dark blue, and should be clean and
soft in character. No yellow tips, blowing or lifting of
flame should occur.
oven burner
air shutter
location \
air shutter -
locking screw rotate to
"-. adjust for
".. proper flame
as conversion
No attempt shall be made to convert the range
from the gas specified on the model/serial rating
plate for use with a different gas without consulting
the servicing gas supplier. An L.R Gas Conversion
Kit is included in your literature package.
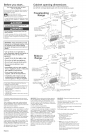
To get the most efficient use from your new range,
read your Use and Care Guide. Keep Installation
Instructions and Guide close to range for easy
reference.
l lf burners do not light properly, turn
cooktop control knob to the "OFF"
m position. Check that the power supply
cord is plugged in and the circuit breaker or fuse
has not blown. Check that the gas shutoff valves
are set to the "OPEN" position. Repeat Step 22. If
a burner does not light at this point, contact your
KitchenAid dealer or authorized service company
for assistance.
brass orifice
oven burner hood (nut)
I28 ] If the oven flame needs t° be adjusted'
locate the air shutter near the center
m rear of range. Loosen the locking screw
and rotate the air shutter until the proper flame
appears. Tighten locking screw.
PaneU E