


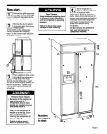
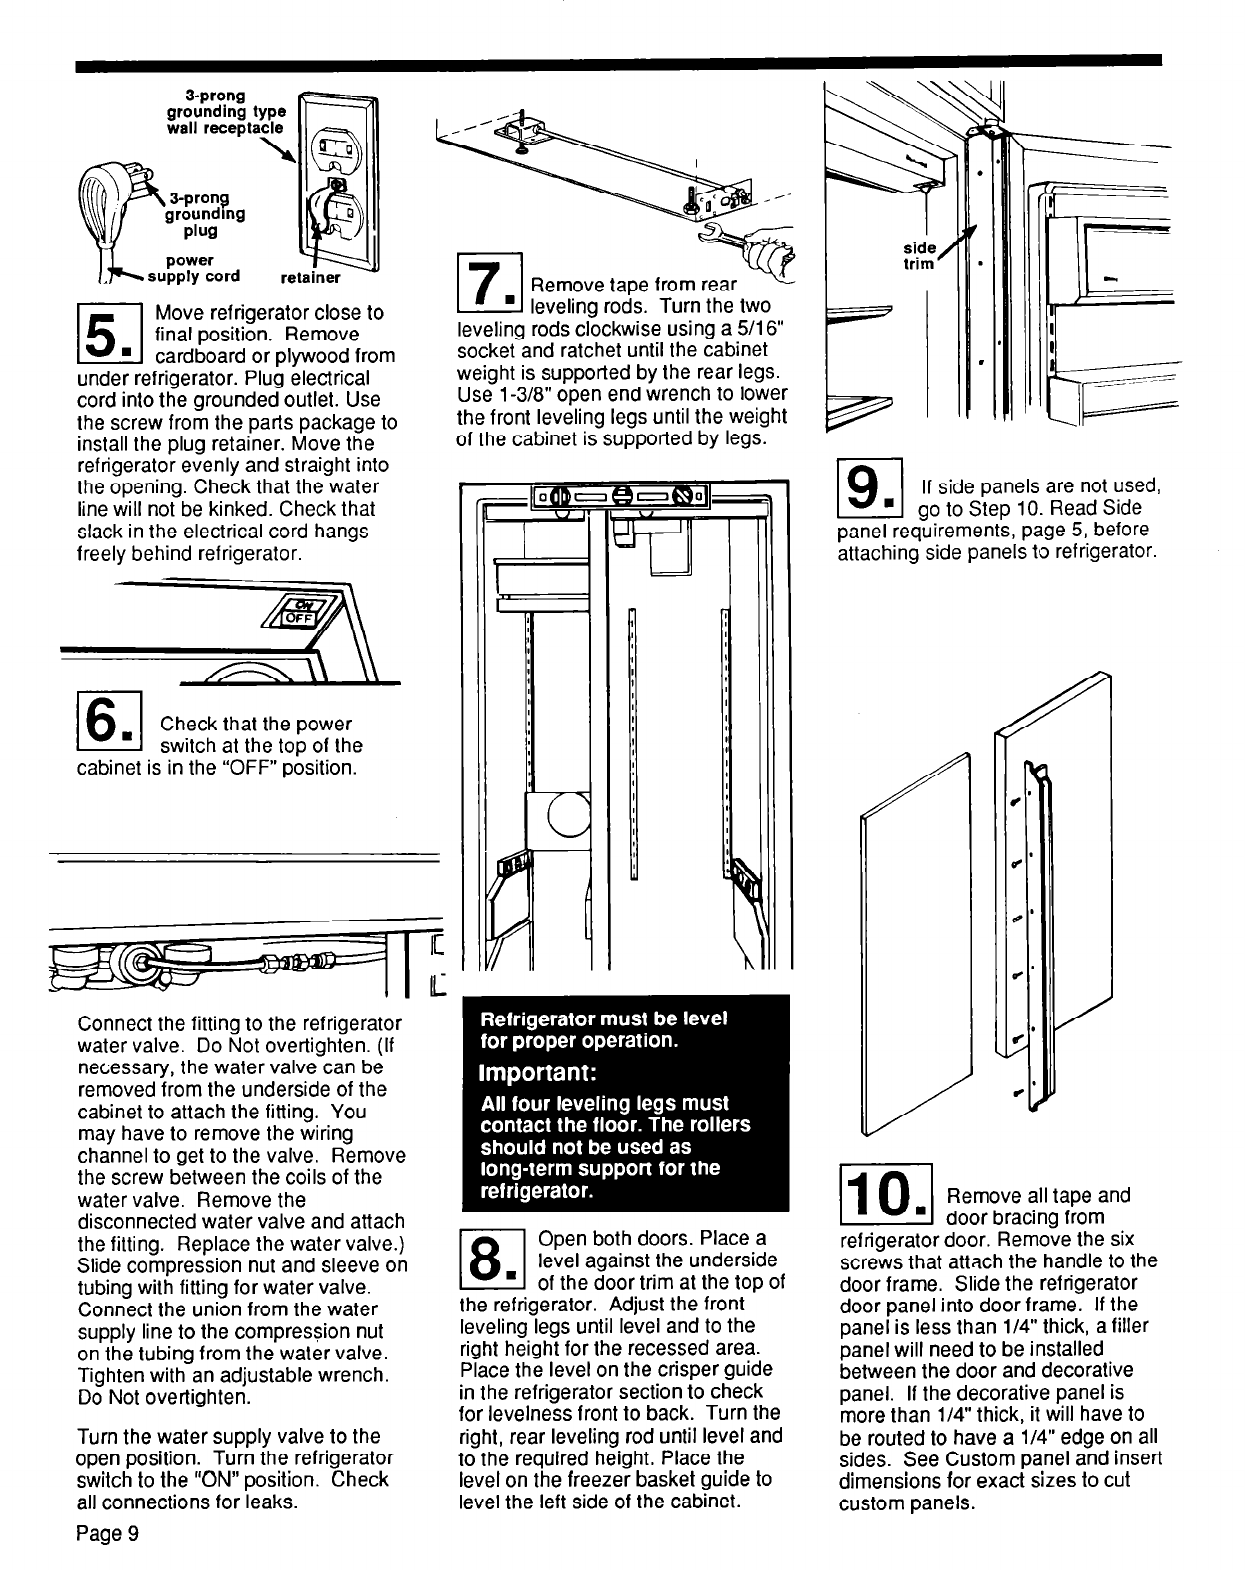
‘g%ndbg
plug
power
supply cord
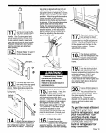
15.1
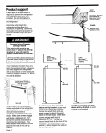
Move refrigerator close to
final position. Remove
cardboard or plywood from
under refrigerator. Plug electrical
cord into the grounded outlet. Use
the screw from the parts package to
install the plug retainer. Move the
refrigerator evenly and straight into
the opening. Check that the water
line will not be kinked. Check that
slack in the electrical cord hangs
freely behind refrigerator.
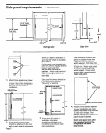
16
.
Check that the power
switch at the too of the
cabinet is in the “OFF” position.
leveling rods clockwise
using a 5/l 6”
socket and ratchet until the cabinet
weight is supported by the rear legs.
Use l-3/8” open end wrench to lower
the front leveling legs until the weight
of the cabinet is supported by legs.
Connect the fitting to the refrigerator
water valve. Do Not overtighten. (If
necessary, the water valve can be
removed from the underside of the
cabinet to attach the fitting. You
may have to remove the wiring
channel to get to the valve. Remove
the screw between the coils of the
water valve. Remove the
disconnected water valve and attach
the fitting. Replace the water valve.)
Slide compression nut and sleeve on
tubing with fitting for water valve.
Connect the union from the water
supply line to the compression nut
on the tubing from the water valve.
Tighten with an adjustable wrench.
Do Not over-tighten.
Turn the water supply valve to the
open position. Turn the refrigerator
switch to the “ON” position. Check
all connections for leaks.
Page 9
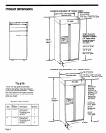
18
Open both doors. Place a
.
level against the underside
of the door trim at the top of
the refrigerator. Adjust the front
leveling legs until level and to the
right height for the recessed area.
Place the level on the crisper guide
in the refrigerator section to check
for levelness front to back. Turn the
right, rear leveling rod until level and
to the required height. Place the
level on the freezer basket guide to
level the left side of the cabinet.
P-I
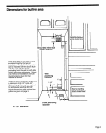
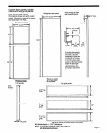
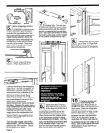
If side panels are not used,
’ go to Step 10. Read Side
panel requirements, page 5, before
attaching side panels to refrigerator.
/
Remove all tape and
door bracina from
refrigerator door. Remoie the six
screws that attach the handle to the
door frame. Slide the refrigerator
door panel into door frame. If the
panel is less than l/4” thick, a filler
panel will need to be installed
between the door and decorative
panel. If the decorative panel is
more than l/4” thick, it will have to
be routed to have a l/4” edge on all
sides. See Custom panel and insert
dimensions for exact sizes to cut
custom panels.