


D-l
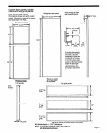
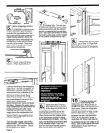
If you wish to change
. the door handle insert,
slide insert trim into
handle. See Custom panel and
insert dimensions for exact sizes
to cut custom inserts. Insert end
caps into each end of door handle.
Replace refrigerator door handle.
(Some end caps are attached
with screws.)
112
m
Repeat Steps 10 and
11
for the freezer door.
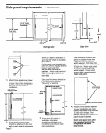
113
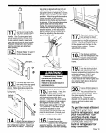
Remove two nuts from
one end of the top panel
W frame. Remove end
piece. Slide decorative panel into
panel frame. Replace end piece
using nuts.
Attach the two
braces to
the refrigerator cabinet. Attach top
grille frame to braces. Check that
top grille is aligned with top trim on
cabinet. Use ten screws to tighten
top grille frame to refrigerator. Check
that the power switch is in the “ON”
position. Attach top grille decorative
panel assembly to the keyhole
bracket on the frame and pull down
to secure. If the top grille decorative
panel does not fit evenly within
frame, the keyhole bracket can be
moved side to side by adjusting the
bracket screws, or the decorative
panel bracket can be moved up or
down by adjusting the decorator
panel bracket nuts.
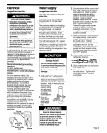
set screws ,
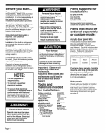
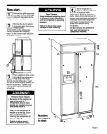
Personal injury Hazard
I
Reinstall set screws after
door swing is set.
Failure to so could result in
personal injury.
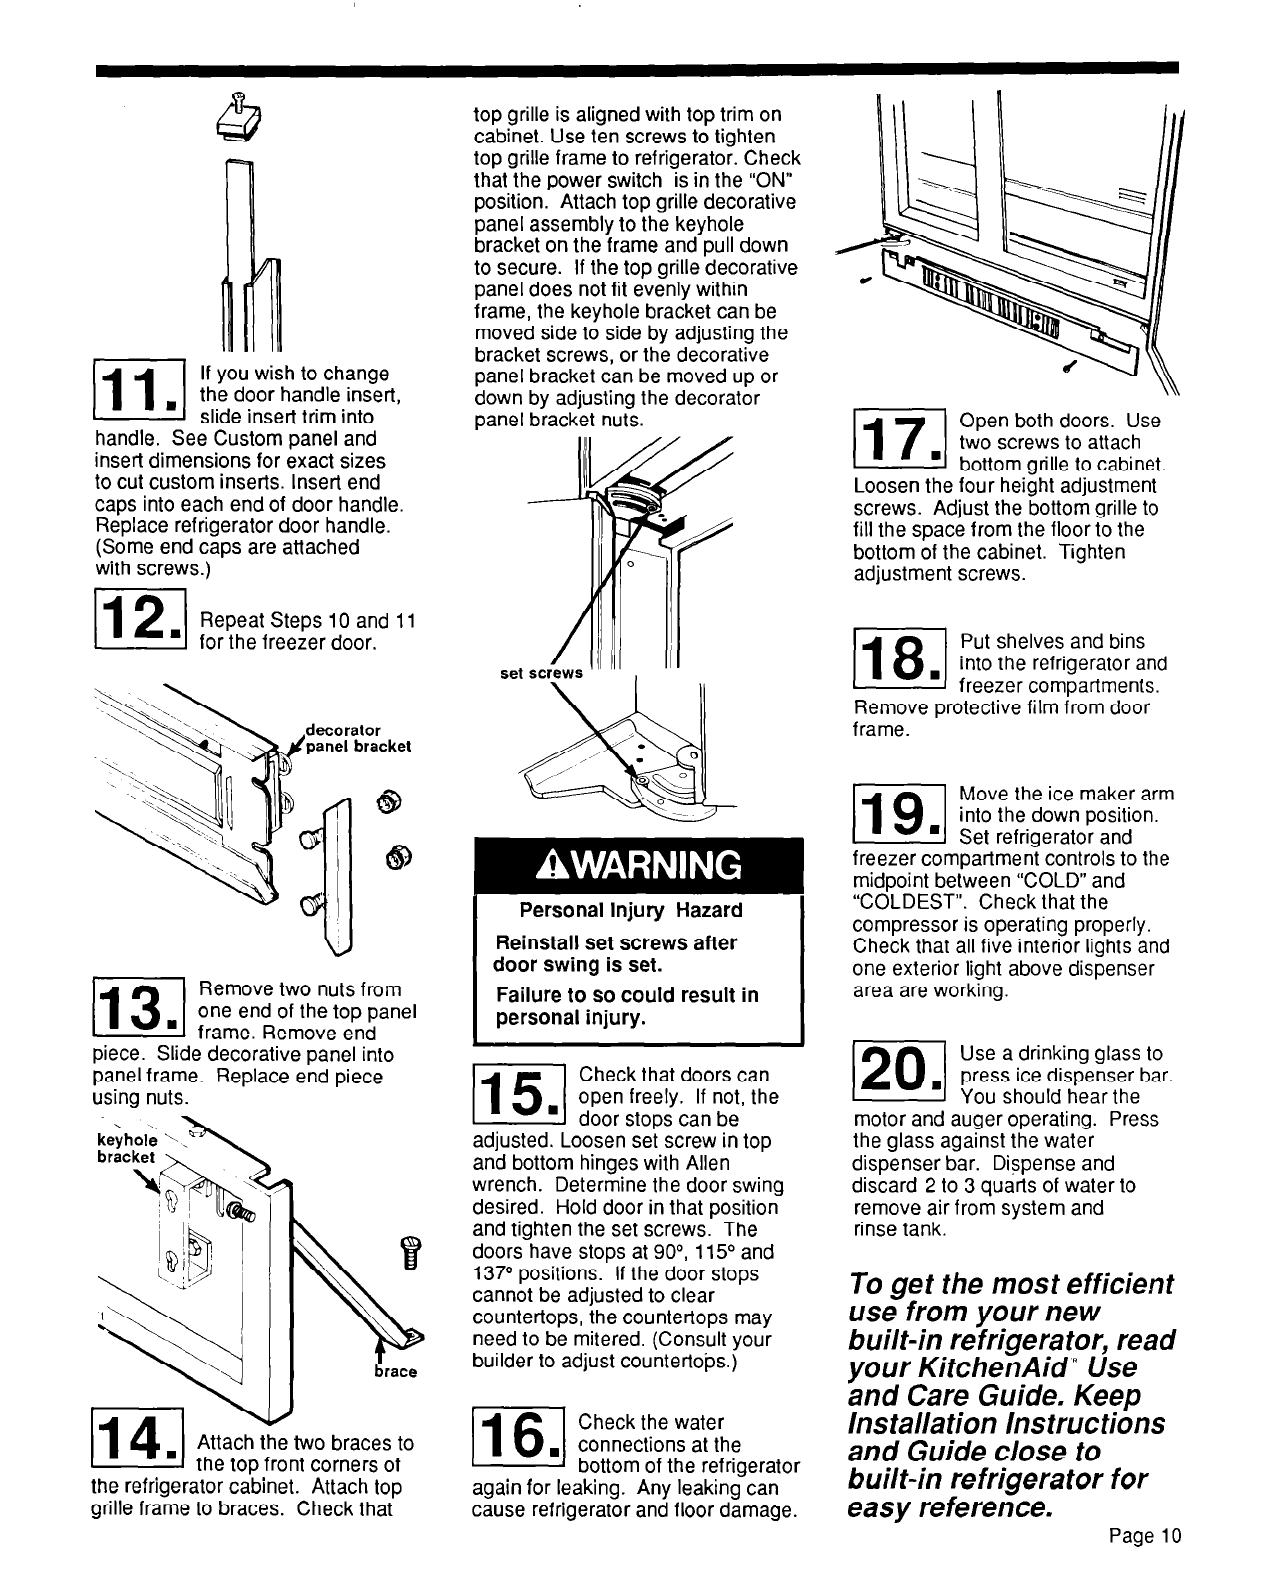
Check that doors can
open freely. If not, the
door stops can be
adjusted. Loosen set screw in top
and bottom hinges with Allen
wrench. Determine the door swing
desired. Hold door in that position
and tighten the set screws. The
doors have stops at 90°, 115O and
137O positions. If the door stops
cannot be adjusted to clear
countertops, the countertops may
need to be mitered. (Consult your
builder to adjust countertops.)
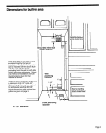
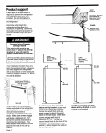
B-l
Check the water
. connections at the
bottom of the refrigerator
again for leaking. Any leaking can
cause refrigerator and floor damage.
1171
Open both doors. Use
two screws to attach
n
bottom arille to cabinet
Loosen the four height adjustment
screws. Adjust the bottom grille to
fill the space from the floor to the
bottom of the cabinet. Tighten
adjustment screws.
Put shelves and bins
into the refrigerator and
freezer compartments.
Remove protective film from door
frame.
119
Move the ice maker arm
n
into the down position.
Set refrigerator and
freezer compartment controls to the
midpoint between “COLD” and
“COLDEST”. Check that the
compressor is operating properly.
Check that all five interior lights and
one exterior light above dispenser
area are working.
120
Use a drinking glass to
n
press ice dispenser bar.
You should hear the
motor and auger operating. Press
the glass against the water
dispenser bar. Dispense and
discard 2 to 3 quarts of water to
remove air from system and
rinse tank.
To get the most efficient
use from your new
built-in refrigerator, read
your KitchenAid’ Use
and Care Guide. Keep
Installation Instructions
and Guide close to
built-in refrigerator for
easy reference.
Page 10