


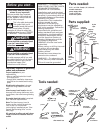

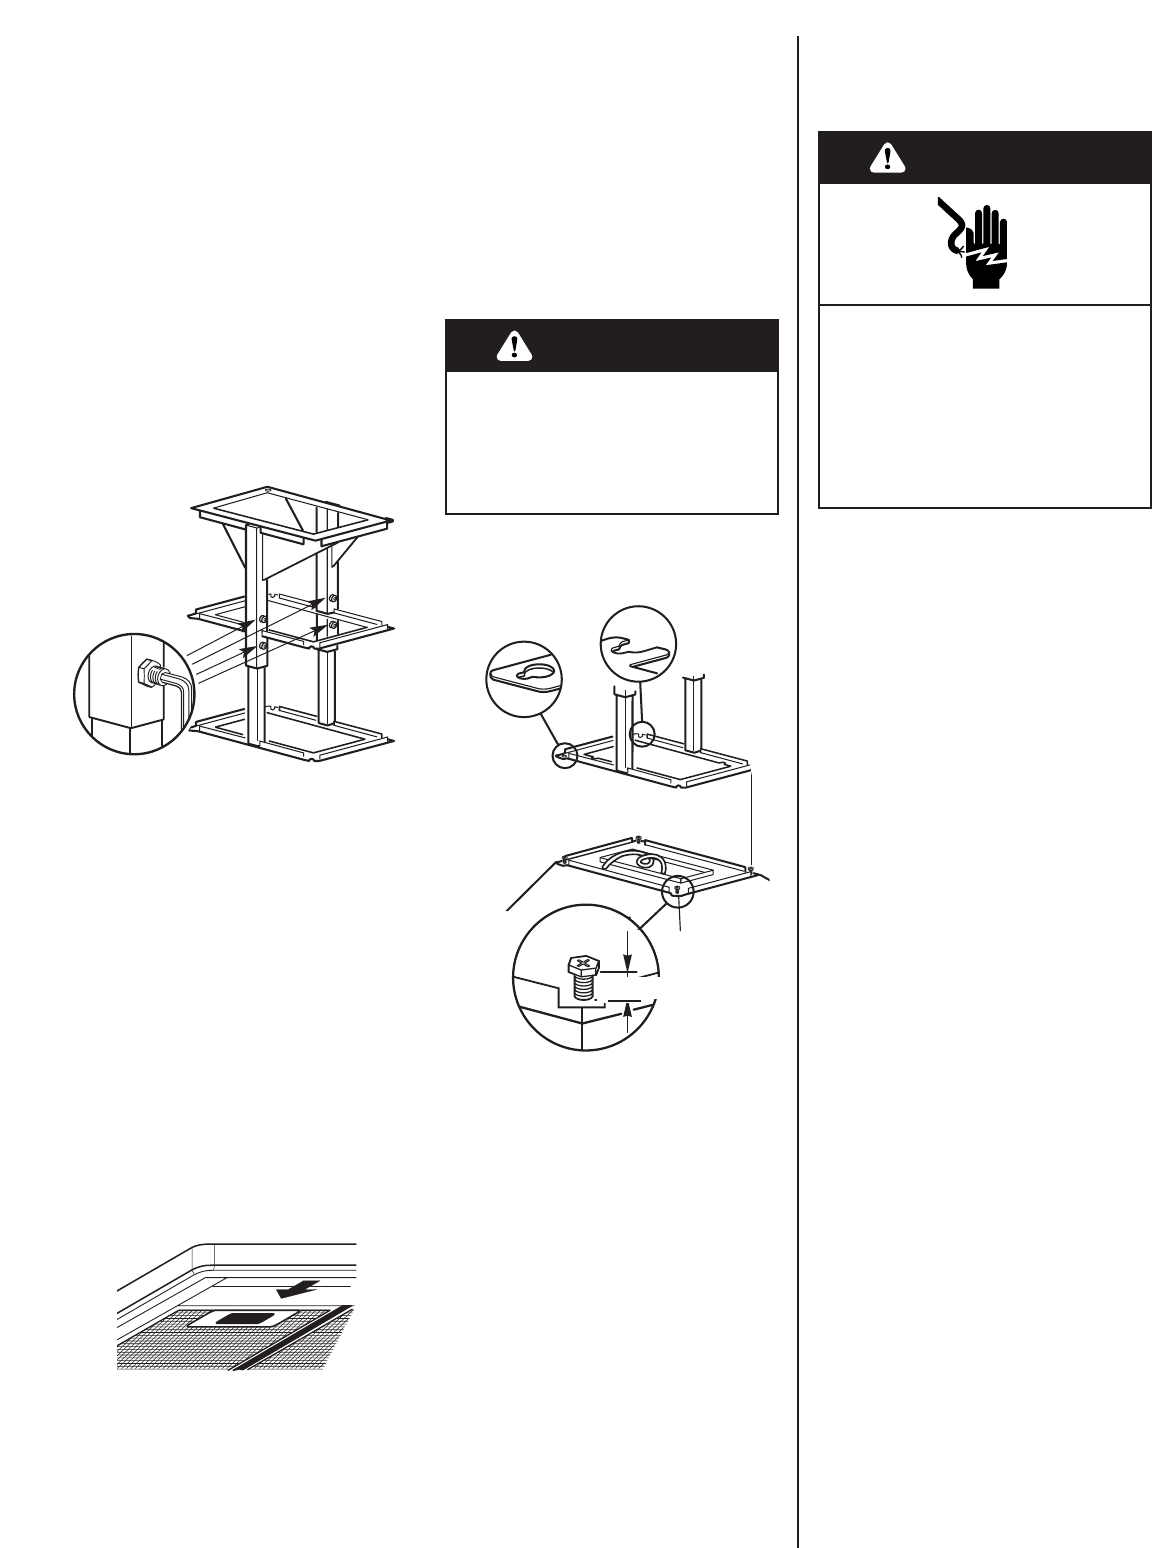
slot
1/4" (6.4 mm)
bolt
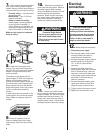
6
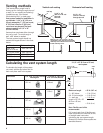
7. Align support mounting bracket
with holes in ceiling. Attach support
system frame to ceiling using anchors
recommended for your type of ceiling:
• Concrete ceiling — use inserts and
screws provided.
• Wood ceiling — use 4" (10.2 cm)
long wood screws.
• Plaster or sheet rock ceiling —
attach support mounting bracket
to ceiling joists if possible. If
ceiling joists are not available, you
must build a supporting structure
behind the plaster or sheet rock.
Make sure the support is connected
firmly to ceiling.
four set
screws
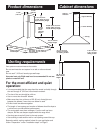
8. Determine the height of the
canopy. The range hood requires at
least 24" (61 cm) of clearance between
bottom of range hood canopy and
cooking surface.
The bottom of the canopy will be
approximately 9" (22.9 cm) below the
bottom of the support system. To
change the canopy height, loosen the
four set screws on the support frame.
Adjust support frame to the desired
length and tighten all four set screws
firmly in place before attaching
canopy.
If used, attach the vent damper to the
inside bottom of the chimney support
frame. Make sure damper opens to
outside.
Excessive Weight Hazard
Use two or more people to move
and install island canopy hood.
Failure to do so can result in back
or other injury.
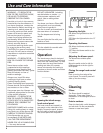
9. Press on handle in front of
filters to release filters from range
hood canopy. Remove filters and set
aside.
WARNING
.
10. Remove the terminal box
cover from the range hood. Remove
the power supply cable knockout
using a flat-blade screwdriver. Do not
remove optional remote blower
knockout. Attach conduit connector
into power supply cable opening so
that conduit connector clamping
screws are inside the terminal box.
11. Loosen four bolts located
next to exhaust opening so that there
is approximately 1/4" (6.4 mm) space
between bolt head and canopy. Lift
canopy and insert bolts into slots in
support system frame. Tighten bolts
to support system frame and canopy.
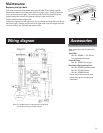
Electrical
connection
Electrical Shock Hazard
Disconnect power before
making electrical connections.
Connect ground wire to green
ground screw in terminal box.
Failure to do so can result in
death or electrical shock.
WARNING
12 . Make electrical connection:
ࠜ Disconnect power supply.
ࠜ Feed enough power supply cable
through conduit connector to
make electrical connections.
ࠜ Connect the power supply cable to
hood terminal box through the
U.L.- or C.S.A.-listed conduit
connector.
ࠜ Connect the white wire of the
power supply cable with the white
lead in the hood using a twist-on
connector; connect the black wire
of the power supply cable with the
black lead in the hood using a
twist-on connector.
ࠜ Connect the power supply green
(green and yellow) ground wire
under the green, ground screw.
ࠜ Tighten conduit connector screws.
ࠜ Replace the terminal box cover.