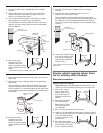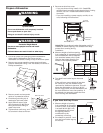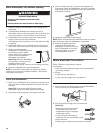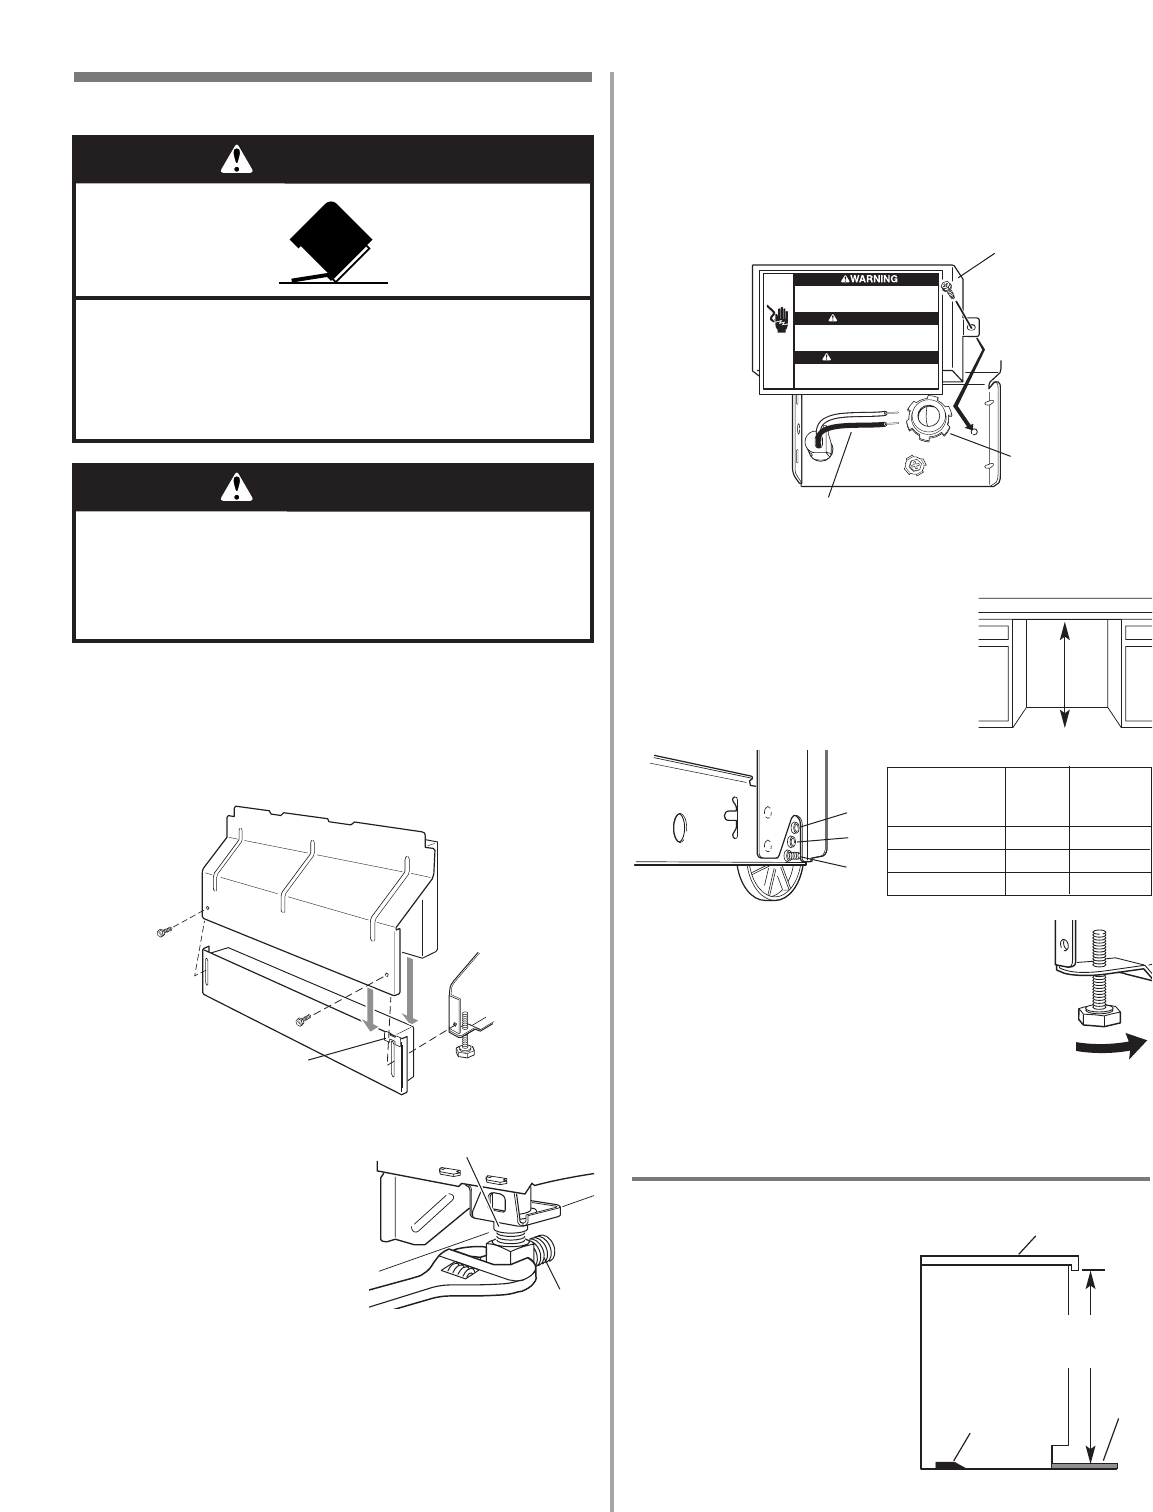
7. Remove terminal box cover.
– If you are direct wiring: install a U.L.-listed/CSA-
certified clamp connector to the terminal box. If using
conduit, use a U.L.-listed/CSA-certified conduit
connector.
– If you are installing a power supply cord kit, do so
now, following kit instructions.
Helpful Tip: Put cardboard under dishwasher until it is
installed in cabinet opening. The cardboard will help
protect floor covering during
installation.
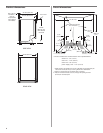
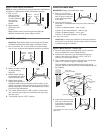
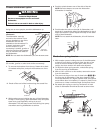
8. Measure height of cabinet opening
from underside of countertop to floor
where dishwasher will be installed
(you need the lowest point). Check
chart for that height opening. Put
wheels in the required position.
9. Turn both front leveler legs to the same
height.
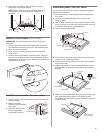
If the minimum cutout height is less than
34” (86.4 cm), the rear wheels can be
removed for additional clearance. This will
allow the dishwasher to fit into a 33-7/8”
(86 cm) high cutout, but the dishwasher will
be more difficult to move into position. If
the wheels are removed, protect the floor
when moving the dishwasher.
If you have built-up floors
1. Measure height of opening
from underside of countertop
to built-up floor. If the height
is at least 33-3/4” (85.7 cm),
the dishwasher will fit into
the opening without
modification to the
countertop or flooring.
2. Put wheels in position 1 and
turn the front leveler legs up
all the way.
1
2
3
wheel
10
1
2
3
10
5
0
Number of
turns on
front leg
Wheel
position
34" (86.4 cm)
34-1/4" (87 cm)
34-1/2" (87.6 cm)
Minimum
cutout height
front leg
shim
33-3/4"
(85.7 cm)
min.
countertop
built-up
floor
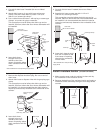
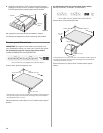
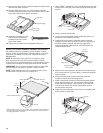
1. Put corner posts from packaging behind dishwasher.
Grasp sides of dishwasher door frame and put
dishwasher on its back, resting on top of the corner posts.
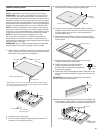
2. Remove two screws attaching access panel and lower
panel to dishwasher using a 1/4” hex socket, nut driver or
Phillips screwdriver.
3. Remove panels and set panels
aside on a protective surface.
4. Check that grounding clip is
attached to the lower panel.
5. Apply Teflon® tape or pipe
joint compound to 90° elbow
fitting and connect fitting to
water inlet valve.
6. Tighten elbow until snug, and
be sure that it faces to the rear.
lower
panel
access
panel
grounding
clip
water inlet valve
elbow
ADVERTENCIA
AVERTISSEMENT
dishwasher wires
cable clamp
connector
terminal
box cover
Prepare dishwasher
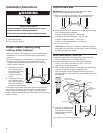
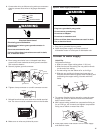
WARNING
Tip Over Hazard
Do not use dishwasher until completely installed.
Do not push down on open door.
Doing so can result in serious injury or cuts.
WARNING
Excessive Weight Hazard
Use two or more people to move and install
dishwasher.
Failure to do so can result in back or other injury.


