


8
STAND ALONE INSTALLATION
***This installation only applied with the purchase of a duct cover.
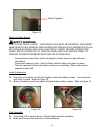
S AF ET Y W A R N IN G
HOOD MAY HAVE VERY SHARP EDGES; PLEASE WEAR PROTECTIVE GLOVES IF IT
IS NECESSARY TO REMOVE ANY PARTS FOR INSTALLING, CLEANING OR
SERVICING.
Preparation before Installation
NOTE: TO AVOID DAMAGE TO YOUR HOOD, PREVENT DEBRIS FROM ENTERING THE
VENT OPENING.
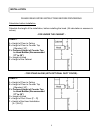
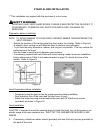
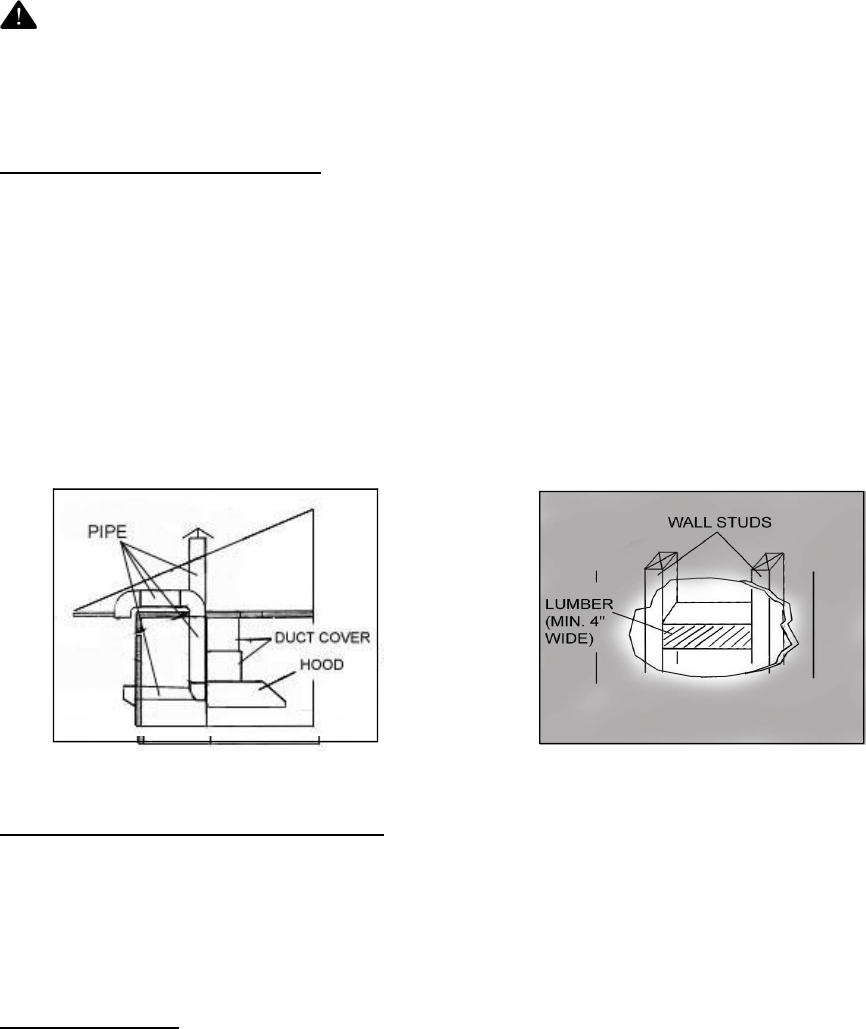
- Decide the location of the venting pipe from the hood to the outside. Refer to Figure 8.
- A straight, short venting run will allow the hood to perform more efficiently.
- Try to avoid as many transitions, elbows, and long run as possible. This may reduce the
performance of the hood.
- Use duct tape to seal the joints between pipe sections.
- If necessary, prepare back wall frame with cross framing lumber for secure installation.
Using references on Table 2 and measurements on page 15, decide the level of the
lumber. Refer to Figure 9.
Figure 8 Figure 9
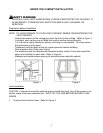
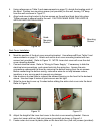
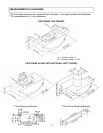
Hood Preparation before Installation
- Temporarily wire the hood to test for proper operation before installing.
- Peel protective film off the hood and the duct cover (if any).
- Attach the hood-mounting bracket behind the hood with (3/16x3/8 mm) screws
(provided) as shown in Figure 10.
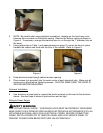
Hood Installation
CAUTION: If required to move the cooking range to install the hood, turn off the power on an
electric range at the main electrical box. SHUT OFF THE GAS BEFORE MOVING A GAS
RANGE.
3. If necessary, attach two rubber stands (provided) with two (4x8 mm) screws (provided) to
the back of the hood.