


7
STAND ALONE INSTALLATION
***This installation only applies with the purchase of an optional duct cover (Model No. RA1020DC).
S AF ET Y W A R N IN G
HOOD MAY HAVE VERY SHARP EDGES; PLEASE WEAR PROTECTIVE GLOVES IF IT
IS NECESSARY TO REMOVE ANY PARTS FOR INSTALLING, CLEANING OR
SERVICING.
Preparation before installation
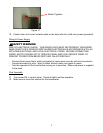
- Temporarily wire the hood to test for proper operation before installing.
- Peel protective film off the hood and the duct cover (if any).
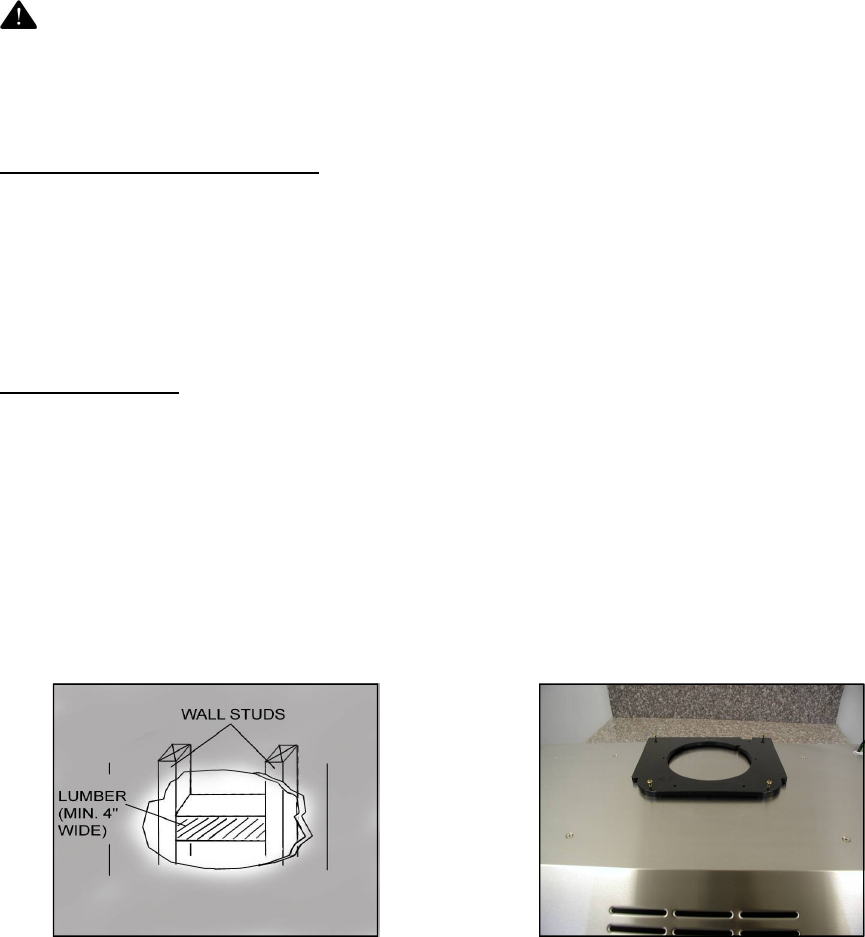
- If necessary, prepare back wall frame with cross framing lumber for secure installation.
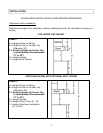
Using references on Table 2 and measurements on page 14, decide the level of the
lumber. Refer to Figure 5.
Hood Installation
CAUTION: If required to move the cooking range to install the hood, turn off the power on an
electric range at the main electrical box. SHUT OFF THE GAS BEFORE MOVING A GAS
RANGE.
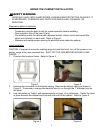
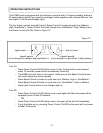
1. Remove the five screws at the center of the hood top. Use the five screws to attach the
plastic plate onto the hood as shown in Figure 6. NOTE: Disregard the hole through the
plastic plate.
2. If necessary, attach two rubber stands (provided) with two (4x8 mm) screws (provided) to
the back of the hood.
Figure 5 Figure 6
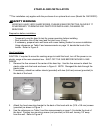
3. Attach the hood-mounting bracket to the back of the hood with six (3/16 x 3/8 mm) screws
(provided) as shown in Figure 7.
4. Use the references on Table 2 and the measurements on page 14 to decide the level of
the hood. Position two mounting screws (not provided) on the wall, leaving 1/8” away
from the wall. Refer to Figure 8.