- 4 -
Roasting with the Contact Grill
1. Open the lid of the Contact Grill by pulling the
locking clasp on handle
w
, downwards and tilt
the lid up to the stopper. If necessary, remove all
fallen food particles from the hot plate surface
using a dry cloth.
2. Dab some oil or butter on the surface of the hot
plate.
3. Close the lid of the Contact Grill. The appliance
is fully closed when the locking clasp on handle
w
audibly snaps into position.
4. Insert the plug into a power socket to switch the
appliance on and set the temperature control
knob
t
at the desired temperature. Now the
Contact Grill starts heating up.
The pilot light
q
turns on.
5. After a few minutes the pilot light
q
switches off.
Now the Contact Grill has reached the set tem-
perature and is ready for operation.
Temperature control / preparation
methods
You can set the temperature control knob at the
following positions:
• Switched off
I Defrost
II Heat up
III Medium grilling
M Fast grilling
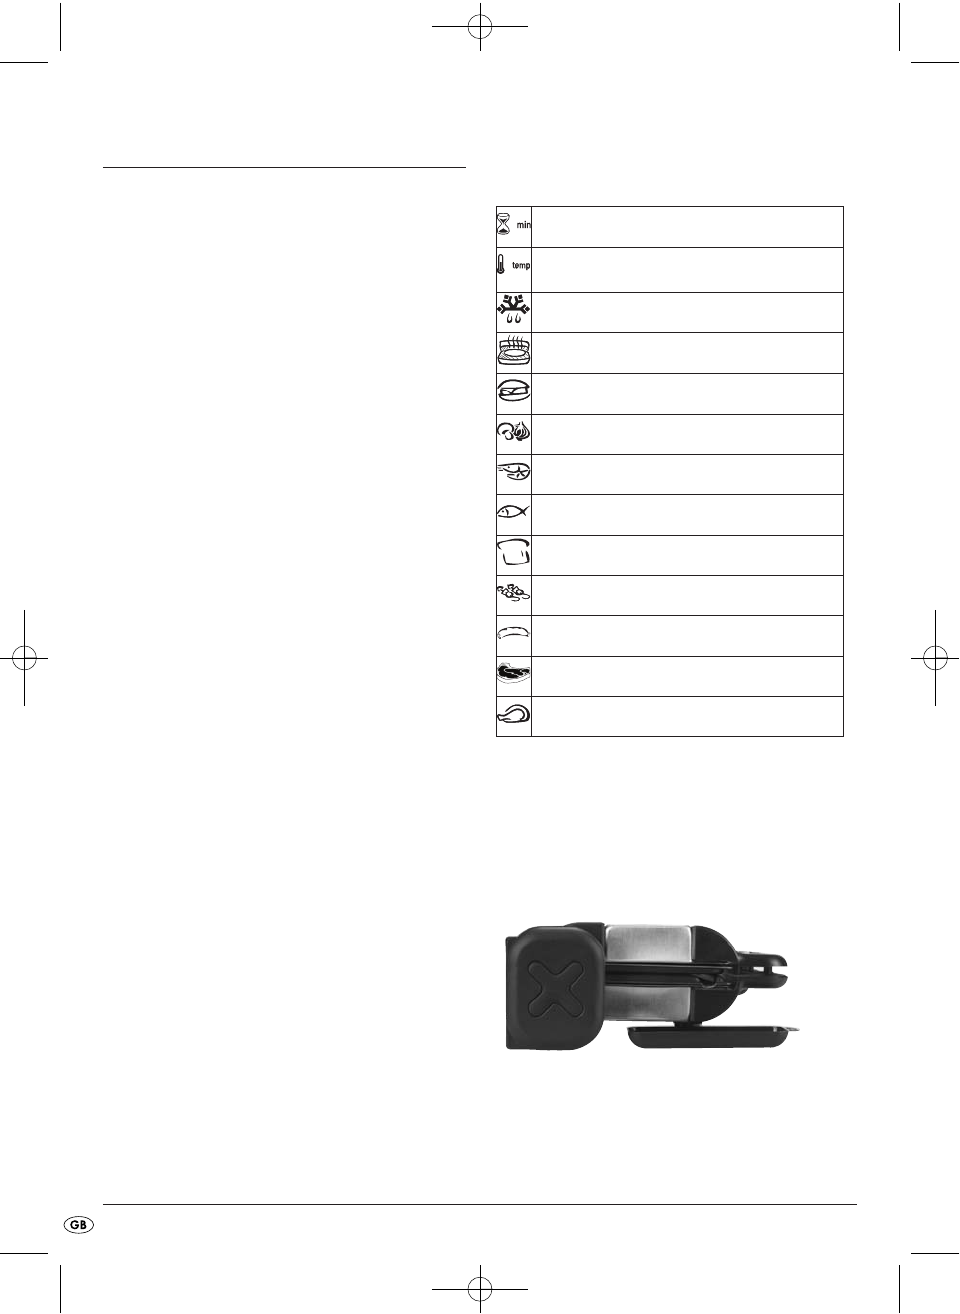
Pictograms for the most important methods of prepa-
ration that can be used with the appliance in con-
tact position are shown on the appliance. The coo-
king times generally depend on the weight and size
of the food being grilled as well as your individual
tastes. The values given are guiding values based
on a quantity of 100 g.
The individual symbols have the following
meanings:
Hot plate positions
You can position the hot plates in different ways
depending on the preparation method.
Grill roasting / Plates in contact
This position is suitable for simultaneous and fast
roasting of foodstuffs on both sides. It is ideal for
grilling meat that needs to be seared fast at high
temperature, e.g. rump steak, filet cuts, chops,
sausages and vegetables.
Grilling or cooking time
Temperature setting to use
Thawing
Heating up
Hamburger / sandwich
Vegetables
Shrimp
Fish
Toast, etc.
Meat skewers
Sausages
Meat (cutlets, steaks)
Chicken / turkey
IB_KH1141_E2689_LB6 16.01.2008 14:27 Uhr Seite 4


