


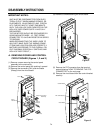
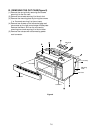
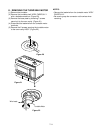
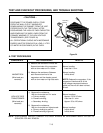
H. ASSEMBLING DOOR
(1) When mounting the door assembly to the oven
assembly, be sure to adjust the door assembly
parallel to the chassis. Also adjust so the door has no
play between the inner door surface and oven frame
assembly. If the door assembly is not mounted
properly, microwaves may leak from the clearance
between the door and the oven.
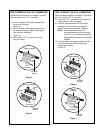
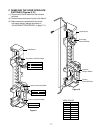
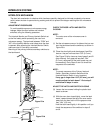
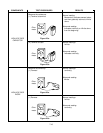
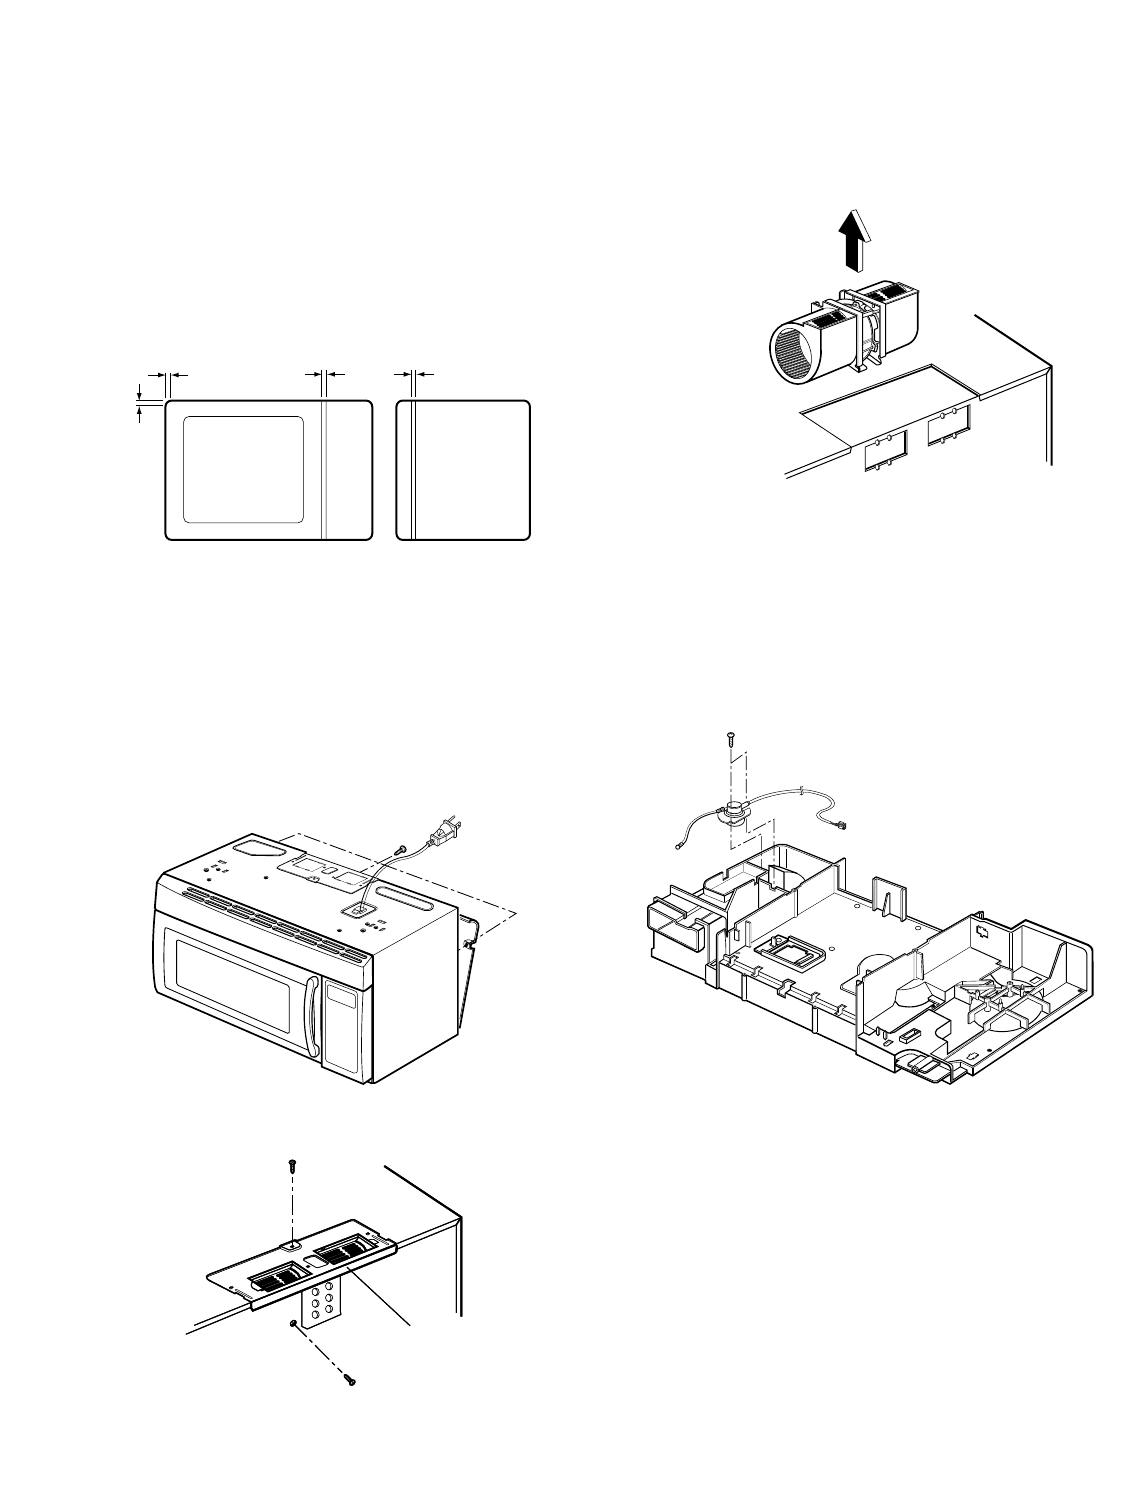
I. REMOVING THE VENTILATION MOTOR
(1) Remove the mounting plate by loosening mounting
plate screws (1 or 2 screws) securing it to the back
plate. (See Figure 18)
(2) Remove MOUNT ALL loosening one screw
loosening one screw securing the ventilation Motor
and back plate. (See Figure 19-a)
(3) Carefully pull the ventilation motor ASS'Y out of the
microwave oven. (See Figure 19-b)
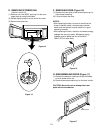
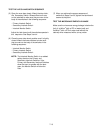
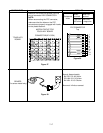
J. REPLACING THE HUMIDITY SENSOR
(For sensor model only)
(1) Remove the sensor by removing two screws
securing it to the air duct. (See Figure 19-c)
(2) Mount the new humidity sensor to the air duct.
7-10
(1 or 2 screws)
(1 or 2 screws)
MOUNT, ALLMOUNT, ALL
Figure 18
Figure 19-a
Figure 19-b
Figure 19-c
Space