


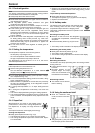

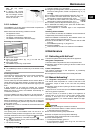


5.4.1 Food refrigeration
Note
The energy consumption increases and the cooling perform-
ance decreases if the ventilation is inadequate.
u
Always keep the air slits of the fan free.
u
Place butter and preserves in the upper area and in the door
(see Appliance at a glance).
u
Use recyclable plastic, metal, aluminium and glass
containers and cling film for wrapping.
u
Always store liquids and food which is subject to odour or
taste transfer in closed containers or cover them.
u
Foods which give off a large amount of ethylene gas and
delicate foods, such as fruit, vegetables, salad, should
always be stored separately or wrapped so as not to reduce
the storage life; e.g. do not store tomatoes together with
kiwis or cabbage.
u
Use the front area of the refrigerator compartment floor only
for briefly putting down cooled products, e.g. when rear-
ranging and sorting. However do not leave cooled products
there otherwise they may be pushed back or tipped over
when the door is closed.
u
Do not store food too close together to enable good air
circulation.
5.4.2 Setting the temperature
The temperature depends on the following factors:
-
the frequency of opening the door
-
the room temperature of the installation location
-
the type, temperature and quantity of the food
The temperature can be set from 9 °C to 3 °C, the recom-
mended temperature is 5 °C.
Note
If the temperature is to be colder than 3 °C:
u
set the cooling temperature to 3 °C.
u
Set the BioFresh temperature to a value between b4
(slightly colder) and b1 (coldest) (see 5.5)
u
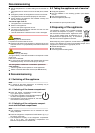
For a higher temperature setting: press Up button, refriger-
ator compartment
Fig. 2 (3)
.
u
For a lower temperature setting: press Down button, refrig-
erator compartment
Fig. 2 (4)
.
w
When the button is pressed for the first time, the previously
set value is indicated, flashing, in the refrigerator compart-
ment temperature display.
u
To change the temperature in 1 °C steps: briefly press the
button.
u
To change the temperature continuously: hold down the
button.
w
The value is displayed flashing during the setting operation.
w
The actual temperature is displayed about 5 s after the last
press of a button. The temperature slowly adjusts to the new
value.
5.4.3 SuperCool
With SuperCool you switch to the highest cooling
performance to reach lower cooling temperatures.
Use SuperCool, to rapidly cool large amounts of
food.
*
The SuperCool function uses slightly more energy.
Cooling with SuperCool
u
Briefly press SuperCool button
Fig. 2 (6)
.
w
The SuperCool symbol
Fig. 2 (7)
lights up in the display.
w
The cooling temperature drops to the coldest value. Super-
Cool is activated.
w
SuperCool is automatically deactivated after 12 hours. The
appliance continues to operate in the energy-saving, normal
mode.
To prematurely deactivate SuperCool
u
Briefly press SuperCool button
Fig. 2 (6)
.
w
The SuperCool symbol
Fig. 2 (7)
goes out in the display.
w
SuperCool is deactivated.
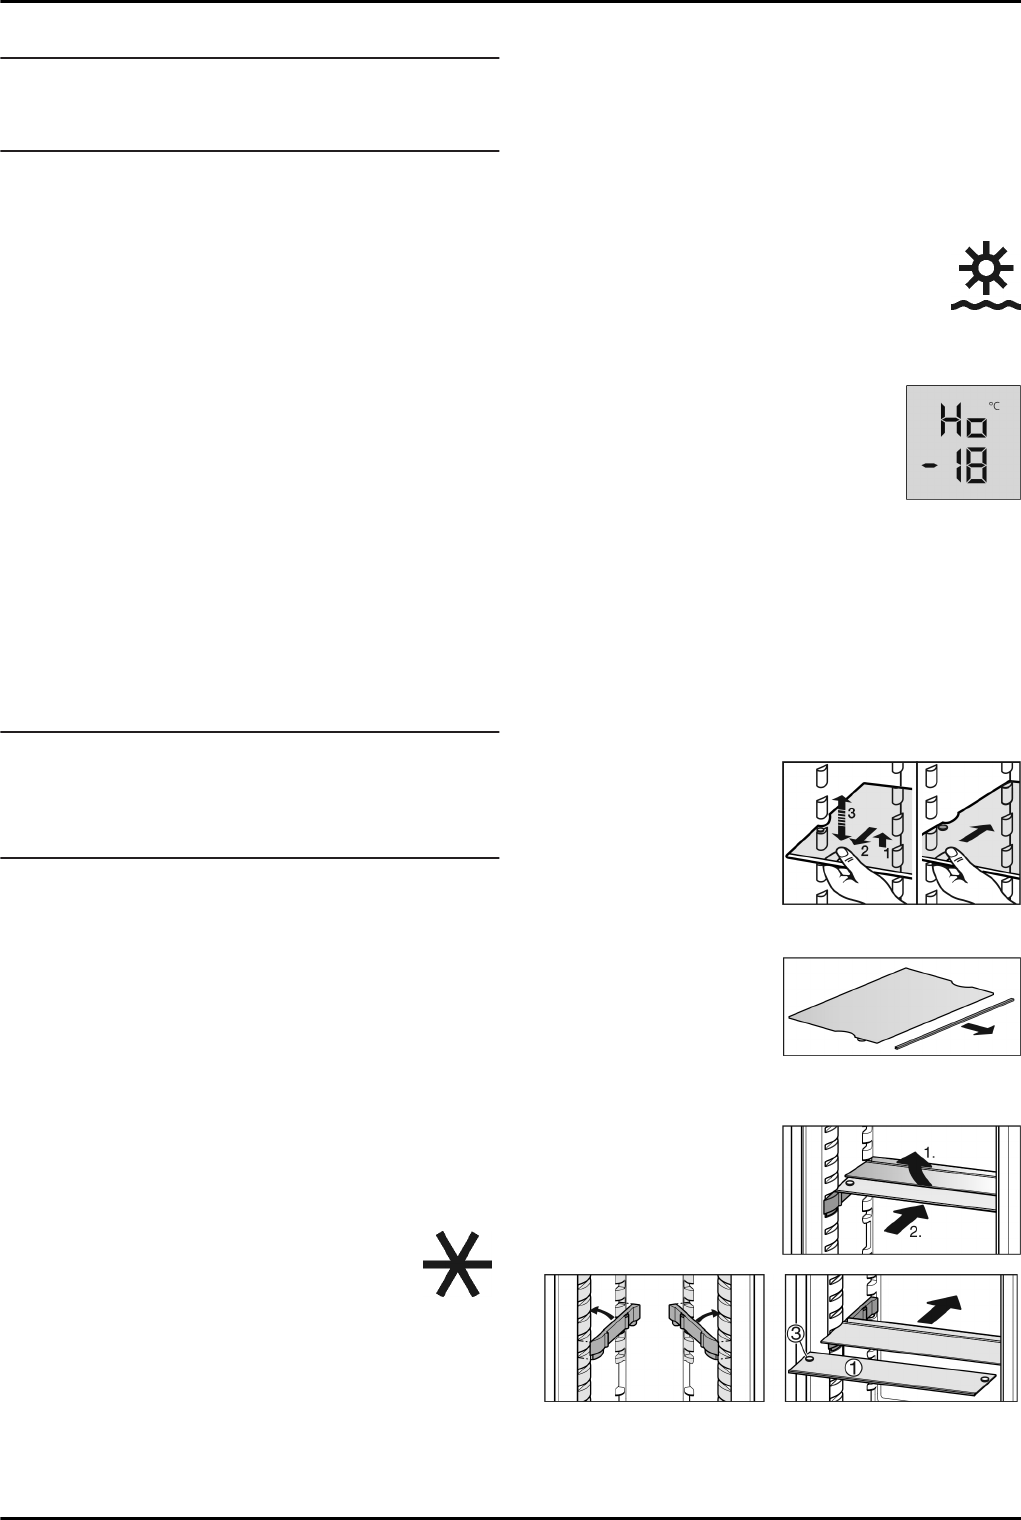
5.4.4 Holiday mode
The holiday mode saves energy and prevents odour
from occurring when the door of the refrigerator
compartment stays closed for a lengthy period.
The freezer compartment remains in operation in the
holiday mode.
Activating the holiday mode
u
Remove all the food from the refrigerator
and BioFresh compartment, otherwise they
will perish..
u
Press the holiday button
Fig. 2 (5)
for 3 sec.
w
The holiday mode is activated. The display indicates Ho.
Deactivating the holiday mode
u
Briefly press the holiday button
Fig. 2 (5)
.
w
The holiday mode is deactivated.
w
The current cooling temperature is indicated in the display.
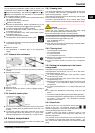
5.4.5 Shelves
Relocating the shelves
The shelves have stops preventing them from being uninten-
tionally pulled out.
u
Lift the shelf and draw it out
forwards.
u
Re-insert shelves at the
required height. The stops
must face downwards and
lie behind the front shelves.
Dismantling shelves
u
The shelves can be disman-
tled for cleaning.
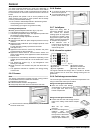
5.4.6 Using the sectioned shelf
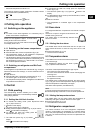
u
Slide the sectioned shelf
under, as shown in the illus-
tration.
Fig. 3
u
The glass plate (1) with pull-out stops must be at the front so
that the stops (3) face downwards.
Control
6 * Depending on model and options