


Switching off the IceMaker*
If no ice cubes are needed, the IceMaker can be switched off
independently of the freezer compartment.
When the IceMaker is switched off, the IceMaker drawer can
also be used for freezing and storing food.
u
Press the On/Off button for about 1 second until the LED
goes out.
u
Clean the IceMaker.
w
This ensures that no water or ice remains in the IceMaker.
6 Maintenance
6.1 Defrosting with NoFrost
The NoFrost system automatically defrosts the appliance.
Refrigerator compartment:
The defrost water evaporates due to the compressor heat.
Drops of water on the rear wall are perfectly normal.
u
Regularly clean the drain opening to allow the water to flow
away (see 6.2) .
Freezer compartment:
The moisture condenses on the evaporator, is periodically
defrosted and evaporates.
u
The appliance does not have to be manually defrosted.
6.2 Cleaning the appliance
WARNING
Risk of injury and damage as a result of hot steam!
Hot steam can lead to burns and can damage the surfaces.
u
Do not use any steam cleaners!
NOTICE
Incorrect cleaning damages the appliance!
u
Do not use cleaning agents in concentrated form.
u
Do not use any scouring or abrasive sponges or steel wool.
u
Please do not use any aggressive, scouring, sand-,
chloride-, chemical- or acid-based cleaning agents.
u
Do not use chemical solvents.
u
Do not damage or remove the type plate on the inside of the
appliance. It is important for the customer service.
u
Do not pull off, bend or damage cables or other compo-
nents.
u
Do not allow any cleaning water to enter the drain channel,
ventilation grille or electrical parts.
u
Please use soft cleaning cloths and a universal pH-neutral
cleaning agent.
u
Please use cleaning and care products suitable for contact
with foodstuffs in the appliance interior.
u
Empty appliance.
u
Pull out the power plug.
u
Clean plastic outer and inner surfaces with lukewarm
water and a little washing-up liquid.
NOTICE
The stainless steel doors are finished with a high quality
surface coating and must not be treated with the enclosed care
product,
as otherwise the surface coating will be damaged.
u
Please only use a soft clean cloth to wipe the coated door
surfaces. In the case of heavy soiling, use a little water or
neutral cleaning agent. A micro-fibre cloth can be used
optionally.
u
When soiled, clean stainless steel side walls with a
commercially available stainless steel cleaning agent. Then
apply the enclosed stainless steel care product evenly in the
direction of polishing.
u
Use only a soft clean cloth to wipe side walls and door
surfaces with a paint finish. In the case of heavy soiling, use
a little water or neutral cleaning agent. A micro-fibre cloth
can be used optionally.
u
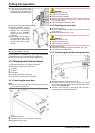
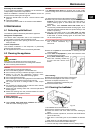
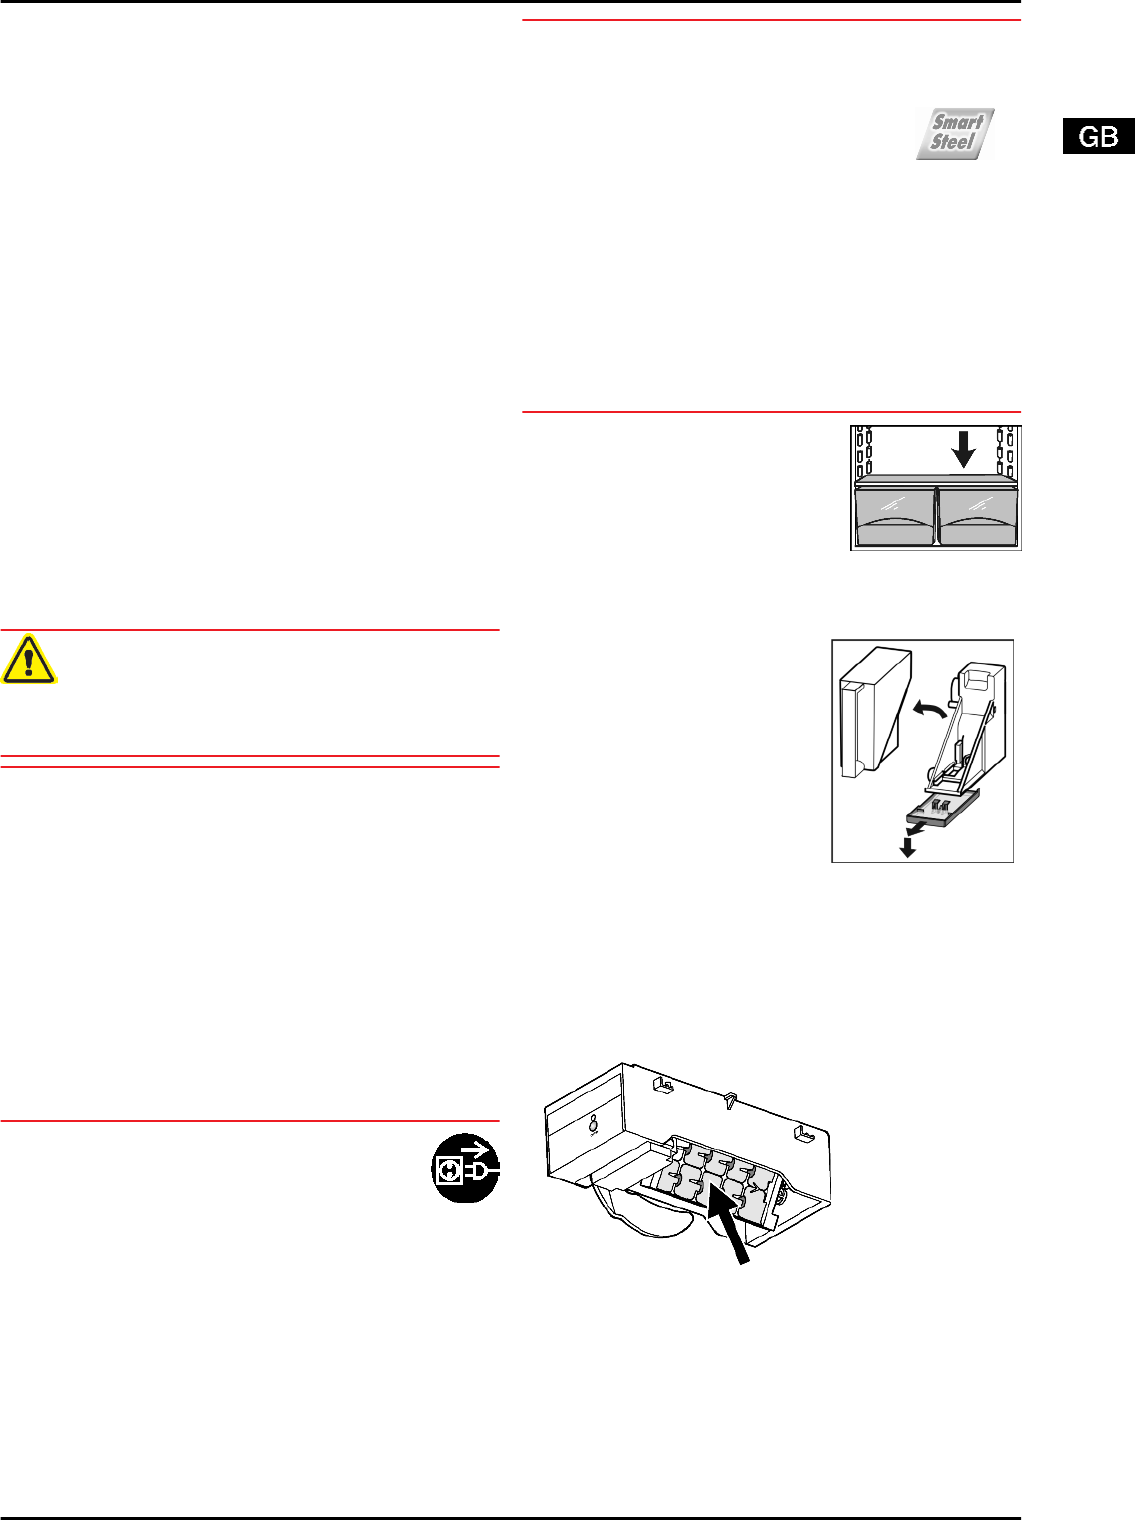
Clean drain hole: Remove deposits
with a narrow instrument, e.g. a
cotton bud.
u
Most of the parts can be dismantled for cleaning: see the
relevant chapter.
u
Clean items of equipment by hand with lukewarm water
and a little washing-up liquid.
u
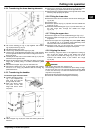
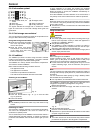
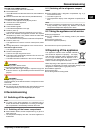
Empty water collect tray: remove
water tank. Carefully unlatch tray
at front and then remove from
below.*
*
After cleaning:
u
Wipe dry the appliance and items of equipment.
u
Connect the appliance and switch it on again.
u
Switch on SuperFrost (see 5.4.4) .
When the temperature is sufficiently cold:
u
Put the food back inside.
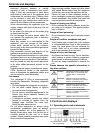
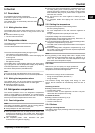
6.3 Cleaning the IceMaker*
Fig. 16
The IceMaker has to be switched on.
u
Pull out the drawer and remove the ice cubes.
u
Clean the drawer with warm water and mild washing-up
liquid.
u
When the drawer is pulled out, hold down the On/Off button
(about 10 seconds).
w
After about 1 s the LED goes out, the IceMaker is switched
off.
w
After about 10 s the LED flashes for about 60 s.
u
Slide in the drawer while the LED is flashing.
w
The ice-cube tray of the IceMaker turns to a skew position.
Maintenance
* Depending on model and options 13