


ICEMAKER
15
BFI/BF1055 (7082 244-00)
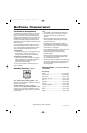
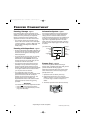
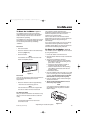
To Start the IceMaker
- Figure 11
The IceMaker will only work if the combined
refrigerator-freezer is connected to the electrical
outlet. It will only make ice cubes if the freezer
compartment is operating.
The IceMaker is in the top left drawer in the freezer
compartment of the combined refrigerator-freezer.
You can identify this drawer by its labeling
“IceMaker.”
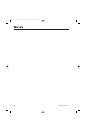
To turn on
• Pull out the drawer.
• Press the “ON/OFF” button so the control lamp
comes on
(Figure 11)
.
• Close the drawer.
Note
The icemaker can only make ice cubes if the
drawer is completely closed.
Figure 11
To turn off
If you do not need any ice cubes, the icemaker can
be turned off independently of the freezer
compartment.
• Press the “ON/OFF” button for approximately
1 second so the control lamp goes out.
Note
If the icemaker is turned off, the empty drawer
can also be used to freeze and store food.
To make ice cubes
After you start the icemaker for the first time it may
take up to 24 hours before the first ice cubes are
ready.
Note
The first three batches of ice must not be
consumed or used.
ON / OFFON / OFF
The production capacity depends on the
temperature inside the freezer compartment. The
lower the temperature, the more ice can be
produced over a period of time.
The ice cubes fall out of the icemaker into the
drawer. When the ice reaches a certain level in the
drawer, the appliance stops producing ice
automatically.
If you need a large quantity of ice you can change
out the drawer to the right with the complete
“IceMaker” drawer. When you close the drawer the
icemaker will immediately start production.
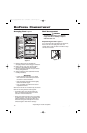
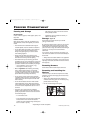
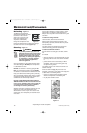
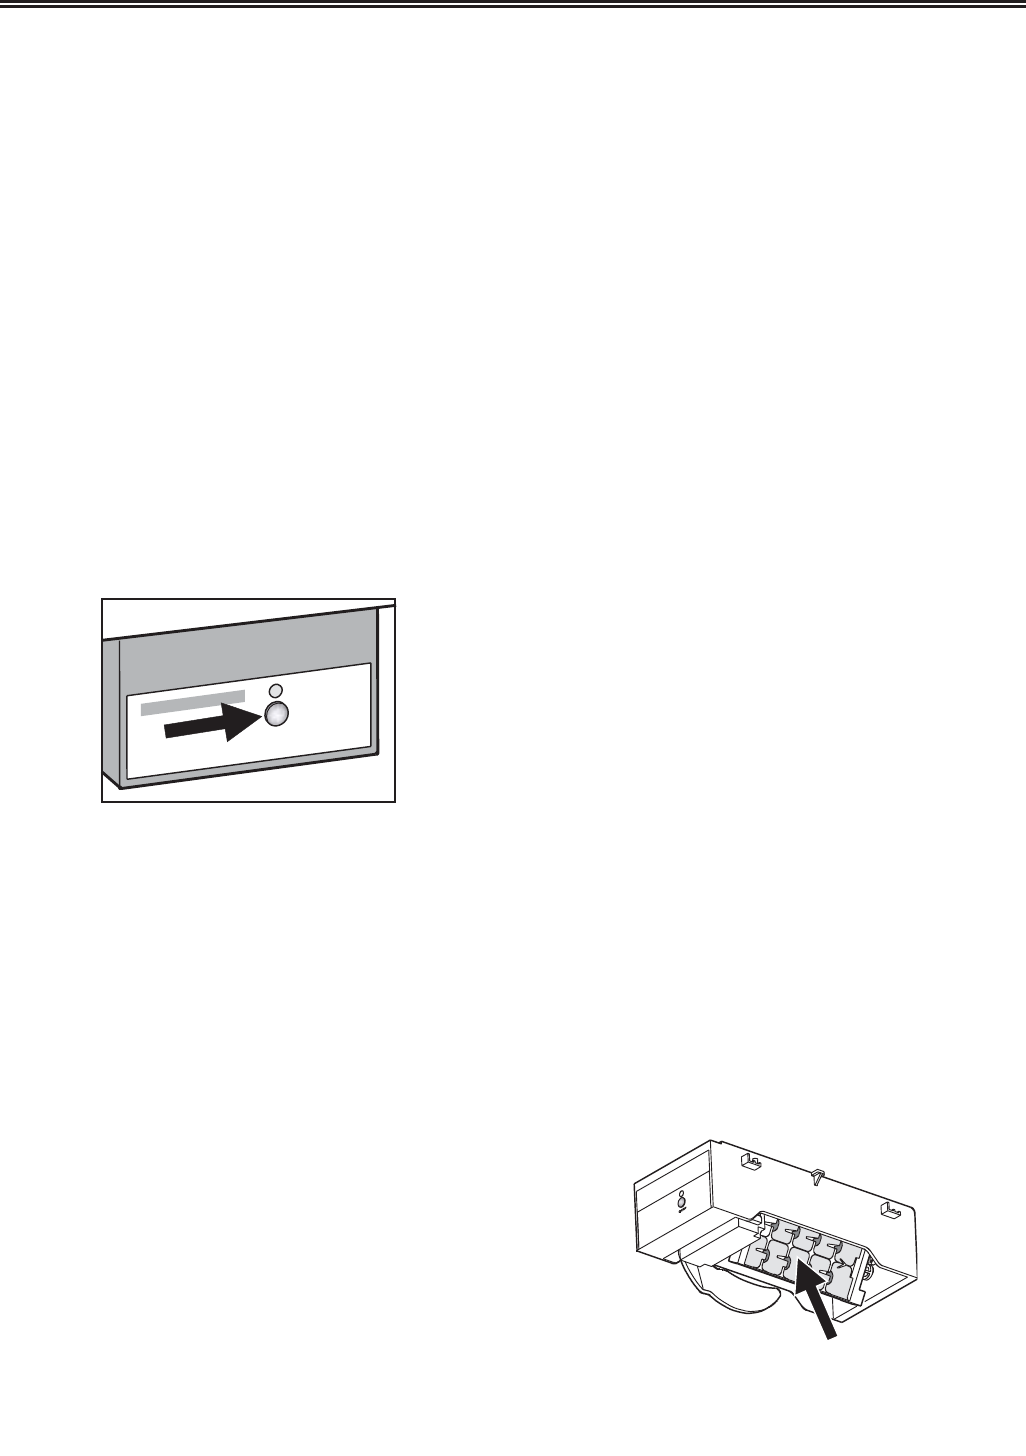
To Clean the IceMaker
- Figure 12
The IceMaker (arrow in
Figure 12
) can be cleaned
by using this procedure.
1. Pull out the drawer and remove the ice.
2. Clean the drawer with warm water and mild dish
detergent.
3. To access the IceMaker for cleaning:
a. With the drawer pulled out, press and hold
the “ON/OFF” button until the LED goes out
(takes about 1 second).
b. Continue to hold the button and after 10
seconds the LED will start to flash.
c. Insert the drawer while the LED is flashing.
The IceMaker should rotate down into the
cleaning position.
d. Remove the drawer.
4. Clean the IceMaker with warm water. If you need
to use a cleaning aid, use a mild dish detergent
and rinse. You will need to throw out the first
three batches of ice if you use any soap.
5. Push the “ON/OFF” button until the LED lights
and insert the drawer.
6. Throw out the first three batches of ice to
remove any soap residue.
Note
If you need to leave the IceMaker off, clean
the IceMaker but do not push the “ON/OFF”
button in Step 5.
Figure 12
* Depending on model and options
7082_244_00_Use Manual.qxd 10/21/2004 8:05 AM Page 15