


20
iCemaker
Safety Instructions and Warnings
• The Ice Maker is designed exclusively to make
ice cubes in quantities needed by a household
and may only be operated with water appropri-
ate for this purpose.
• All repairs and work on the Ice Maker may only
be done by customer service personnel or other
appropriately trained personnel.
• Do not consume or use the first three
batches of ice. This applies both to using the
appliance for the first time and also using it
after it has not been used for a long period of
time.
• The manufacturer cannot accept liability for
damage caused by equipment or water lines
between the solenoid valve and the water
supply.
• The Ice Maker will only work if the combined
refrigerator-freezer is connected to the electrical
outlet. It will only make ice cubes if the freezer
compartment is operating.
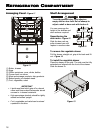
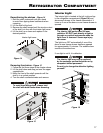
• The Ice Maker can only make ice cubes if the
upper freezer drawer is completely closed and
the ice cube bin is installed correctly (Figure 17).
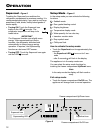
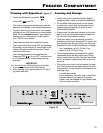
To Start the Ice Maker
To turn the Ice Maker on
• Touch the Ice Maker icon so the Ice Maker
LED comes on (Figure 21).
After you start the Ice Maker for the first time it may
take up to 24 hours before the first ice cubes are
ready.
Note
The first three batches of ice must not be
consumed or used.
The production capacity is 100 - 120 ice cubes in
24 hours at a temperature of 0°F inside the freezer
compartment.
To have the maximum capacity of approx. 150 ice
cubes in 24 hours, activate the Superfrost function.
Be aware that this increases the energy con-
sumption because the compressor will run con-
stantly.
The ice cubes fall out of the Ice Maker into the ice
cube bin (Figure 17). When the ice reaches a cer-
tain level in the bin, the appliance stops producing
ice automatically.The ice maker will not fill the bin
to the top.
To turn the Ice Maker off
If you do not need any ice cubes, the Ice Maker
can be turned off independently of the freezer com-
partment.
• Touch the Ice Maker icon so the Ice Maker LED
goes out.
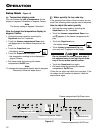
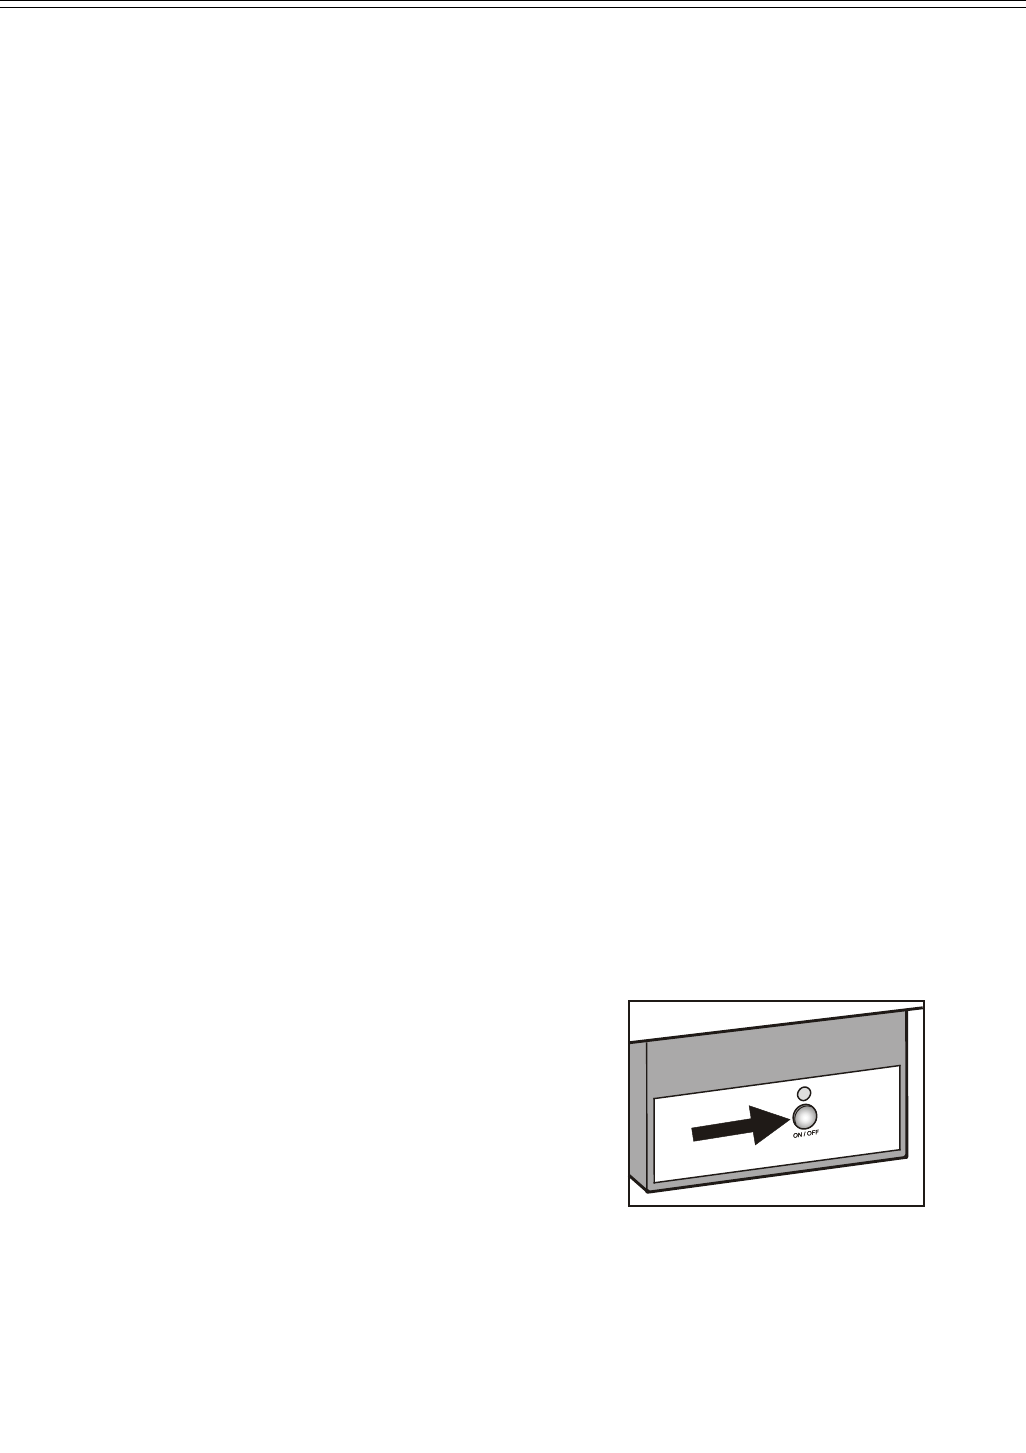
Note
The Ice Maker can also be turned on and
off by pressing the “On/Off” button at the Ice
Maker housing for approximately 1 second
(Figure 19).
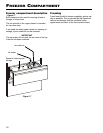
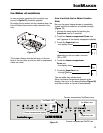
Figure 19
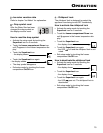
Bleeding the Ice Maker
IMPORTANT
To ensure a proper function of the Ice Maker
the water pipe system must be purged of any
air.
• Turn the Ice Maker on by touching the Ice Maker
icon (Figure 21).
• Open the top freezer drawer.
• Press the button on the Ice Maker housing
(Figure 19) for approx. 3 seconds. The LED
above the button starts blinking.
• Press the button again briefly. The LED blinks
faster.
• Close the top freezer drawer immediately.
The water intake of the appliance opens for 25
seconds and bleeds all air from the pipe system.
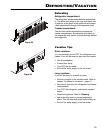
• After this the Ice Maker tray (Figure 20) must
be emptied. Refer to chapter “Ice Maker at
vacations”.
• Finally clean the ice cube bin (Figure 17).