SPECIAL STORAGE AREAS
Freezer Shelf Crispers
e-P
kme
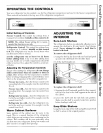
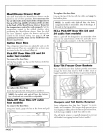
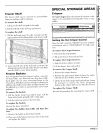
The freezer shelf can be removed to aceormnodate The Vari Crisper allows the amount of moisture in the
large size packages and tbr eleaning, crisper to be controlled Gr storing either fruits or veg-
To remove tile shelf: etables, g
1. Lift up on the shelf and push to the right.
2. Tilt the left side of the shelf up and remove. __
To replace the shelf:
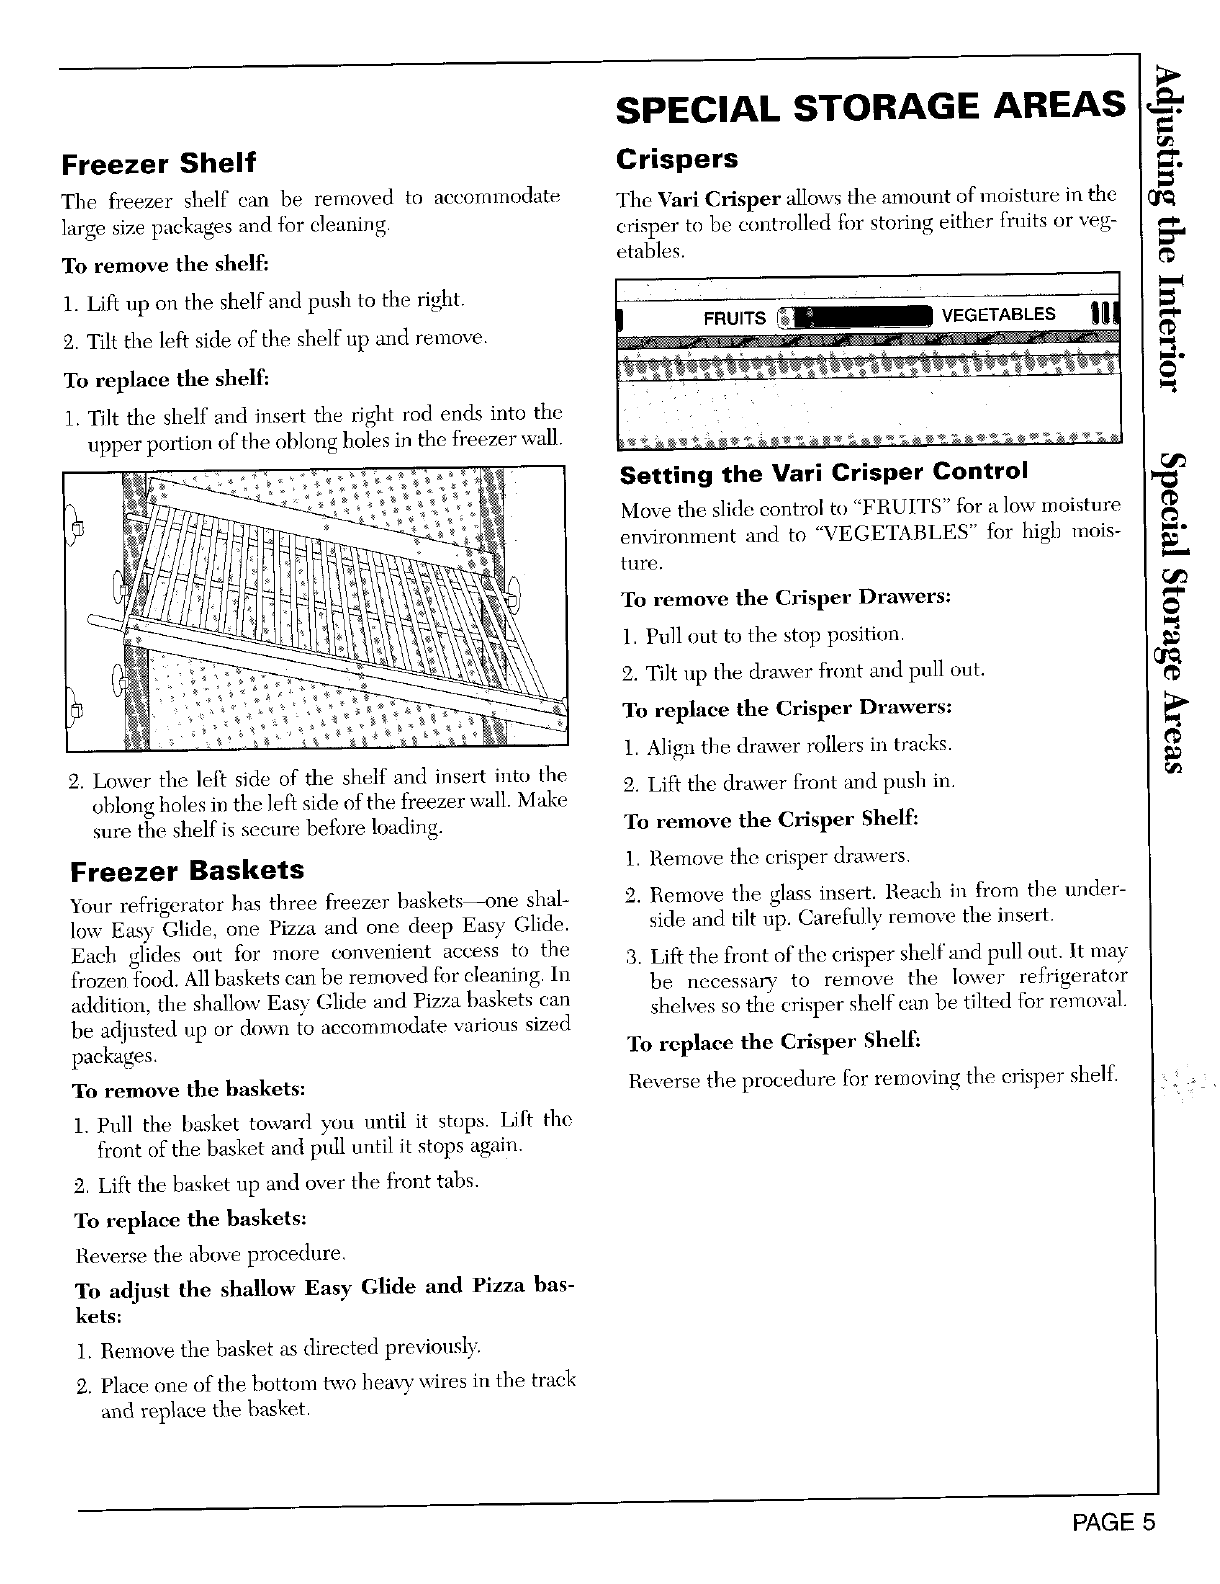
1. Tilt the shelf and insert the right rod ends into the
upper portion of the oblong holes in the freezer walh
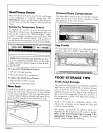
Setting the Vari Crisper Control
Move tile slide control to "FRUITS" for a low moisture
env-ironment and to "VEGETABLES" for high mois-
ture.
I TO remove the Crisper Drawers: _"
1. Pull out to the stop position,
,q (let
_? 2. Tilt up the drawer front and pull out.
To replace the Crisper Drawers:
I
1. Align the drawer rollers in tracks.
2. Lower the left side of the shelf and insert into the g. Lift the drawer fi'ont and push in.
oblong holes in the left side of the freezer wall. Make
sure the shelf is secure before loading. To remove the Crisper Shelf:
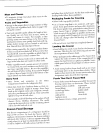
Freezer Baskets 1. B.emove the crisper drawers.
Your refrigerator has three freezer baskets--one shal- 2. Remove the glass insert. Beach in from the under-
low Easy Glide, one Pizza and one deep Easy Glide. side and tilt up. Carefully remove the insert.
Each glides out fur more convenient access to the 3. Lift the front of the crisper shelt'and pull ont. It may
frozen fbod. Allbaskets can be removed fbr cleaning. In be necessa_ to remove the lower refrigerator
addition, the shallow Easy (glide and Pizza baskets can shelves so the crisper shelf can be tilted for remoxa].
be adjusted up or down to accommodate various sized
packages. To replace the Crisper Shelf:
To remove the baskets: Reverse the procedure for removing the crisper shelf.
1. Pull the basket toward you until it stops. Lift the
front of the basket and pull until it stops again.
2. Lit} the basket up and over the front tabs.
To replaee the baskets:
Reverse the above procedure,
To adjust the shallow Easy Glide and Pizza bas-
kets:
1. Remove the basket as directed previously.
2. Place one of the bottom two hea, T wires in the track
a_d replace the basket.
PAGE5


