


10
INTRODUCTION
To get the best out of your new appliance, please read this user guide carefully
before using it for the rst time. Take particular note of the safety precautions. We
also recommend that you keep the instructions for future reference, so that you can
remind yourself of the functions of your appliance.
SAFETY MEASURES
General
• Incorrect use of this appliance may cause personal injury and damage.
• Use for its intended purpose only. The manufacturer is not responsible for any
injury or damage resulting from incorrect use or handling (see also Guarantee
Terms).
• For domestic use only. Not for outdoor or commercial use.
• For connection to 230 V, 50 Hz only. The appliance must be earthed.
• The appliance, cord or plug must not be placed in water or any other liquid.
• Make sure that no liquid gets into the appliance.
• Never touch the appliance, cord or plug with wet or damp hands.
• Keep the appliance under constant supervision while in use. and keep an eye on
children.
• The oven will become very hot during use. Never move whilst hot. When the
oven is hot, only touch the oven door handle and the controls, and be very
careful when handling hot dishes, oven accessories or foods – use oven gloves!
• Make sure you do not scratch the glass in the oven door, and never place
objects on the oven door when it is open.
• Never insert anything into the ventilation slots or other openings.
• Do not use the appliance if there are cleaning agent residues inside it.
Positioning the appliance
• The appliance should be placed on a solid at surface, with clearance of at least
10 cm from the sides (including rear and top) to ensure sufcient ventilation. The
appliance is not suitable for built-in tting.
• Check that the vent holes in the cabinet are not covered. If they are covered
while the appliance is in use, there is a risk of overheating. Do not use the
appliance until it has cooled down.
• Do not place the appliance or the cord near hot areas, for example gas rings and
electric hotplates.
• Do not place on untreated wooden surfaces, as it may damage them.
• The feet can leave a colour stain. If this happens, remove with a damp cloth and
ordinary detergent or spirit.
Cord and plug
• Ensure that the cord is fully extended.
• Do not allow the cord to hang over the edge of a table/counter, and keep it away
from hot objects and naked ames.
• Check that it is not possible to pull or trip over the cord or any extension cord.
• Remove the plug from the socket when cleaning, or when not in use. Avoid
pulling the cord when removing the plug from the socket. Instead, hold the plug.
• Check regularly that neither cord nor plug is damaged and do not use if they are,
or if the appliance has been dropped or damaged in any other way.
• If the appliance, cord or plug have been damaged, have them inspected and
if necessary repaired by an authorised repair engineer. Never try to repair the
appliance yourself. Please contact the store where you bought the appliance for
repairs under guarantee. Unauthorised repairs or modications to the appliance
will invalidate the guarantee.
Fire hazard!
To reduce the risk of re occurring in the oven compartment, please note the
following points:
• Do not cover the crumb tray, the heating elements or sides with tin foil.
• Do not use steel scourers for cleaning, since it is possible for steel fragments to
break off, increasing the risk of electric shock.
• Food must not touch the heating elements.
• Only use dishes, tins and other kitchen utensils that are intended for use in
ovens, e.g. glass, reproof ceramic or metal items.
• Do not use the oven compartment for storing anything other than the
accompanying accessories.
• Do not cook food for too long or at too high a temperature. Do not leave
unattended if hot and baking parchment or other ammable materials have been
used.
• If materials in the appliance catch re, leave the door closed. Switch off
immediately, and remove the plug from the wall socket.
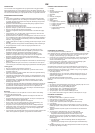
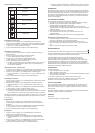
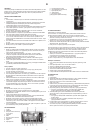
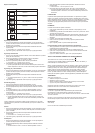
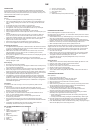
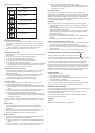
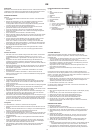
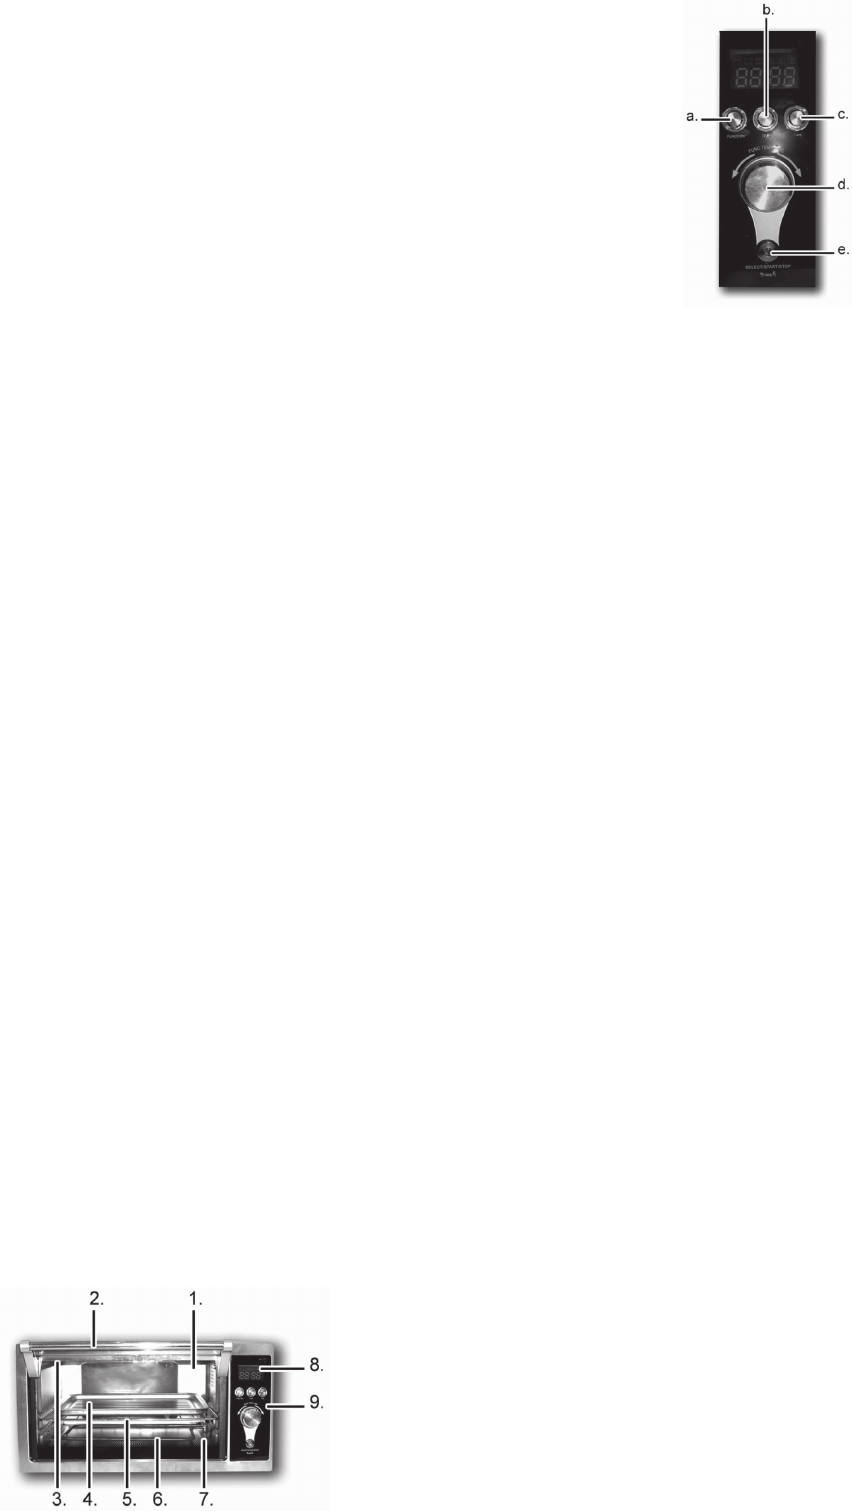
KEY TO MAIN COMPONENTS OF THE APPLIANCE
1. Oven door
2. Handle
3. Upper heating element (not
visible in the picture)
4. Baking tray
5. Grid
6. Lower heating element
7. Crumb tray
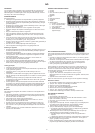
8. Display
9. Control panel
a. “Function” button (function)
b. “Temp” button (temperature)
c. “Time” button (time)
d. Set button
e. “Select/Start/Stop” button (select/start/stop)
PREPARING THE APPLIANCE
Each individual appliance is checked at the factory, but
for safety’s sake, after unpacking it, you should check carefully that it has not been
damaged during transport.
• Check whether there is any visible damage (e.g. in the form of dents or similar),
if the door (1) closes properly, and if the hinges are in order.
• If the appliance appears to have been damaged, contact the shop where you
bought it, and do not use it until it has been checked by an authorised specialist.
• Before use, check that you have removed all packaging inside and out.
• Wash and wipe the baking tray (4) and the grille (5) before use.
The heating elements were oiled during manufacture and these will therefore smoke
slightly when the oven is rst used. This is entirely safe and will stop after a few
minutes. However, so that the food does not taste of this smoke, we recommend
that you take the following action before using the appliance for the rst time:
• Leave the oven door ajar.
•
time for 15 minutes (See “Operating the Appliance” below). Start appliance.
• The appliance will start automatically after 15 minutes.
The smoke will now have completely disappeared, and you can use the
appliance to cook food.
Setting the clock
1. When power is connected, a beep is heard and the display (8) will show "0:00".
2. Press the "Time" button; the hour number will start to ash.
3. Set the hours by turning the set button.
4. Press the "Time" button; the minute number will start to ash.
5. Set the minutes by turning the set button.
6. Press the "Time" button to complete the setting.
7. The two dots between the gures will start to ash, which means the clock is
functioning.
OPERATING THE APPLIANCE
Basic operation
1. Plug in and switch on the power.
2. Set the clock as described in “Setting the clock” above.
3. Check that the crumb tray (7) is correctly positioned.
4. Place the food in the oven (unless the oven has to preheat).
5. Close the oven door.
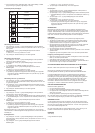
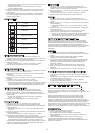
6. Select function by pressing the “Function” button (a) and turning the set button
until the symbol for the required function is shown (see the table below).
7. Set temperature and/or time as described below.
8. Press the “Select/Start/Stop” button (e) to commence cooking.
o The relevant symbols will start to ash and the display will show the
remaining cooking time (after preheating where appropriate).
9. Cooking can be temporarily interrupted at any time by pressing the “Select/
Start/Stop” button (practical if the food needs turning).
o When cooking is temporarily interrupted, the remaining cooking time will
ash on the display.
o Cooking is recommenced by pressing the “Select/Start/Stop” button again.
10. Once the cooking time set has elapsed, the oven will switch off automatically.
The oven will beep 3 times and the display will return to showing the clock.
11. If the “Select/Start/Stop” button is held down during setting, the programming is
reset and the display returns to showing the clock.
UK
Select upper or lower heat, set the temperature at 235 °C and set the cooking