


SECTION 4
MAINTENANCE
43
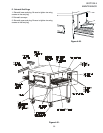
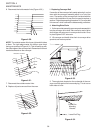
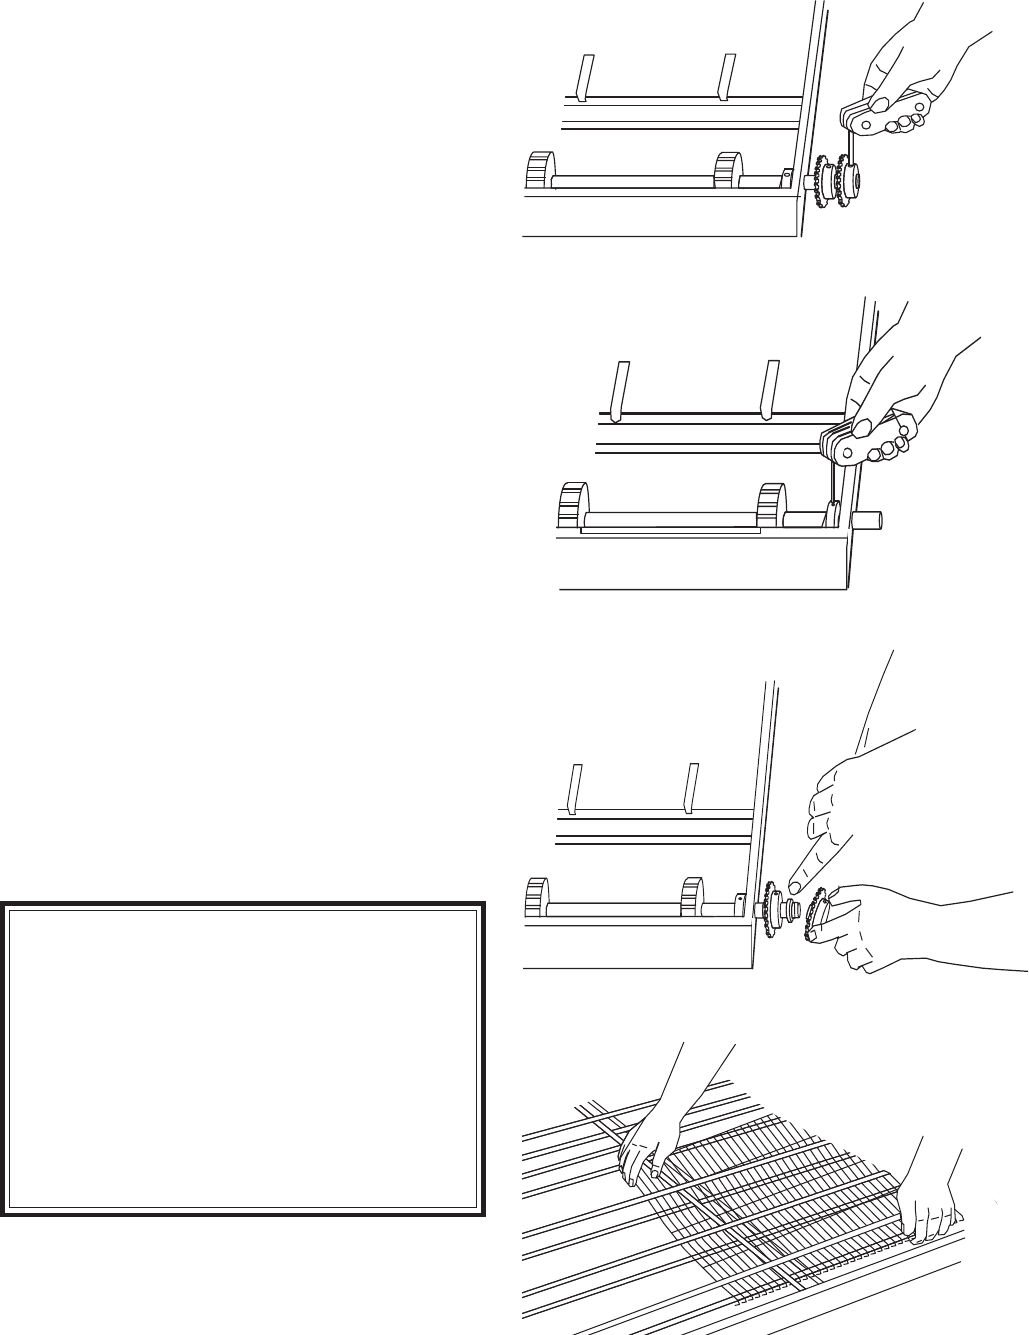
12. Slide shaft assembly to right side, holding assembly
in place. Slide split locking collar to the left side and
tighten.
13. Slide rear conveyor drive sprocket onto shaft. Tighten
the set screw of this drive sprocket until it extends into the
hole of the hollow shaft. It should NOT touch the inner,
solid shaft. Check to see that only the rear shaft moves
when the sprocket is turned. If both shafts move, you have
tightened the set screw too tight. Loosen the set screw
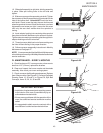
until only the rear shaft moves when the sprocket is
turning.
14. Insert adaptor bushing into remaining drive sprocket
then place onto shaft. Make sure nylon spacer is in place.
Tighten set screw making sure screw goes through slot in
adaptor bushing and locks onto shaft.
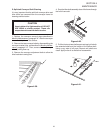
15. Thread conveyor belts back onto frame making sure
the links will be traveling in the proper direction.
16. Follow conveyor reassembly instructions in Monthly
Maintenance Paragraph “F”.
NOTE: It is recommended that the 6 Month Maintenance
schedule be performed by a Middleby Marshall authorized
service technician.
IV. MAINTENANCE - EVERY 6 MONTHS
A. Check brushes on D.C. conveyor motor, when worn to
less than 1/10″ (2.4mm), replace the brushes.
B. Clean and inspect the burner nozzle and electrode
assembly. Also check your oven venting system.
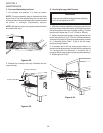
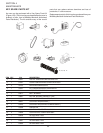
C. Check conveyor shaft bushings and spacers. Replace
them if they are worn. See Figure 6-5, Conveyor Exploded
Drawing, items 15, 30 and 31 or Figure 6-6, Split Belt
Conveyor, items 19, 23, 31, 35 and 36.
Figure 4-49.
Figure 4-48.
Figure 4-50.
Figure 4-51.
IMPORTANT NOTICES:
• Installation of replacement parts requiring access
to the interior of the oven is permitted only by an
authorized service technician.
• If there are any problems with the operation of the
oven, the authorized service technician must be
called.
• It is suggested to obtain a service contract with a
manufacturer’s authorized service technician.