ENGLISH 7
USING YOUR SNOW CONE CART™
USING YOUR SNOW CONE CART™
First, find a stable surface near an electrical outlet before starting. (Make sure your cord is
away from any water source. If needed, it is acceptable to use an extension cord.)
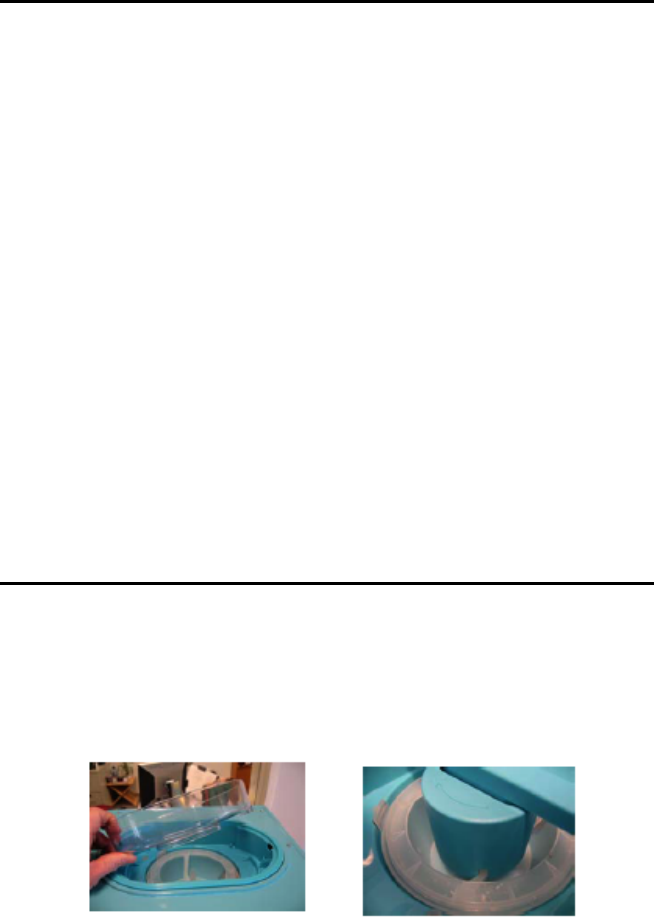
1. Before plugging in your unit, add ice cubes by removing the clear lid from the
Main Unit of your SNOW CONE CART™. In order to do so, simply push the
release button on the lid, lift and remove. Once you have done this, plug in the
unit.
For Optimal Ice Shaving Results – Your ice cubes should sit a short while before putting
them in the shaving unit. If your ice has a frosty look, it is much too hard to shave. If your
ice sits long enough to look clear and it is wet to the touch, then it is ready to make your
SNOW CONE CART™ experience a fun one.
2. When ice cubes are ready, place cubes in the shaving unit while allowing enough
room for the lid to be placed back on the unit easily. Never force it shut.
3. Return the clear lid to the unit and turn the power button to the ON position. This
will activate the unit to begin shaving. Please note that the ice will not shave
unless the lid is properly secured.
4. Repeat steps 2 and 3 until you have shaved the amount of ice desired. Make
sure to unplug when you are finished.
5. Once you have the desired amount of ice, open the housing door on the Main
Unit to retrieve your ice and use the recipes on the next page to create your
favorite snow based treats!
REPLACING THE BLADE
Should the ability of your SNOW CONE CART™ to properly shave ice diminish after a
lengthy period of normal use, replace it with the included Replacement Blade and Tool.
Should you need additional blades, you can order directly from the manufacturer.
Please note the following steps for replacing the blade:
1. Remove the Ice Tray and insert the Disassembly Tool (N under PARTS) over the three
arms of the Ice Hopper.


