


English-8 English-9
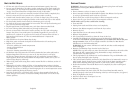
re p l a c i n g a n D cl e a n i n g fi l T er s
NOTE: Replace every 3 months or after 12 uses.
• OpentheFilterCover,andremovefilters.
• FoamwhiteGreaseFiltermaybewashedinhotsoapywater.Allowtoairdry.
• CharcoalFiltersarenotmeanttobewashedanditisrecommendedtoreplace
every 3 months or after 12 uses.
• Cleantheinsideofthecoverwithadampsoapysponge.Rinseanddrythoroughly.
• PlacecleanWhiteGreaseFilteronLid,followedbyBlackCharcoalOdorFilter,
then replace Filter Cover.
NOTE: For replacement Charcoal Odor or Grease Filter, order through our website at
www.oster.com or by calling 1-800-334-0759.
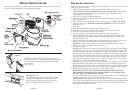
re p l a c i n g T H e Ti m e r BaT Te rY
This deep fryer is equipped with a Digital Timer that works on its own battery source.
From time to time it might be necessary to change the battery in the timer.
1. Insert a small screwdriver into the slot next to the timer display and “pop” out the
whole timer.
2.Removebatteryandreplacewithbatterytype#LR44.
3.Lineupthetimerwiththeholeandpushthetimerbackintothehousinguntilit
snaps into place.
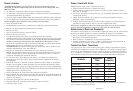
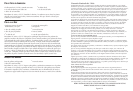
fr Y i n g Ti m e a n D Te m pe r a T U r e
The frying times in this chart are a guide and should be adjusted to suit the different
quantities or thickness of food and to suit your own taste.
Preheat time is 7-10 minutes for fryer to reach desired temperature. (Ready light will
cycle On/Off during frying as temperature fluctuates due to food load.)
NOTE: Prepackaged frozen cooked chicken may cook faster than above time.
fo o D
Te m p .
s
e T T i n g
Ti m e
(
m i n U T e s )
Chicken Strips 375°F 5-8
Chicken Pieces, Bone-In 360°F 15-20
Fish, Battered 340°F 8-10
French Fries, Frozen 375°F 3-5
Fritters 375°F 2-4
Onion Rings 375°F 3-5
Shrimp, Breaded 375°F 2-4
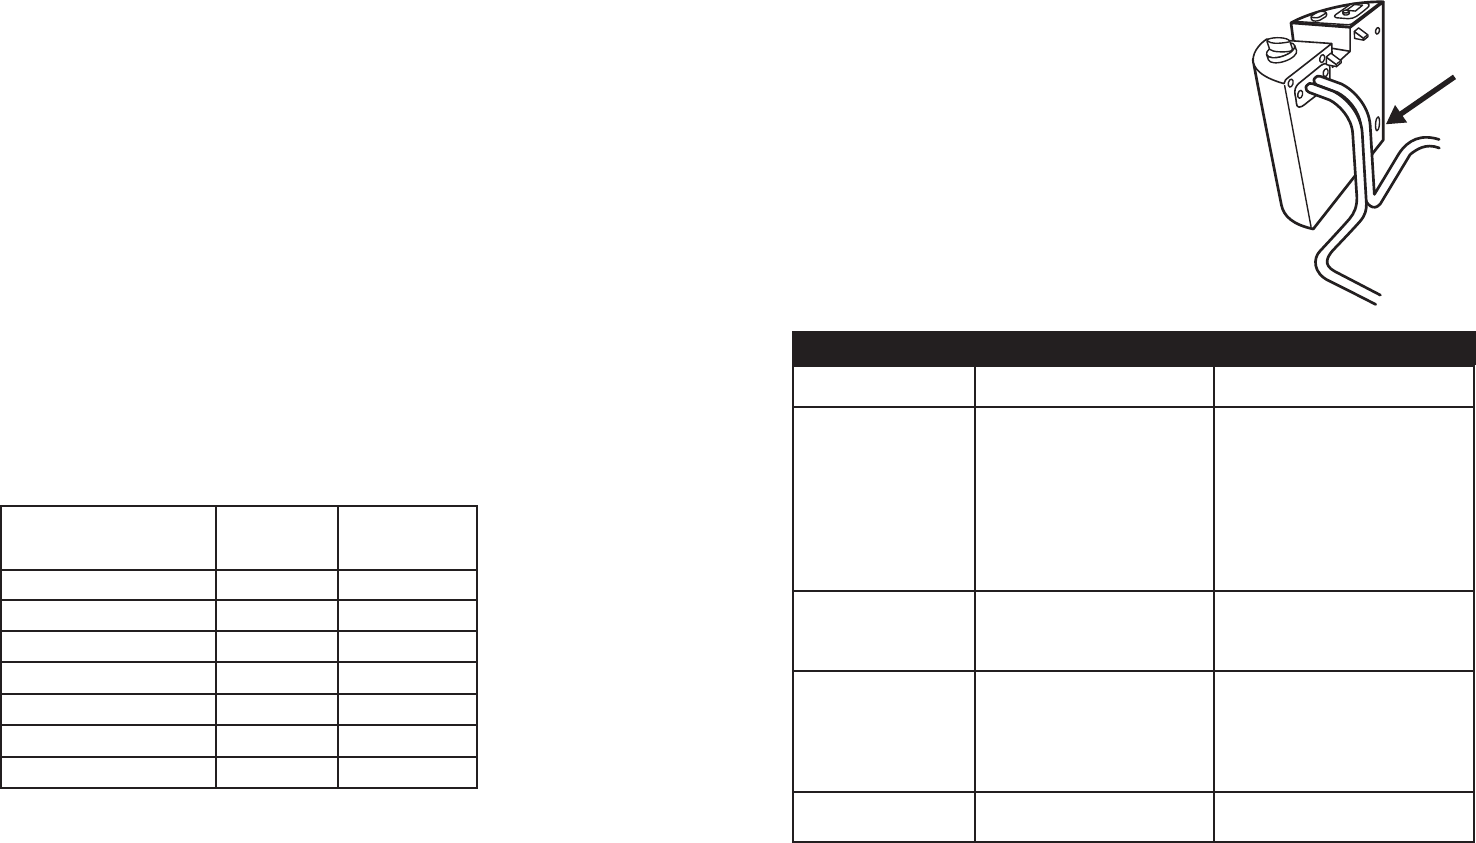
pr o B l e m ca U s e so l U T i o n
Fryer not operating Control Panel Assembly not
seated properly.
Power Strip not in correctly
Not turned ON
Not plugged in
Outlet not energized
Reinstall Control Panel
Assembly.
Reinstall Power Strip
Turn to ON
Insert plug into outlet
Check fuses or circuit breaker
Oil spills over Oil reservoir over filled
Too much water in food
Remove excess oil (when cool)
Dry food with towel
Food greasy or not
crisp
Food batches too large
Oil temperatures too low
Using wrong type of oil
Use less food in basket
Increase oil temperature
Use good vegetable oil
(See Hints for Best Results)
Unpleasant smell Oil not fresh Replace oil
TROUBLE SHOOTING
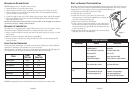
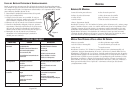
re se T T H e ov e r H e aT pr oT e c Ti o n BUT T o n
Resetting the Overheat Protection Reset Button may be necessary if unit will not turn
on at start up (power indicator light illuminated and temperature dial set to selected
temperature) or if unit appears to have stopped working during use.
1. Unplug the unit from the wall electric outlet.
2. Allow the unit to cool down.
3. Check the oil level in your unit. If it is below the
minimum level, oil should be added before resetting the
unit and resuming cooking cycle.
4. Remove the control box with heater.
5. Using a narrow slotted screwdriver or pen, gently press
the recessed reset button on the back of the control box,
located on the lower right hand side as indicated by the
arrow (see figure 3).
6. Replace the control box with heater onto the main body
and plug unit in for continued use.
Figure 3