


F7 E9
BREWING COFFEE NOW
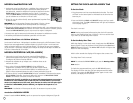
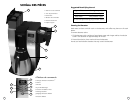
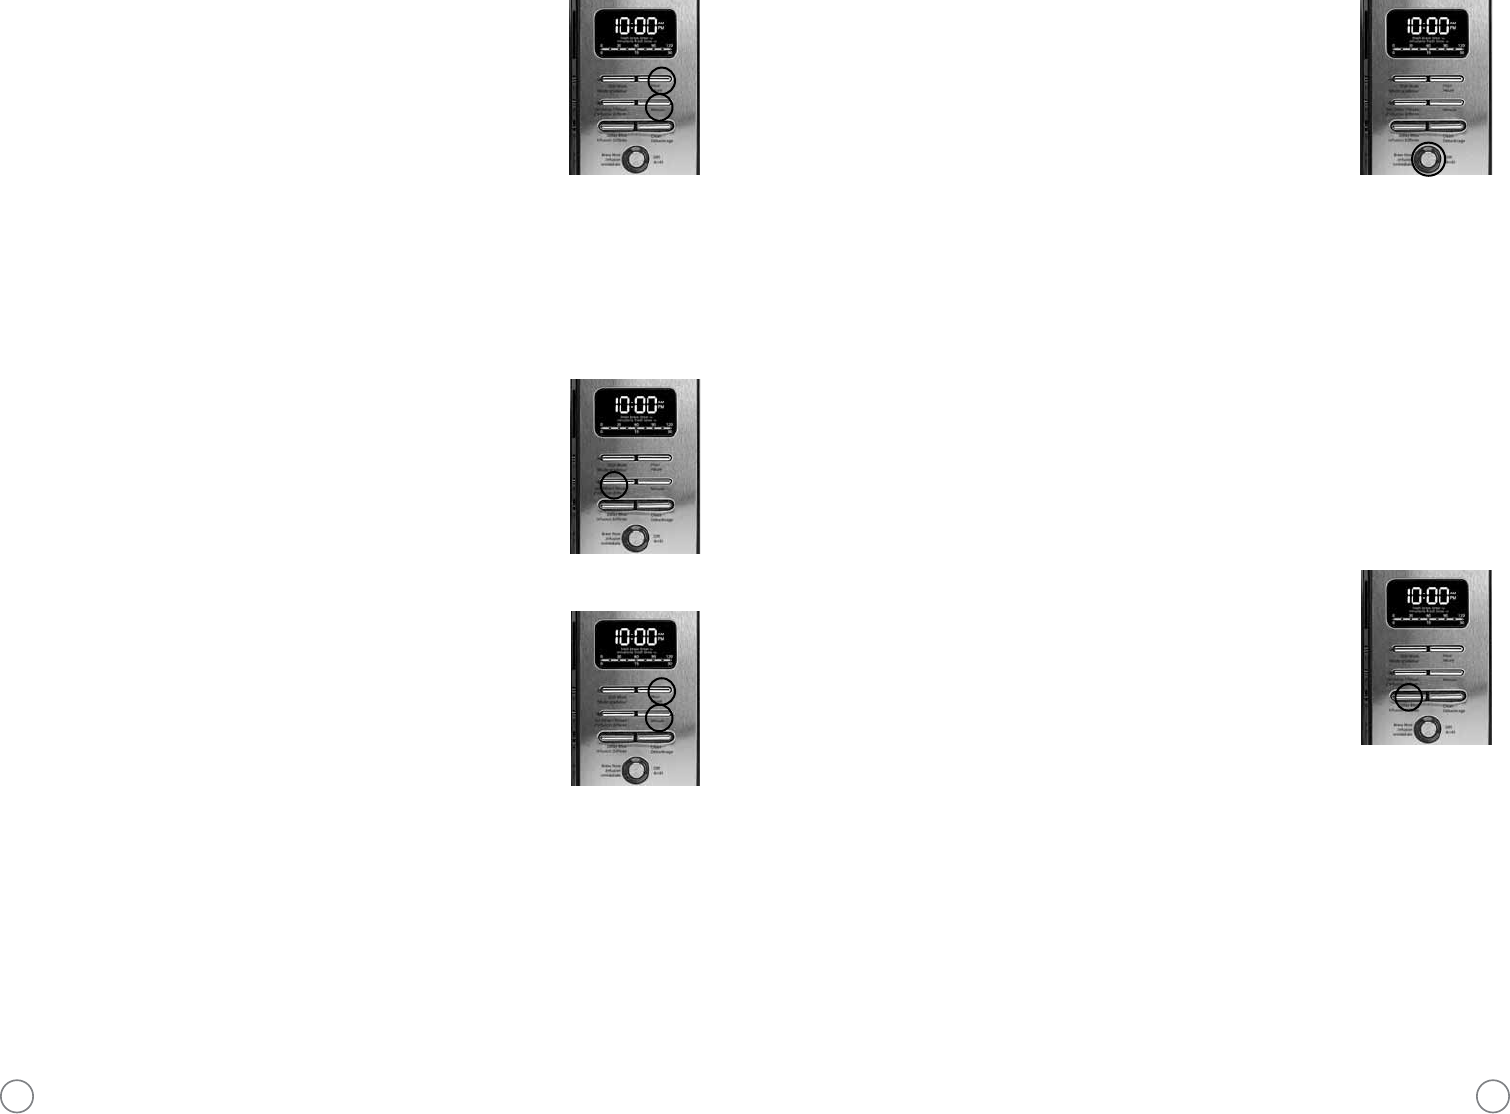
1. After completing the steps in the Adding Water and Coffee section
and with the decanter and the filter basket securely in place, turn
the coffeemaker on by pressing the BREW NOW button once
(Figure 7). The BREW NOW light will turn on and pulse to signal
that the coffeemaker is on and brewing.
2. After the used coffee grounds have cooled, carefully remove the
filter basket and discard them.
NOTE: The brew basket drawer is hot after brewing. Always allow the
coffeemaker to cool down before cleaning.
3. Prior to making a second pot of coffee, turn the coffeemaker off. This will reset the
FRESH BREW™ TIMER feature. To turn the coffeemaker off, press the BREW NOW/
OFF button until all lights turn off.
4. Make sure the decanter is empty before starting to brew coffee.
5. Be sure to turn your coffeemaker off when no longer using it.
The Fresh Brew™ Timer Feature
The Fresh Brew™ Timer feature lets you know how long your coffee has been waiting
for you. At the start of the brew cycle, the Fresh Brew™ Timer feature will automatically
be activated. The timer will appear in the lower part of the display under the clock
(Figure 7). This display will be visible any time you are brewing coffee. The display will
change to show the time since brewing began in 15 minute intervals.
FIGURE 7
BREWING COFFEE LATER
1. You must first set the time for when you would like the
coffeemaker to begin brewing your coffee as described in Setting
the Clock and the Delay Brew Timer section.
2. Prepare your coffeemaker as described in Adding Water and
Ground Coffee section.
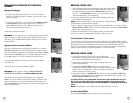
3. To activate the DELAY BREW function and program your
coffeemaker to brew coffee at a later time, press the DELAY BREW
button once. The coffeemaker is now set to automatically brew
coffee at the pre-set time (Figure 8).
4. At the pre-set time, the BREW NOW light will turn on and the DELAY BREW light
will turn off, indicating the brewing has started in the selected brew strength. The
FRESH BREW™ TIMER feature will start.
As a safety feature, your coffeemaker will NOT start again automatically the next
day. If you want your coffee to brew at the same time the following day, simply
add a new filter, coffee and water and set DELAY BREW, by repeating Steps 2 and 3
above.
NOTE: If the decanter is not in place then the coffeemaker will not brew.
To cancel DELAY BREW:
Press the DELAY BREW button until all lights turn off (Figure 8).
FIGURE 8
RÉGLAGES DE L’HORLOGE ET D’INFUSION
DIFFÉRÉE
Réglage de l’horloge
1. Branchez le cordon d’alimentation sur une prise de courant
standard. L’horloge clignotera au tableau, signe qu’elle n’a pas
encore été réglée.
2. Appuyez, sans les relâcher, sur les touches des HEURES (HOUR)
et des MINUTES jusqu’à ce que l’heure du jour s’affiche. Le
voyant AM (heures de 0 à 12) ou PM (heures de 12 à 24)
s’allumera à droite de l’heure (figure 1).
L’horlore est maintenant réglée!
REMARQUE: Si vous appuyez sur n’importe quelle touche avant de
régler l’horloge, l’horloge commencera à indiquer l’heure à partir
de 0 heure. Il est indispensable de régler l’horloge pour la mise en
marche différée.
Réglage de mise en marche différée
Alors que l’affichage est au mode horloge, appuyez sur la touche
SET DELAY (réglage d’infusion différée), figure 2 et réglez l’heure
de mise en marche en appuyant sur les touches des HEURES (HOUR)
et des MINUTES (MINUTE), figure 3. Le voyant AM (heures de 0 à
12) ou PM (heures de 12 à 24) s’allumera à droite de l’heure.
Sous quelques secondes, l’afficheur recommencera à indiquer
l’heure du jour.
L’heure de mise en marche différée est réglée!
REMARQUE:
Voyez comment activer la MISE EN MARCHE
DIFFÉRÉE (DELAY BREW) sous Infusion différée du café
.
Pour vérifier l’heure programmée, appuyez sur la touche SET
DELAY. L’heure de mise en marche de la cafetière s’affichera. Pour
revenir à l’heure du jour, vous pouvez appuyer de nouveau sur la
touche SET DELAY ou bien attendre un instant et le changement se
fera automatiquement.
FIGURE 1
FIGURE 3
FIGURE 2