


OPERATION
18 L20-331, rev.02 (08/11)
WARNING
NEVER leave the appliance in standby mode for prolonged periods or overnight.
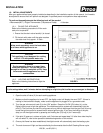
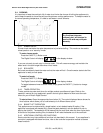
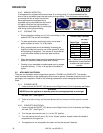
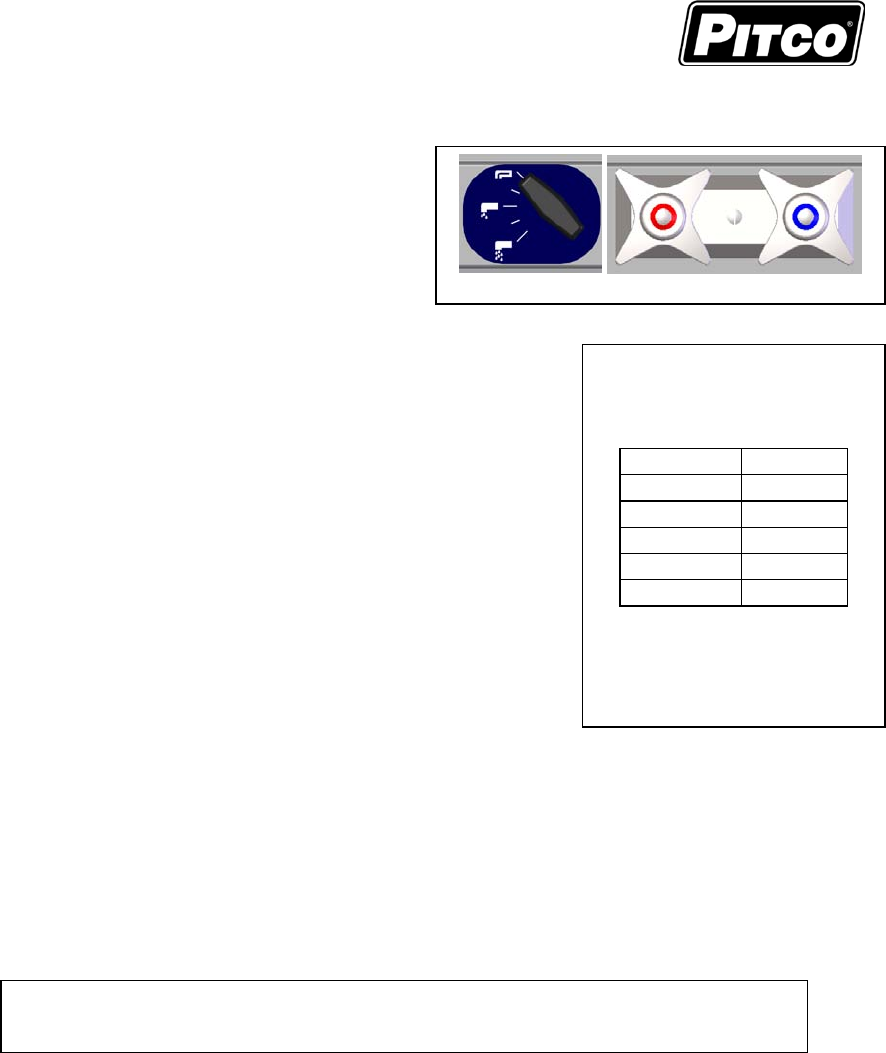
Manual Fill Valve Mixing Valve
Cooked Pasta Volumes
1lb. Dry =
Pasta Type
Cooked
Spaghetti
10 cups
Angel Hair
8 cups
Fettuccine
7 cups
Ziti
9 cups
Shells
8 cups
Bow Ties
10 cups
This table is for reference
only. Please refer to the pasta
manufacturer’s specifications
to determine exact cooked
quantity.
2.4.6. MANUAL WATER FILL
If the appliance is equipped with manual water fill or mixing valve, it is recommended that the
knob is set so that water enters the tank slowly during cooking. Turn the knob counterclockwise
to increase the flow of water into the tank.
Some appliances are equipped with a
regulated mixing valve where the left knob is
for regular filling and the right knob has a
regulated flow rate specifically for refilling the
tank during cooking and reheating.
2.4.7. COOKING TIPS
Rinse pasta after cooking only if it is for cold dishes or if the
pasta will NOT be served immediately.
For best results when cooking dry pasta, use at least 1
gallon of water for every 1 lb. of dry pasta.
Sticky cooked pasta can be avoided by increasing the
quantity of water per pound or use of the manual fill option
while cooking (if equipped). The manual fill should be set
to a trickle while cooking to allow the water continue
boiling.
When storing pasta, keep the sauce separate because the
pasta will continue to absorb liquids after cooking.
Cooking oil can be added to cooked pasta prior to storage
to prevent sticking. 1-2 tsp. of oil per pound (cooked) is
typical.
2.5. APPLIANCE SHUTDOWN
There are two shutdown modes of appliance operation: STANBY and COMPLETE. The standby
mode removes the ability of the appliances main burners to operate. Complete shutdown turns off the
gas supply to the appliance. Refer to the following procedures to enter the appropriate shutdown
mode.
2.5.1. STANDBY MODE
1. Press and hold the ON/OFF (I/O) button on the Digital Control (2) for 2 seconds, the Display
will read “OFF”, See Figure 3.
2. There is no pilot running, and the main burners will not come on until the control is turned
on.
2.5.2. COMPLETE SHUTDOWN
1. Press and hold the ON/OFF (I/O) button on the Digital Control (2) for 2 seconds, the Display
will read “OFF”, See Figure 3.
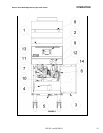
2. Turn the gas valve control knob (11), to the “Off” position.
3. Turn the manual shut off valve (10), to the “Closed” position, closed is when the handle is
perpendicular to the gas line.
4. The appliance is now completely shut down and can be cleaned if desired.