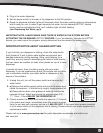
4. Plug in the water dispenser.
5. Set the power switch at the rear of the dispenser to the ON position.
6. Ready-to-dispense indicator lights will illuminate when the water reaches optimum temperature
and is ready for use. In order to get steaming hot water, the (on demand) KETTLE* feature
button must be activated and the "red" indicator light will start flashing
(see Dispensing Hot Water, pg 5).
IMPORTANT NOTE: ALWAYS MAKE SURE THERE IS WATER IN THE SYSTEM BEFORE
ACTIVATING THE ON DEMAND KETTLE* FEATURE. If you "accidentally" activate the KETTLE*
feature, you must cancel the program, simply disconnect and re-connect the power cord.
IMPORTANT NOTICE ABOUT LEAKING BOTTLES
If you find that your dispenser is leaking, check the water bottle
first! Almost all 3 and 5 gallon water bottles are recycled, and
handled extensively during cleaning, filling, and shipping. As a
result they are very prone to developing pin holes or small cracks
that can cause an overflow (or leak) when placed on top of a water
dispenser.
In almost all cases, there is nothing wrong with your water
dispenser. If you are experiencing a leak, this simple test will allow
you to determine whether your water bottle or dispenser is the
source of the problem.
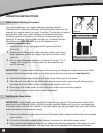
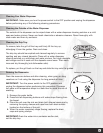
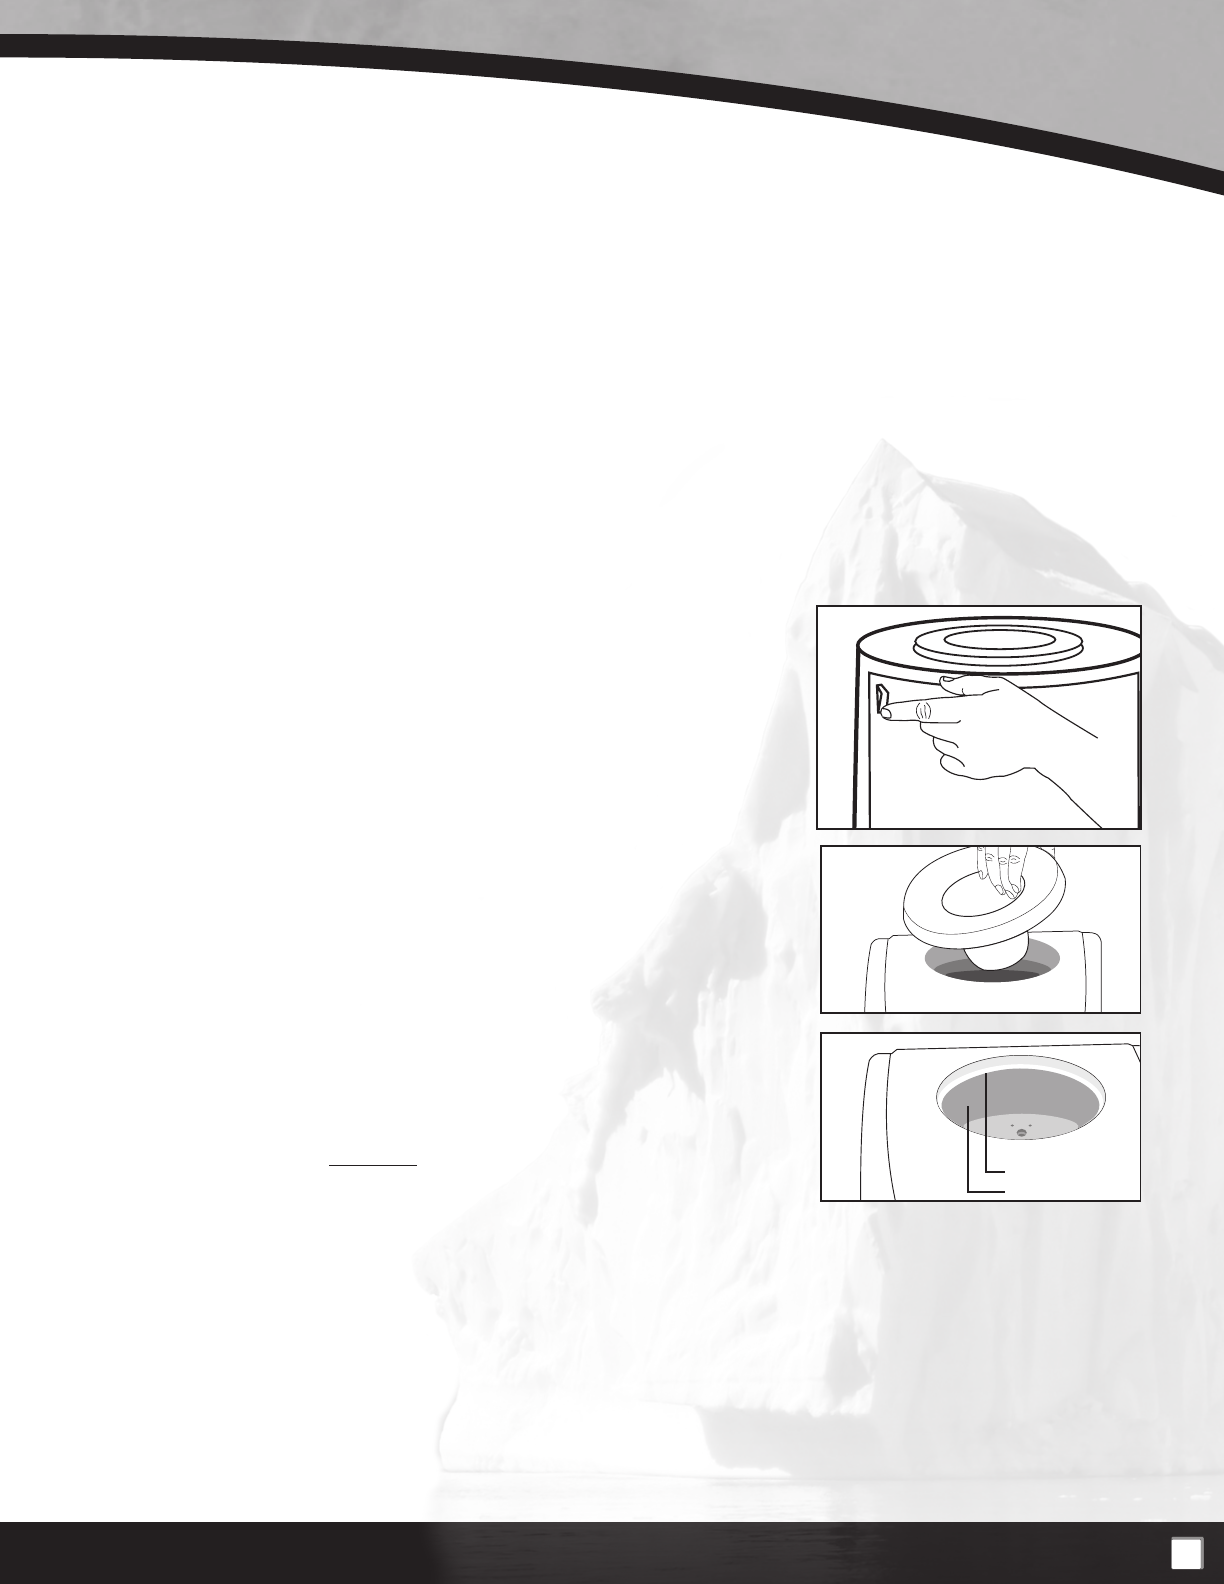
1. Unplug the unit, turn off the power switch and remove the
water bottle.
2. a) Remove the bottle support collar and check the water level
inside the reservoir – it should be at roughly three-quarters full.
b) Please add or drain a few glasses of water to achieve the
required fill level. Water level should be approximately 3/4” –
1” / 1.9cm - 2.5cm BELOW THE RESERVOIR LIP.
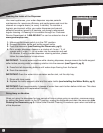
3. Closely monitor the water level inside the reservoir, (1-2 hours)
if the water level drops, immediately drain the remaining water
from the unit and call customer service at 1-866-253-0447. If the water level remains constant
it is the water bottle not the dispenser that is leaking. Please contact your water supplier for a
replacement bottle.
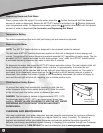
Please visit us at www.greenwayhp.com for water dispenser accessories and helpful use
and care tips.
4
1.
Reservoir Lip
Water Level
2.a
2.b


