


4
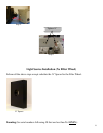
Light Source Installation (With Filter Wheel)
1)
Be sure that there are no cable connections made to the TS-428 / TS-428-DC Light
Source and that is has had sufficient time to cool.
2)
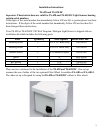
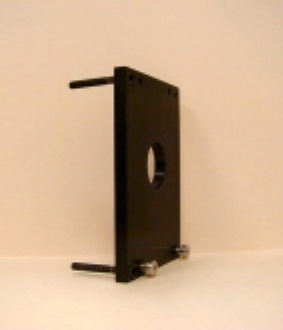
Insert the three 8-32 x 1 ¼” black alloy screws into the recessed holes of the ¼” Spacer as
shown in step one.
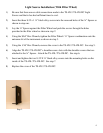
3)
Lay the ¼” Spacer against the Filter Wheel and push the screws through the holes
provided in the filter wheel as shown in step 2.
4)
Using the 9/64” Hex Wrench, tighten the Filter Wheel / ¼” Spacer combination onto the
entrance slit of the instrument as shown in step 3.
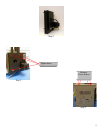
5)
Using the 1/16” Hex Wrench, remove the cover to the TS-428 / TS-428-DC. See step 5.
6)
Align the TS-428 / TS-428-DC’s shoulder screw slots with the shoulder screws that are
attached to the ¼” Spacer. Attach the TS-428 / TS-428-DC. See step 6.
7)
Insert and tighten the two 8-32 X ½” black alloy screws into the mounting holes on the
inside of the TS-428 / TS-428-DC. See step 7.
8)
Replace the cover of the TS-428 / TS-428-DC.
Step 1.