7
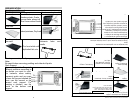
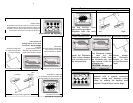
(2)Set the heater operating switch to "UPPER & LOWER", set the
temperature control dial to "250�" and heat the empty oven for
about 10 minutes.
Note:
There may be some smoke and a burning smell at first, but this is
not a malfunction.
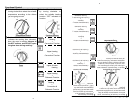
Temperature control dial
Set the Temperature Control Dial for the dishes which you are
going to cook
Heat Operating Switch
Select “Upper” “Lower" or "Upper and Lower" according to the
dishes you are going to cook. You can observe whether the heaters
are working or not by observing the front Indicator light.
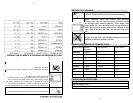
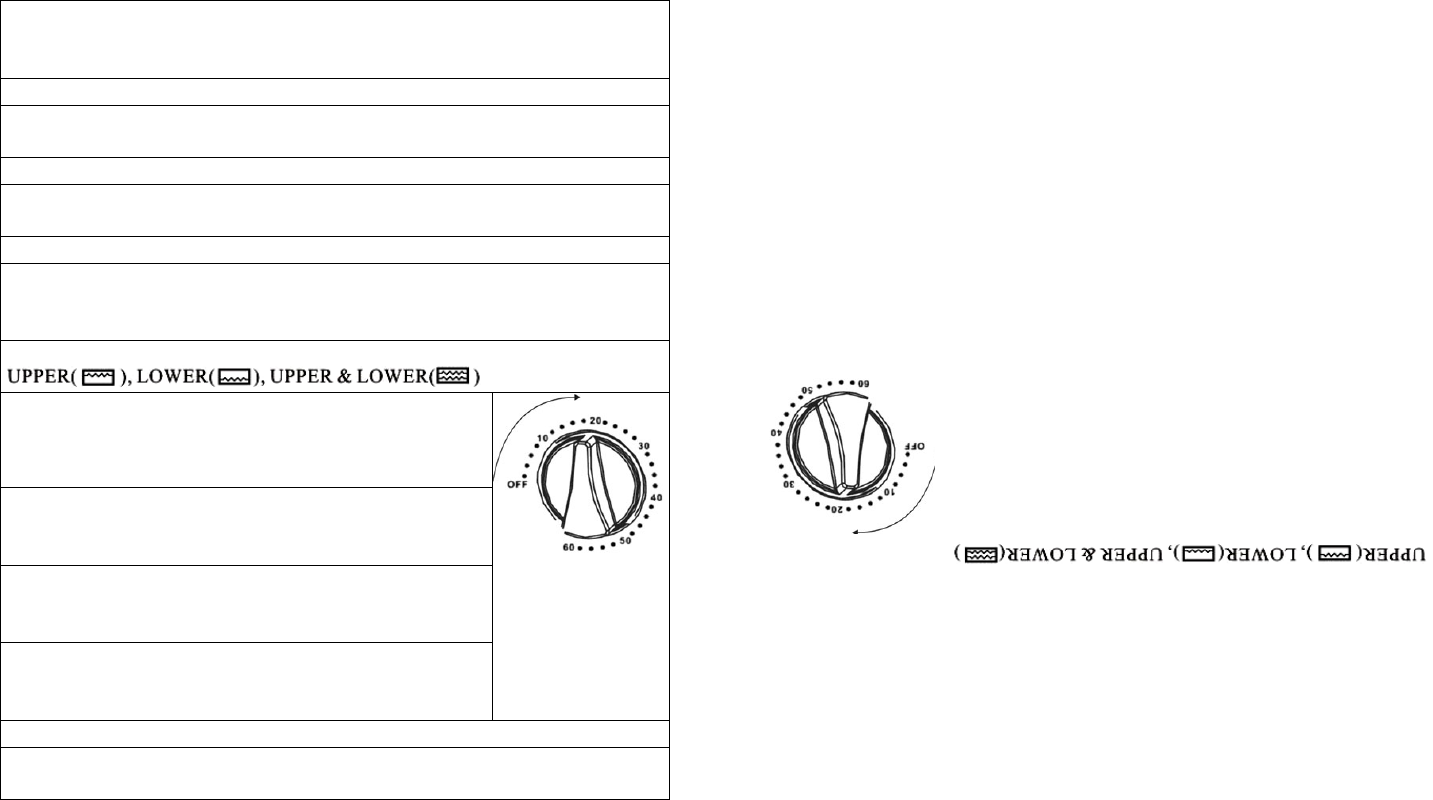
1. Set the arrow on the timer knob to the number
which indicates
the cooking time (minutes)
according to the dishes you
are going to cook.
2.
Set the Timer by turning it clockwise.
The oven will turn off automatically
at the end of
the selected time and a bell will ring
• When setting the Timer to less than 5 min, turn it
to more than 6 min. and then back to the selected
time.
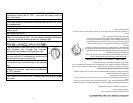
3. The oven can be turned off manually during
cooking by turning the Timer counter-clockwise to
the "0FF" position.
Note:
If the inside of the oven is dirty, cooking may take slightly longer
than usual.
7
(2)Set the heater operating switch to "UPPER & LOWER", set
the
temperature control dial to "250�" and heat the empty oven for
about 10 minutes.
Note:
There may be some smoke and a burning smell at first, but this is
not a malfunction.
Temperature control dial
Set the Temperature Control Dial for the dishes which you are
going to cook
Heat Operating Switch
Select “Upper” “Lower" or "Upper and Lower" according to the
dishes you are going to cook. You can
observe whether the heaters
are working or not by observing the front Indicator light.
1. Set the arrow on the timer knob to the number
which indicates the cooking time (minutes)
according to the dishes you are going to cook.
2. Set the Timer by turning it clockwise.
The oven will turn off automatically at the end of
the selected time and a bell will ring
• When setting the Timer to less than
5 min, turn it
to more than 6 min. and then back to the selected
time.
3. The oven can be turned off manually during
cooking by turning the Timer counter-
clockwise to
the "0FF" position.
Note:
If the inside of the oven is dirty, cooking may take slightly longer
than usual.
7
7
INSTRUCCIONES DE FUNCIONAMIENTO
Antes de usar el equipo por primera vez:
Caliente el horno vacío.
(1) Inserte la bandeja y la rejilla para hornear.
(2) Regule el calentador usando el botón de ARRIBA o ABAJO, regule la perilla de
control de temperatura a “250º” y caliente el horno vacío durante unos 10 minutos.
Nota:
Podría producirse algo de humo y olor a quemado al principio, pero esto no es un
indicativo de un desperfecto.
Perilla de control de temperatura:
Regule la perilla de control de temperatura para los platos que se vaya a preparar.
Botón de funcionamiento de calentamiento:
Seleccione “Arriba” o “Abajo” o “Arriba y Abajo” de acuerdo a los platos que se vaya
a preparar. Se podrá vericar si los calentadores se encuentran funcionando o no mi-
rando la luz indicadora ubicada en la parte delantera.
1. Coloque la echa de la perilla del temporizador hacia el
número que indique el tiempo de cocción (minutos) de acuerdo a
los platos que se vaya a preparar.
2. Regule el temporizador girándolo en el sentido de las agujas
del reloj. El horno se apagará automáticamente al nal del tiempo
seleccionado produciéndose un sonido de campanilla a manera
de aviso.
• Cuando se coloque el temporizador en menos de 5 minutos,
gírelo a más de 6 minutos y luego regréselo al tiempo deseado.
3. Se puede apagar el horno manualmente durante el proceso
de cocción girando el temporizador en el sentido contrario a las
agujas del reloj hasta la posición “OFF”.
Nota:
Si el interior del horno se encuentra sucio, la cocción podría tomar un poco más de
tiempo que lo normal.


