PSB INDUSTRIES INC.
•
General Air Division
•
1202 West 12th Street, Erie, PA. 16501 G5C Dryers
Phone : 814-45—3651 Fax : 814-454-3492
•
www.PSBINDUSTRIES.com
•
psb@genair.net
4/16 Cod. 710.062.01.00 – Rev.08 – 02.05.02
3.0 SET-UP
3.1 Positioning
The dryer should be located in an area with a flat floor and protection against weather conditions and, if possible, direct sun light.
The area must also be properly ventilated (& heated, if necessary) so that the temperature is kept between 40 °F and 110 °F when the
dryer is running (remember that the operating dryer will add heat to the room). It must also be large enough to allow at least three
feet of free space adjacent to both the condenser air inlet and outlet grills to allow for proper unit cooling.
3.2 Installation
• Air by-pass piping is recommended to allow uninterrupted air service during instances of maintenance of repair.
• Prior to installation check to insure that the compressed air piping is free of debris or other contaminants.
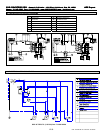
• Connect the dryer to the compressed air line in accordance with one of the diagrams shown in section 11 and per unit labeling.
• Always use a back-up wrench to prevent damage to the connections during piping of the air inlet and outlet.
• Make sure that line power agrees with the unit data plate and the service complies with local electrical codes.
• Always include a fused safety switch in the line power supply (refer to data plate amperage for proper selection).
• A particulate filter is recommended at the air inlet to avoid any deposit of solid particles into the dryer.
• Position the dryer so that all controls can be easily read and so that all maintenance operations are easily performed.
• Connect the condensate drain tube in compliance with local regulations. The condensate is a pollutant and cannot be drained
directly into the sewage system. A Motivair oil/water separator of suitable capacity is recommended.
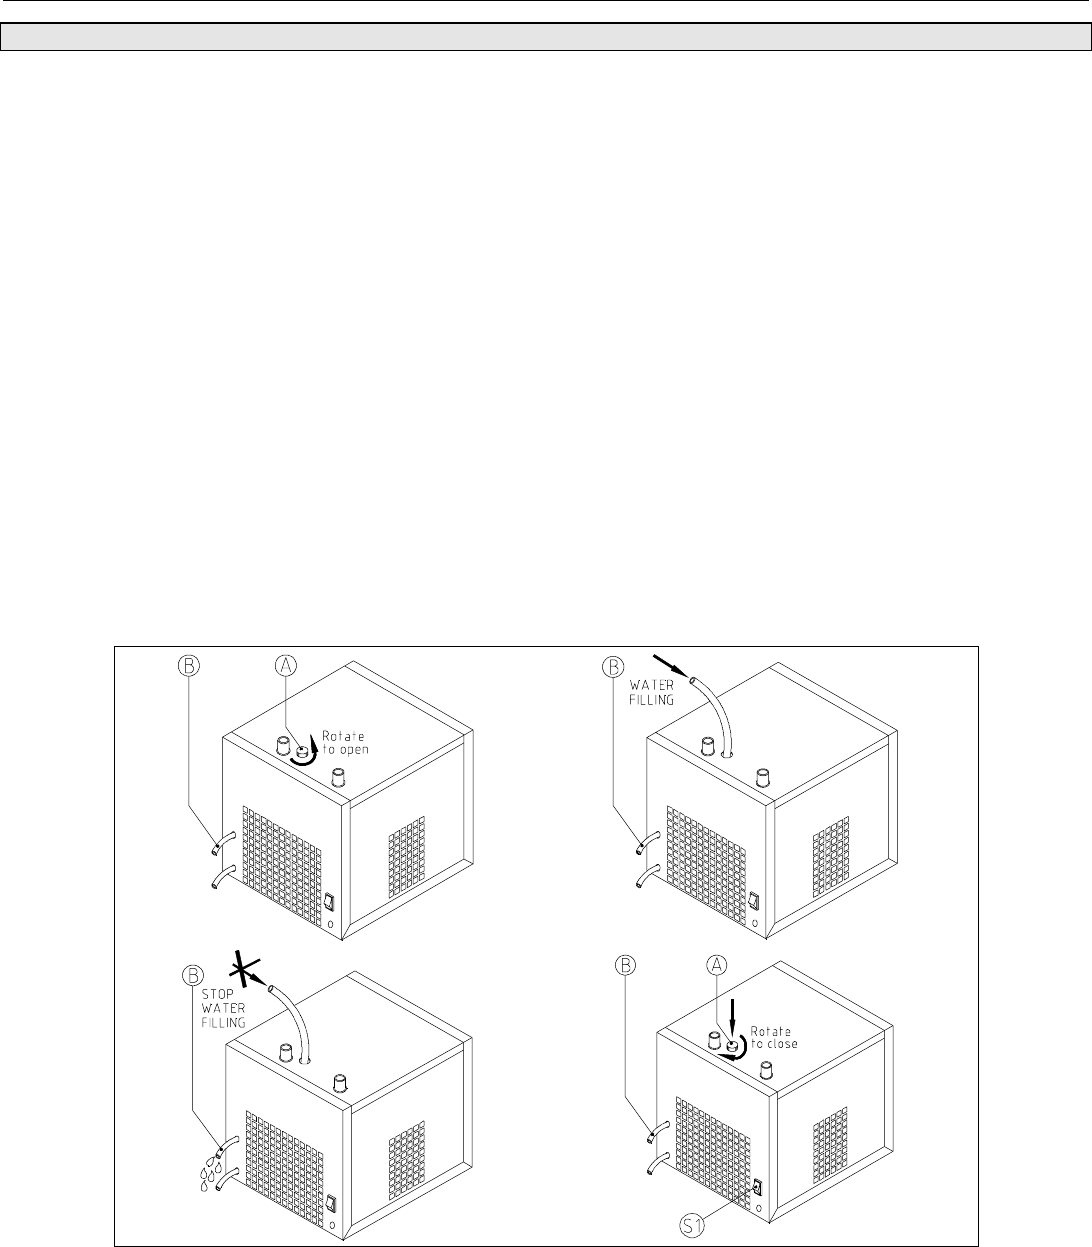
3.3 Filling The Thermal Mass Reservoir
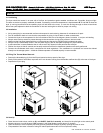
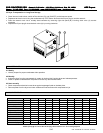
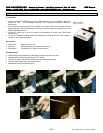
• Remove the threaded plug (A) from the fill port located on the top panel of the dryer.
• Slowly fill the reservoir with clean, tap water until it can be seen coming from the flexible overflow tube (B) at the rear of the dryer.
• Replace the fill port plug.
3.4 Start-Up
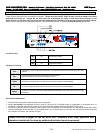
• Close inlet and outlet valves, switch on S1 and ON/OFF (hold for 3 seconds), and check for the pilot light on the control panel.
• Allow the dryer to run until the word “ICE” appears in the digital display (usually about 15 minutes).
• Open the outlet air valve completely and then gradually pressurize the dryer by slowly opening the inlet air valve.
• Compressed air flow rates in excess of rating will reduce performance but will not compromise safety.


