4
READ THE MANUAL AND CAREFULLY FOLLOW
THE INSTRUCTIONS BEFORE USE.
BEFORE USING FOR THE FIRST TIME :
• Unpack the toaster and remove any labels.
• Wipe the toaster and the warming plate with a damp cloth then
dry it.
• Unroll the electrical cord entirely and plug it in.
• Set the browning control (B) to minimum without inserting any
bread.
• Lower the control lever (A) until it is locked down.
• In order to remove any possible residues from manufacturing,
the toaster should be heated twice before inserting any bread.
A small amount of smoke may appear. This is normal and will
quickly disappear.
HELPFUL HINTS
Differences in moisture levels from one bread to another can
result in varying toasting times and browning levels. Below are
some general recommendations :
• Slightly dry bread should be toasted on a lower setting.
• Very fresh bread or whole wheat bread should be toasted on a
slightly darker setting.
• Breads with uneven surfaces, such as English muffins, may
require a darker setting.
• When toasting items with fruit, such as raisin bread, remove any
loose fruit before toasting.
• When toasting bagels, slice the bagel into two equal halves
before toasting.
• If you are toasting one slice of bread, set the browning control
at a lower setting.
• Use caution when warming or toasting sugar coated or filled
items (such as toaster pastries). Always set the browning control
to the lowest setting.
TOASTING AND “HIGH LIFT” FUNCTION
Never leave toaster unattended during use.
Use caution when toasting sugar coated or filled items (such
as toaster pastries). Always set control to lowest setting.
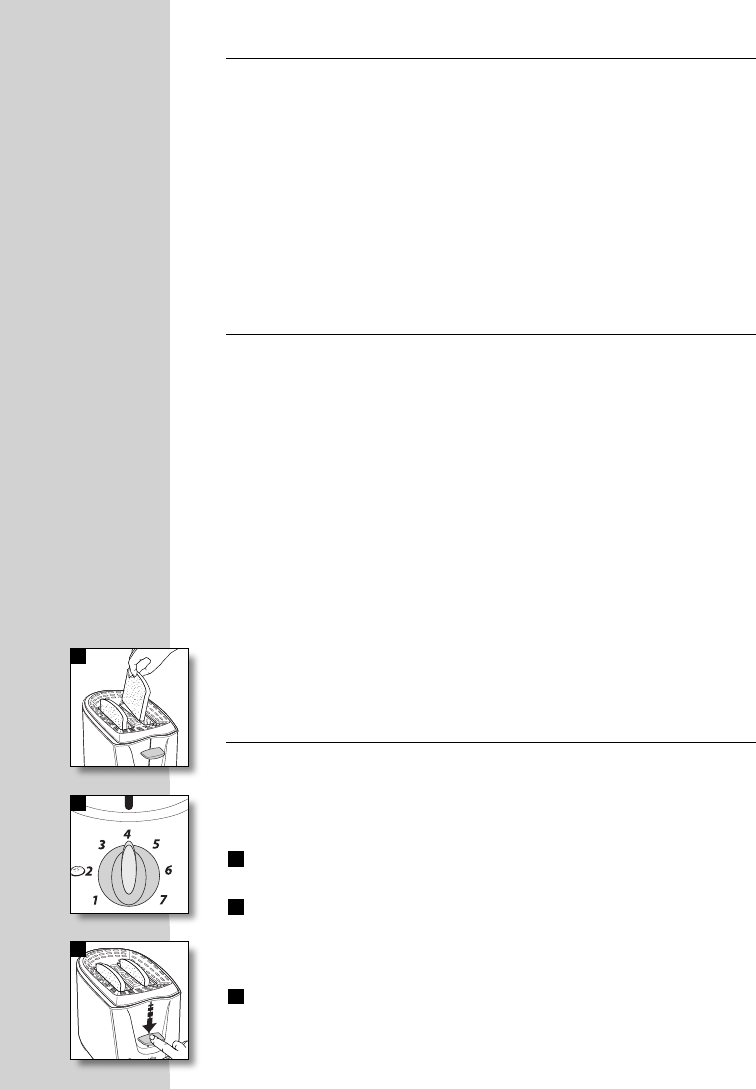
With the control lever in the high position, insert the slice(s) of
bread into the toasting slots.
Adjust the browning control to the desired setting depending on
the type, freshness and the thickness of the bread.
1 Very slightly browned 4-5 Well toasted
2-3 Lightly browned 6-7 Very well toasted
To begin toasting, press down the control lever (A) until it locks
into the low position. The bread slices are automatically centered
and the toasting begins.
At the end of the toasting cycle, the toaster automatically stops
and the control lever lifts up.
3
2
1
1
2
3


