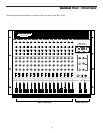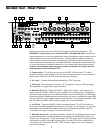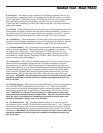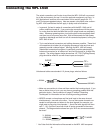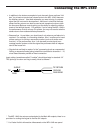
Guided Tour - Main Section
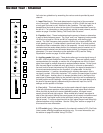
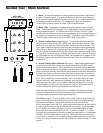
6: Headphones control (black) - This knob sets the level of the signal sent to
the headphone jack (see #7 below). WARNING: To avoid possible damage
to connected headphones (or, worse yet, to your ears!), always turn this all
the way off (to the fully counterclockwise “0” position) before plugging in a
pair of headphones—then raise the level slowly while listening. The
Headphones control has no effect on the final Main Mix or Bus 3/4 output levels.
7: Headphone jack - Connect any standard stereo headphones to this jack (via
a standard 1/4” TRS plug) for private monitoring of the main stereo output. The
built-in MPL 1640 headphone preamp delivers 150 mw at 30 ohms.
8: Main L/R Faders (white with blue line) - These linear sliders determine the
relative level of the two Main Left/Right outputs just prior to being sent to the rear
panel Main Mix output jacks (as described on page 8). The “0” (detented)
position of each fader indicates unity gain (no level boost or attenuation).
Moving the fader below this position (towards the “-∞” dB position) causes the
signal to be attenuated (at the very bottom, it is attenuated infinitely—in other
words, there is no sound). Moving it above this position (towards the “+15”
position) causes the signal to be boosted by as much as 15 dB.
For best signal-to-noise ratio, both Main L/R faders should generally be kept at
or near the detented 0 level. See the “Setting The Correct Gain Structure”
section on page 12 of this manual for more information.
7


