


setting up
_09
01 SETTING UP
ASSEMBLE THE FREEZER DRAWER
To reattach the freezer drawer, assemble parts in
reverse order.
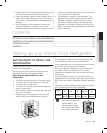
ADJUSTING THE LEVEL
Make sure the refrigerator is level so that you can
make fi nal adjustments. Use a level to test if the
refi gerator is level both side to side and back to front.
If the refrigerator is not level, it will not be possible
to get the doors perfectly even, which may cause
moisture condensation and increased energy bills.
Below is an example of how to level the refrigerator if
the left side of the refrigerator is lower than the right
side.
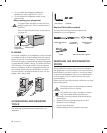
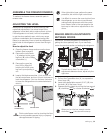
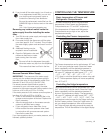
How to adjust the level
1. Open the freezer drawer and remove the lower
basket. (See to page 8)
2. Remove the two screws
( 1 ) attached to the cover
leg front ( 2 ) with a Philips
screwdriver (+).
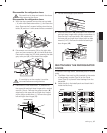
3. Remove the cover leg
front ( 2 ) by lifting the
bottom part of the cover
leg front up and pulling it
out.
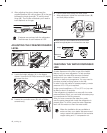
4. Insert a fl at-blade screwdriver (-) into a notch on
the left control lever, and turn it count clockwise to
level the refrigerator. (You turn the lever clockwise
to lower the refrigerator and counterclockwise to
raise it.)
Both control levers must be touching the fl oor
to avoid possible personal injury or property
damage because of tipping.
If the right side is lower, perform the same
procedure, but with the right control lever.
It is diffi cult to remove the cover leg front from
the refrigerator, so we do not recommend
making small adjustments wIth the control
lever. Instead, refer to the next page for the
best way to make minor adjustments to the
doors.
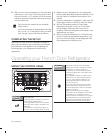
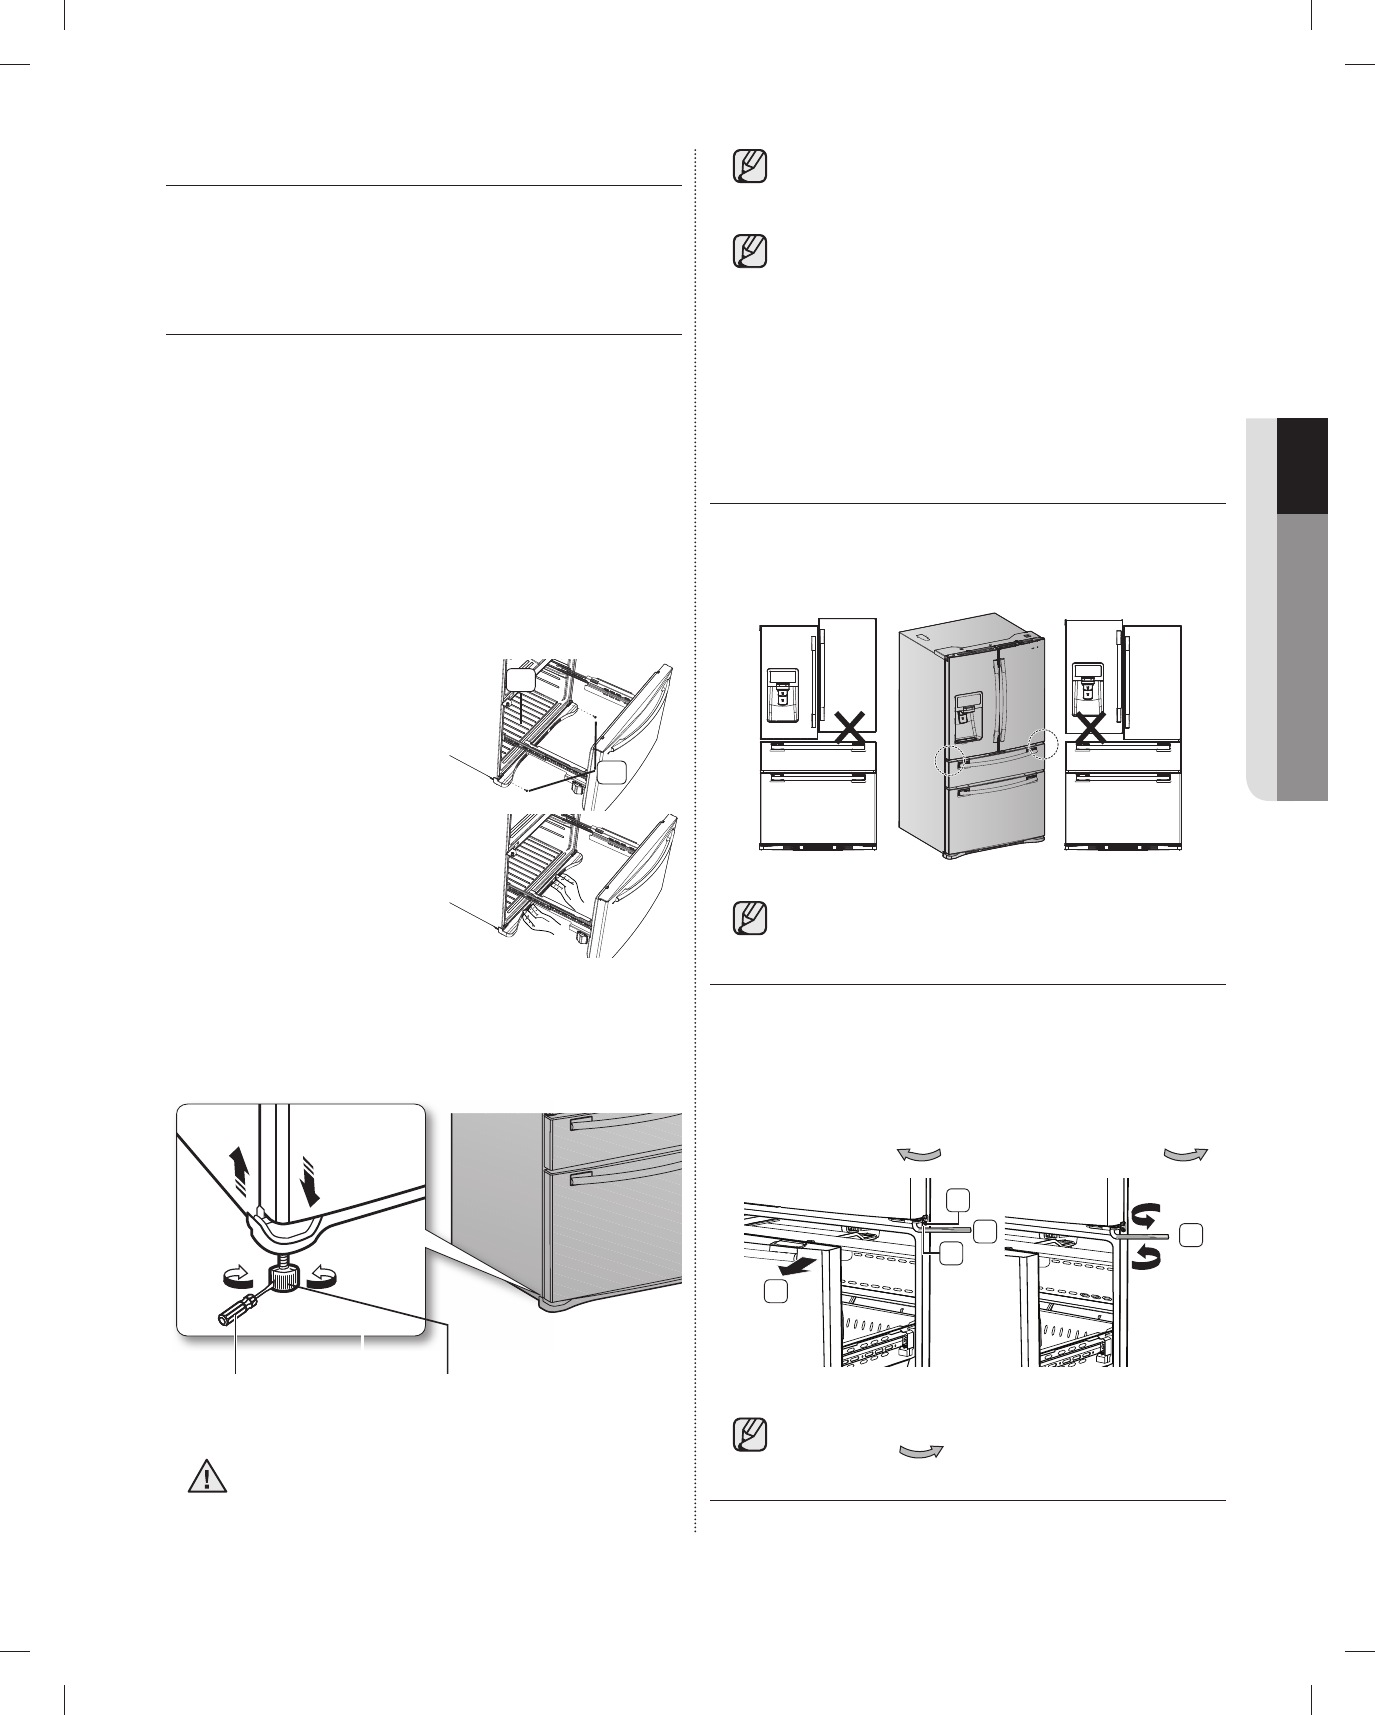
MAKING MINOR ADJUSTMENTS
BETWEEN DOORS
Remember, a leveled refrigerator is necessary for
getting the doors perfectly even. If you need help,
review the previous section on leveling the refrigerator.
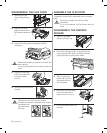
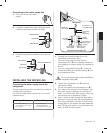
The left door is fi xed. To make minor
adjustments between doors, adjust only the
right door.
1. Pull out the Convertible door ( 1 ) to expose the
lower hinge ( 2 ).
2. Insert the supplied allen wrench (3/16”) ( 3 ) into
the shaft ( 4 ) of the lower hinge.
3. Please adjust the height by turning the hex wrench
( 3 ) clockwise (
DOWN
DOWN
) or counter-clockwise (
UP
UP
).
When you turn the hex wrench counter-
clockwise (
), the door will move up.
2
1
fl at-blade
fl at-blade
screwdriver(-)
screwdriver(-)
Control Lever
Control Lever
CAUTION
3
1
2
3
4
Adjustment
Adjustment
part
part
Fixed part
Fixed part