


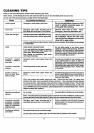
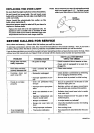
BEFORE CALLING FOR SERVICE
PROBLEM
Foods do not broil
properly
Ovensmokes
Oven light does not work
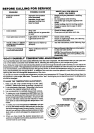
Heavily soiled or stained
cooktopcannotbe satisfac-
torily cleened
Continuous-cleaning
ovenfinlsh Iookssolled
POSSIBLE CAUSE
Improper rack position
Oven preheated
Improper utensil used
Improper broiling time
Door Is closed
Dl_y oven
Broiler panful! of grease leH
In oven
Llghtswltchln off position
Light bulb burned out
Spills were not wiped up
promptly
Heavy splllovere were not
wiped up
DON'T CALL FOR SERVICE
UNTIL YOU CHECK
Check broil pan placement in broiling
section.
Do not preheat when broiling.
Use broiler pan and grid supplied with
range.
Check broiling chart In broiling section.
Check to Insure door Is open to broil
position.
Check for heavy splllover,
Clean pan and grid alter each use.
Check switch setting.
Check or replace light bulb; see cleaning
and care Instructions,
See the instructions, under Cleaning Tips.
See continuous-cleaning oven Information
in Use and Care section.
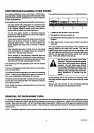
NOTE: The continuous-cleaning oven fin-
Ish will not keep your oven spotless, only
presentably clean.
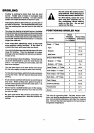
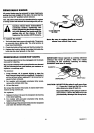
"DO-IT-YOURSELF" TB=MPERATURE ADJUSTMENTS
_ou may feel that your new oven cooks differently than the oven It replaced. We recommend that you use your new
oven a few weeks to become more familiar with it, following the times given In your recipes as a guide.
I: you think your new oven Is too hot (burning foods) or not hot enough (foods are under-cooked) you can adjust the
temperature yourself. The appearance and texture of foods are better Indicators of oven accuracy than Inexpensive
oven thermometers, such as those found In the grocery stores, to check the temperature setting ofyour new oven.
These thermometers can vary by 20-40°F. In addition, the oven door must be opened to read these thermometers.
Opening the door will change the temperature of the oven.
To decide how much to change the temperature, set the oven temperature 25°F lower (if foods are burning) than the
temperature in your recipe, then bake, The result of this "test" should give you an idea of how much the temperature
should be changed. POINTER
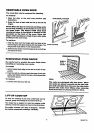
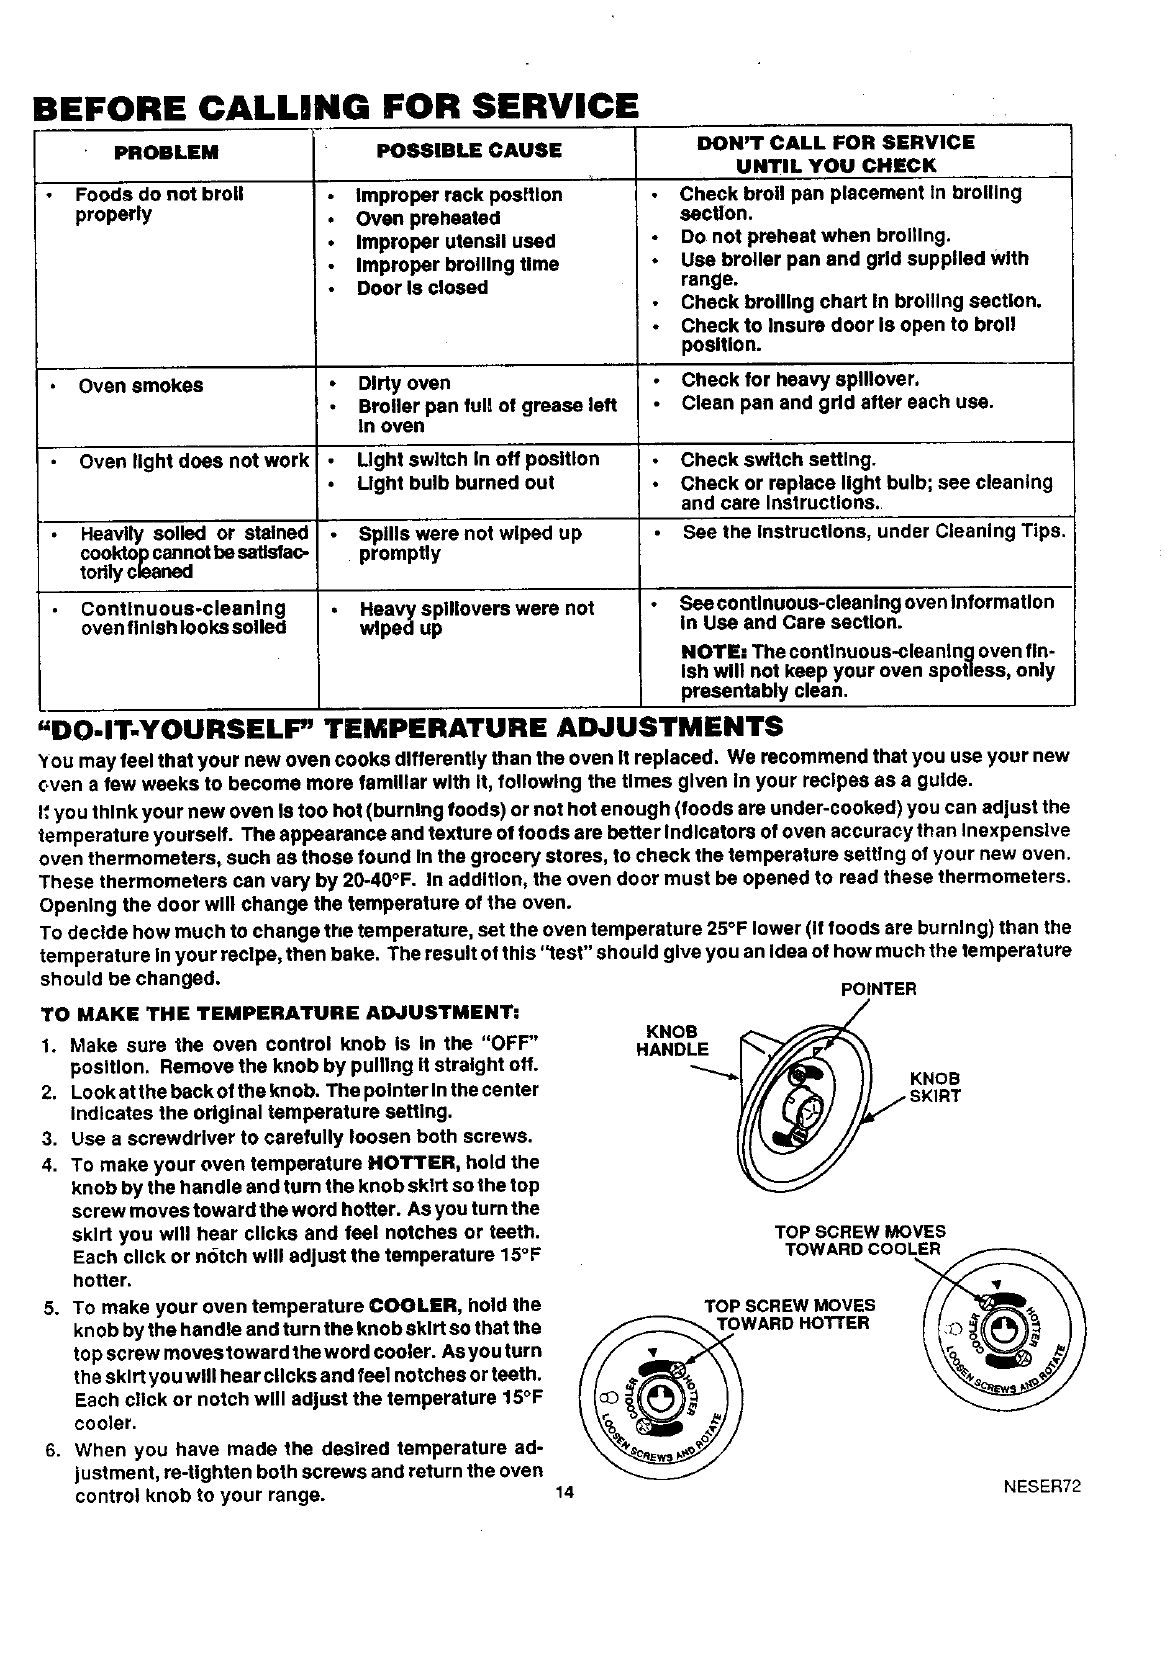
TO MAKE THE "IrEMPERA'rURE ADJUSTMENT:
1. Make sure the oven control knob is in the "OFF"
position. Remove the knob by punlng it straight off.
2. Look at the back ofthe knob. The pointer Inthe center
indicates the original temperature setting.
3. Use a screwdriver to carefully loosen both screws.
4. To make your oven temperature HOTTER, hold the
knob by the handle and turn the knob skirt so the top
screw moves toward the word hotter. As you turn the
skirt you will hear clicks and feel notches or teeth.
Each click or n6tch will adjust the temperature 15°F
hotter.
5. TOmake your oven temperature COOLER, hold the
knob by the handle and turn the knob skirt so that the
top screw movestoward theword cooler. Asyou turn
the skirt you will hear cncks and feel notches orteeth.
Each click or notch will adjust the temperature 15°F
cooler.
6. When you have made the desired temperature ad-
justment, re-tighten both screws and return the oven
control knob to your range.
!_ SKIRT
TOP SCREWMOVES
TOWARD COOLER
TOPSCREW MOVES I
TOWARDHOTTER
14
NESER72