Instructions for Use of Demo Mode:
DHG-HDD250 / DHG-HDD500
Sony Electronics, Inc.
Page 4 of 8
2 Optional First Steps
2.1 Checking the Format
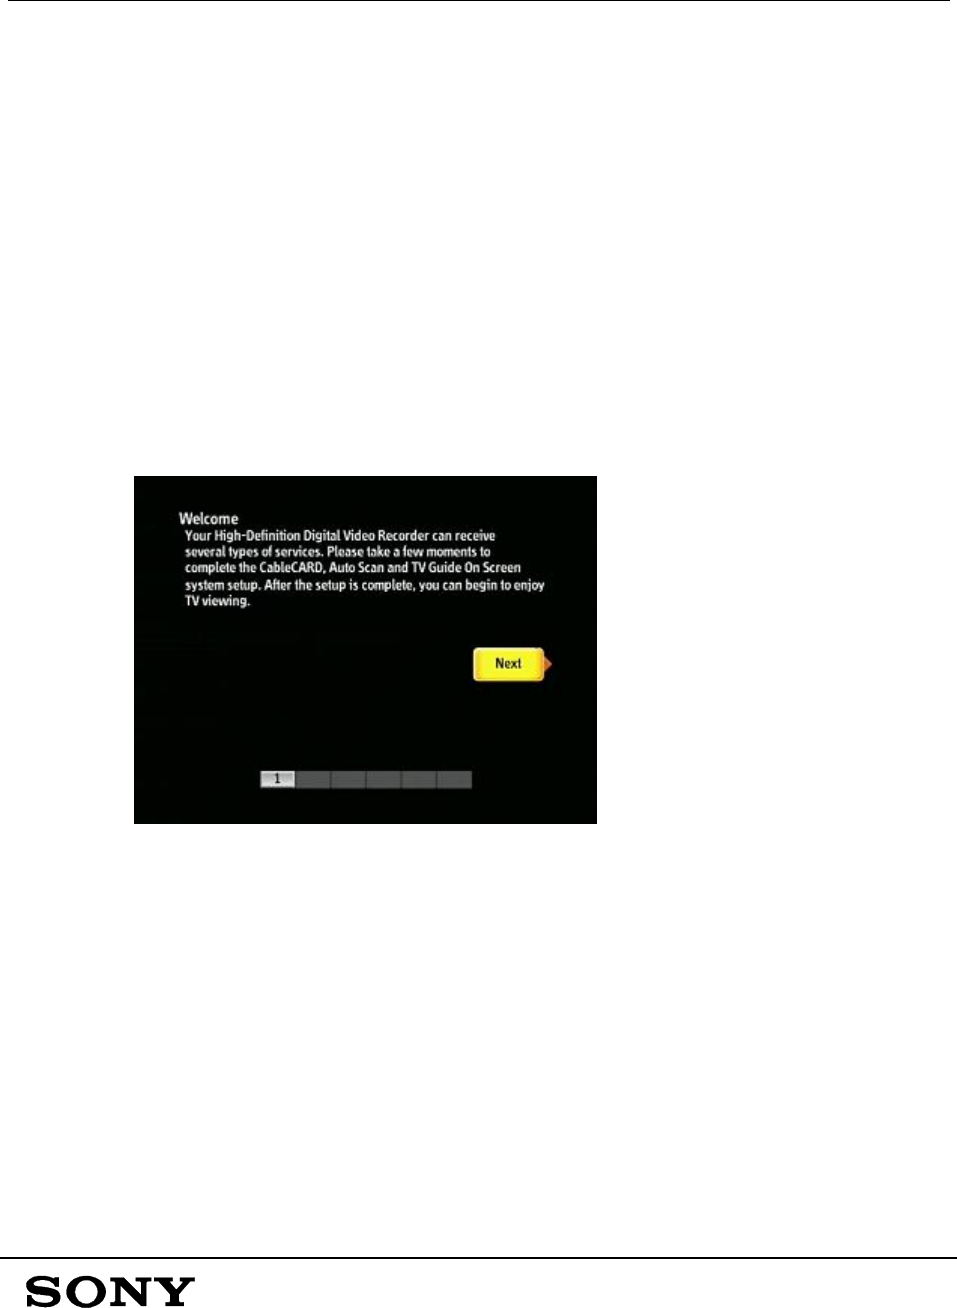
When the HD DVR is first powered on, the Auto Setup Welcome screen will
automatically appear. If you do not see the below Welcome screen on your TV:
1. Check the connections from the HD DVR to the TV
2. Check that the correct Format setting for your TV has
been selected. Repeatedly press the FORMAT button
on the remote control or front panel until a format
setting that is compatible with your TV is displayed on
the front panel (such as “1080”, “720p”, “SD OUT”,
etc.) and the below image appears.
2.2 Completing or Skipping the Auto Setup
If the HD DVR will be used to receive cable or antenna services, follow the on-screen
instructions of the Auto Setup and TV Guide
® Setup.
If the HD DVR will only be used to play the pre-recorded content (such as in a retail
environment with no available cable or antenna connection), you may follow these
steps to skip the Auto Setup and TV Guide Setup.
1. While the above screen is displayed, press the
SCREEN MODE button on the remote control.
2. Enter the numbers “1”, “1”, “2”, “0”.
